
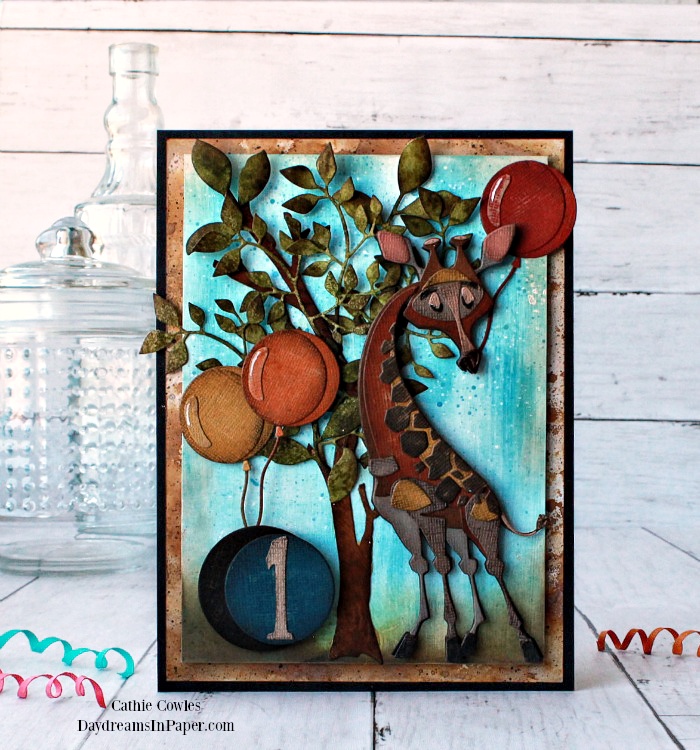
Thanks so much for stopping by! Today, I’m sharing a card I created using Gertrude, one of the new colorize dies from the Sizzix Tim Holtz collection. Most of you know that I fell in love with the colorize dies the minute I laid my eyes on them. The funnest part about building them is seeing them come to life as you add the pieces. It’s truly magical and until you build one, you won’t have any idea what I’m talking about. They are super easy to put together because Sizzix has created amazing step-by-step videos showing you exactly which pieces to put where and in which order to put them. I’ve provided the link to Gertrude’s step-by-step instructions below. Enjoy!
To begin, cover a piece of heavyweight mixed media cardstock with white gesso and allow to completely dry. When the panel is dry, using a dry paintbrush, brush on Tumbled Glass Distress Paint and dry it with a heat tool. Next, dry brush on Broken China Distress Paint and heat that layer with a heat tool. When the panel is completely dry, take a small scoop of white gesso and place it on a glass media mat and add some water. Mix the gesso and water with a splatter brush and flick the mixture onto the blue panel. Dry the panel with a heat tool until it is completely dry. Next, squirt some Broken China Distress Paint onto a glass media mat and add some water. Mix the paint and water with a splatter brush and then flick that mixture onto the background panel. Dry the entire panel with a heat tool until it is completely dry and set aside.
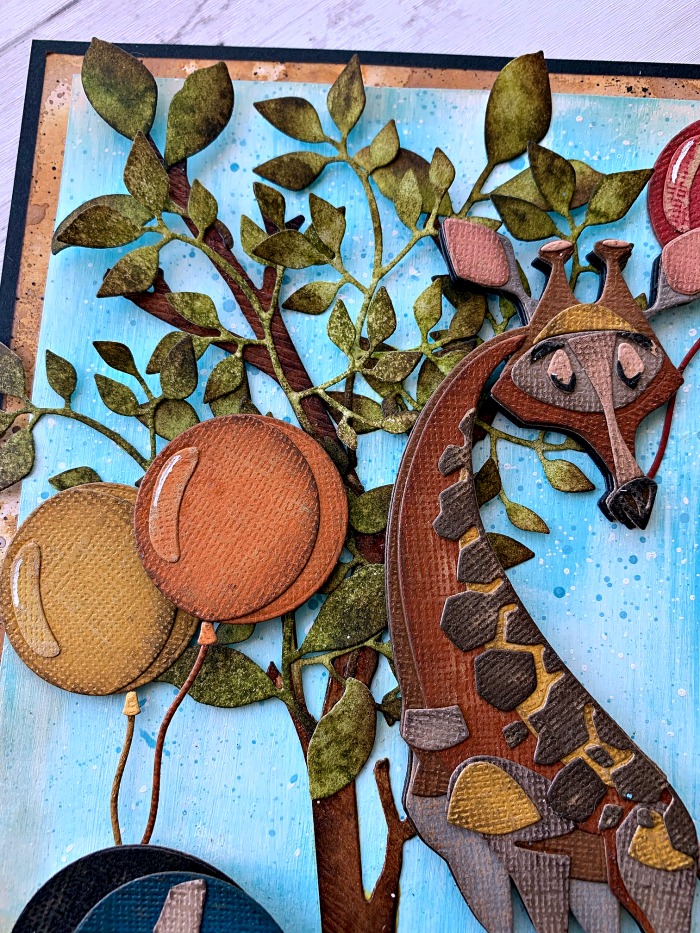
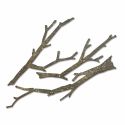
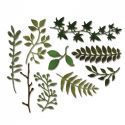
To create the tree, combine Tim Holtz Branches and Garden Greens dies. First, color some mixed media cardstock with Peeled Paint and Shabby Shutters Distress Inks by applying the inks to a craft mat and spraying them with a bit of water. Spritz the cardstock and then dab the cardstock into the inks. Dry each layer before picking up more color and continue until you are happy with the colors. Cut the leaves using two of the Garden Greens dies and then ink the stems and edges with Forest Moss and Vintage Photo Distress Inks. For the trunk of the tree, create the trunk using the Tim Holtz Branches Bigz die and cut them out of woodgrain cardstock. Color each branch with Vintage Photo Distress Spray Stain. Dry completely and ink the edges with Ground Espresso Distress Ink. I used two branches to create the trunk and layered the leaves over the trunk to finish the tree.
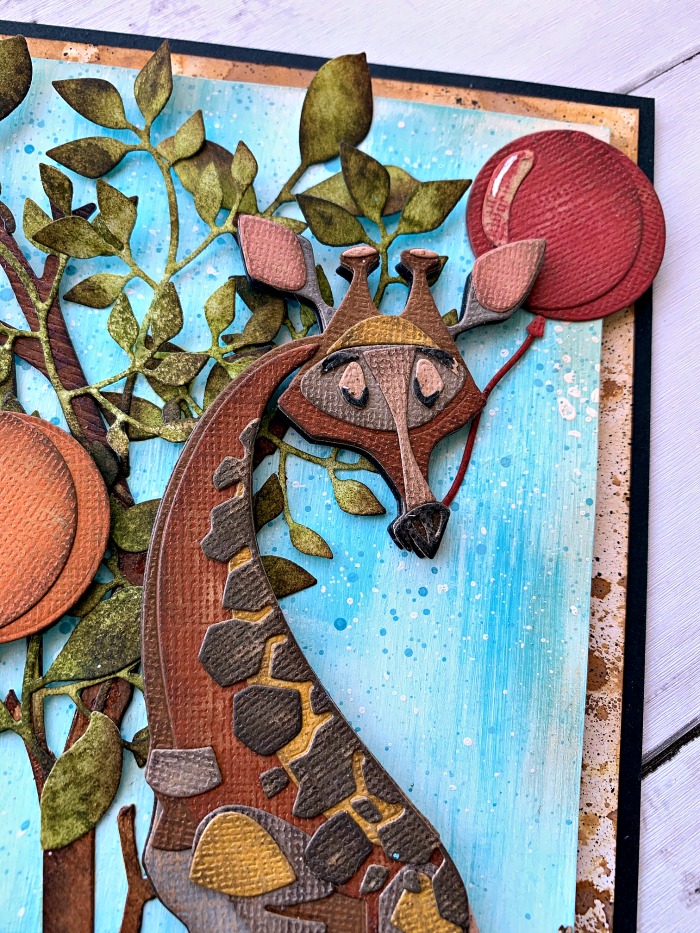
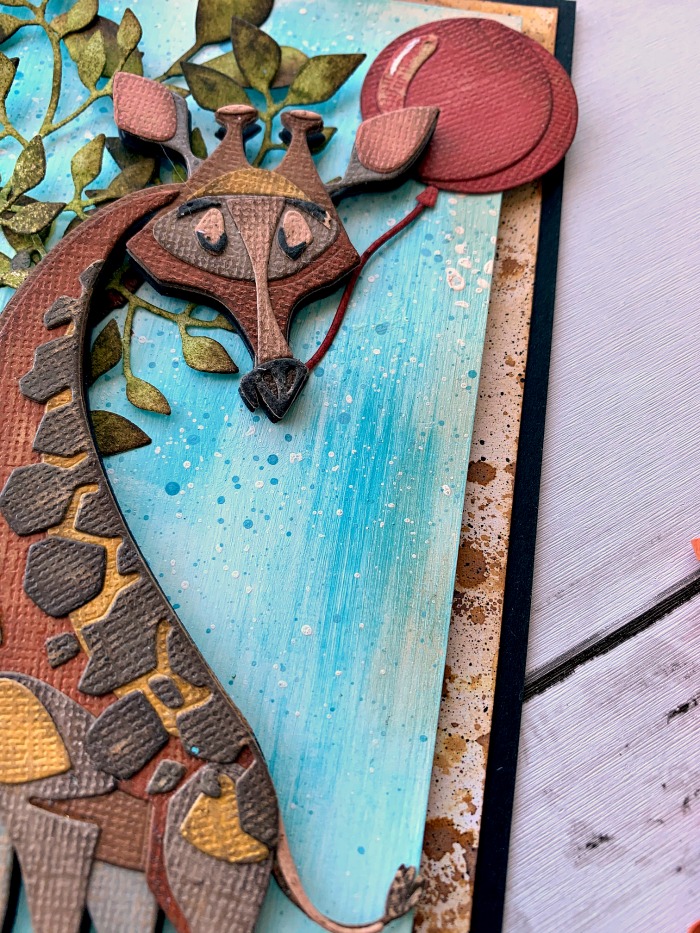
Cut Gertrude the Giraffe and the balloons out of Tim Holtz Kraft Stock cardstock choosing colors that coordinate well together. For Gertrude you can use the color code on the back of each die or come up with you own combination of colors. Before assembling Gertrude and the balloons, be sure to remember to ink the edges of each piece. This will give them dimension which will dramatically change the overall look of your project when you are finished. You can find the link to assemble Gertrude, here. To create the balloons, I used the Tim Holtz Circle Play die set.
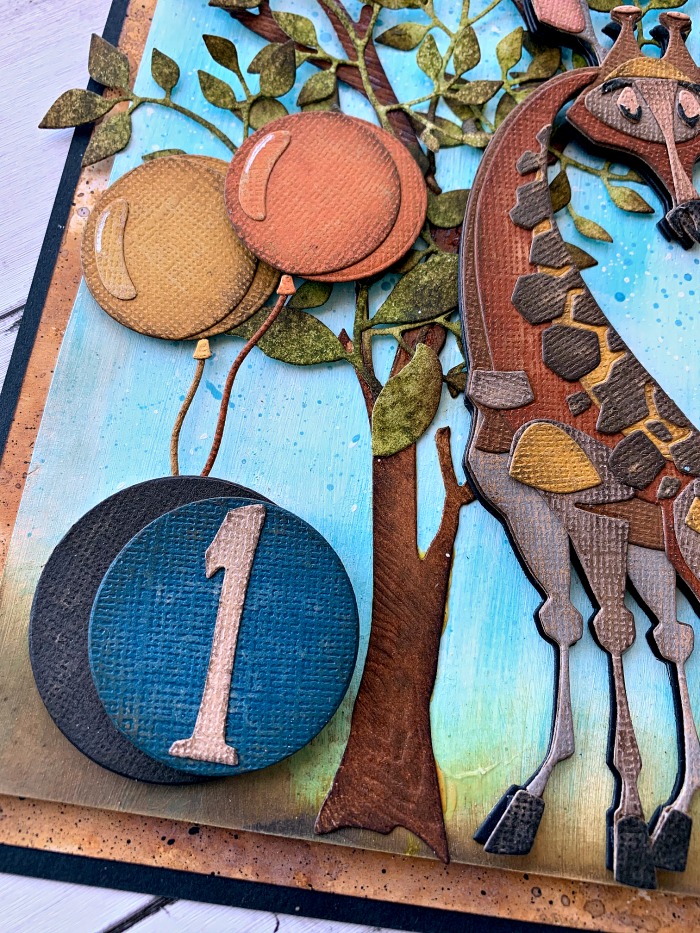
To create the circle with the number one, I simply used the Tim Holtz Stacked Circles dies and cut them out of Kraft Stock cardstock. I chose to offset them and adhere the number 1 in the center of the top circle. The number 1 is from the Tim Holtz Handmade Alpha Bigz die which is also cut from Kraft Stock cardstock.
To finish the card, ink the bottom of the main panel with Vintage Photo and Walnut Stain Distress Archival ink and place all the pieces together to create a scene. Gertrude and the balloons are adhered with 3d foam tape for dimension as well as the circles with the number 1. I left some of the leaves on the tree “free” so they were loose which gives the tree some dimension as well.
The middle panel is a piece of mixed media cardstock that has been colored with Vintage Photo Distress and Oxide Sprays. I adhere that to the main panel and then adhere the entire piece to a piece of Simon Says Stamp Black Cardstock.
I hope you enjoyed seeing how I put together this adorable 1st Birthday card and that you will give the colorize creatures a try. You will be addicted!!!


 |
 |
 |
 |
 |
 |
 |
 |
 |
 |
 |
 |
 |
 |
 |
 |
 |


this is absolutely my favorite! I love the addition of the balloons! What wonderful card!