
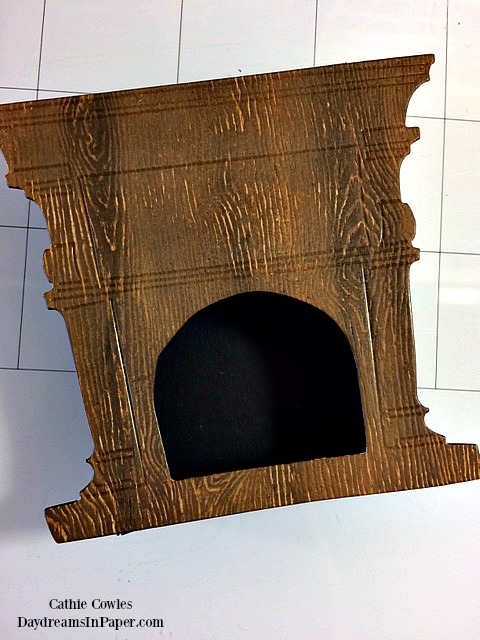
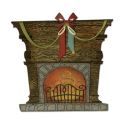
Hi Everyone! Did you happen to catch Tim Holtz’ Facebook Live on Monday for the Sizzix Chapter 3 release? If you did, you may have noticed a project on one of Tim’s Etcetera tags using the new Fireside and Festive Things die sets. As promised, I’m going to show you how to create a 3D Fireside fireplace. It creates the perfect space for a mantle and inner hearth. There are many ways you can accomplish this but if you’re interested to see how I put mine together, join me below for a full tutorial. Enjoy!
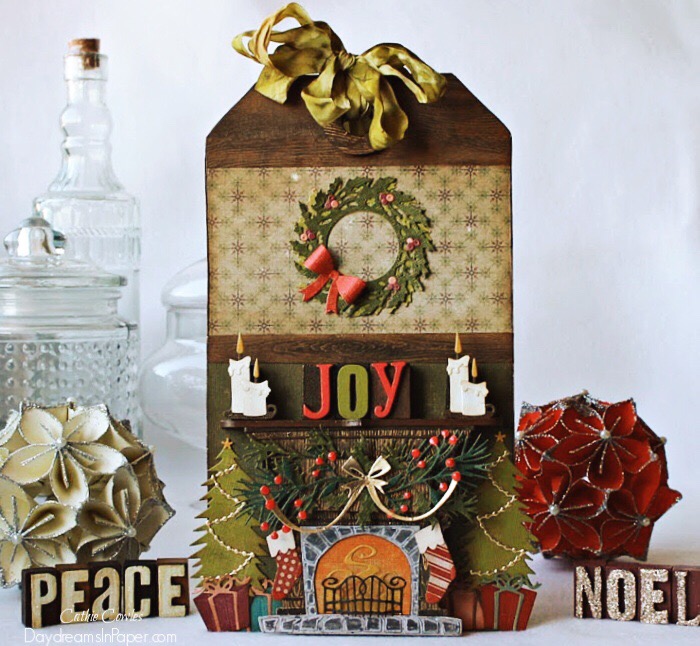
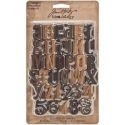
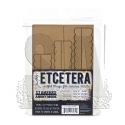
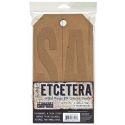
I created the 3D fireplace to place one of Tim’s Etcetera trims on top to act as a mantle. The 5/8″ wide trim is the perfect size to display Tim’s Letterpress Letters and Numbers. The words, Joy, Peace and Noel can be displayed together or alone on the mantle. In Tim’s video, he placed Peace and Joy together. The mantle acts as a sort of a letter board. You can create any words you wish, just as long as they fit between the candles or whatever design you come up with to display your word or message.
Before I begin, if you can find a premade box that measures 3-5/8″ long x 2-1/2″ wide x 5/8″ deep, this will work, and you won’t have to make your own box. But if you need to create your own, let’s get started below:

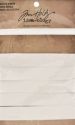
Above are all the pieces you will need to create the 3D box.
Cardboard:
- (2) 3-1/2″ x 5/8″
- (1) 2-1/2″ x 5/8″
- (1) 2-1/4″ x 5/8″
Woodgrain Cardstock:
- (2) 3-1/2″ x 5/8″
- (2) 2-1/2″ x 5/8″
Black or Dark Brown Cardstock:
- (2) 3-1/2″ x 5/8″
- (1) 2-1/2″ x 5/8″
- (1) 2-1/4″ x 5/8″
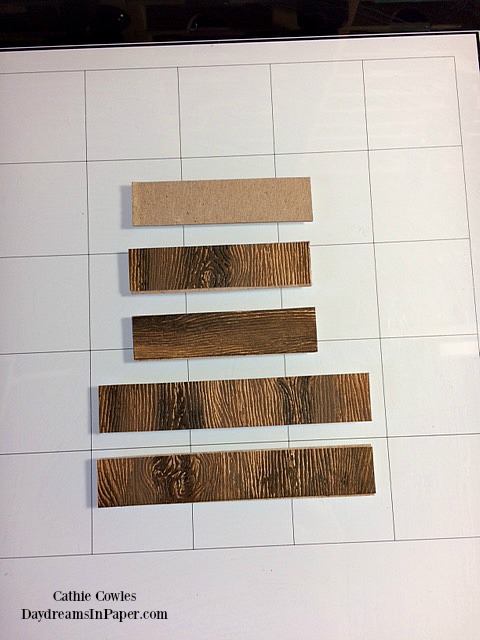
- Cover (2) 3-1/2″ x 5/8″ pieces of cardboard with the (2) 3-1/2″ x 5/8″ pieces of woodgrain cardstock.
- Cover the 2-1/2″ x 5/8″ piece of cardboard with the 2-1/2″ x 5/8″ piece of woodgrain cardstock.
- Leave the 2-1/4 x 5/8″ piece of cardboard plain for now.
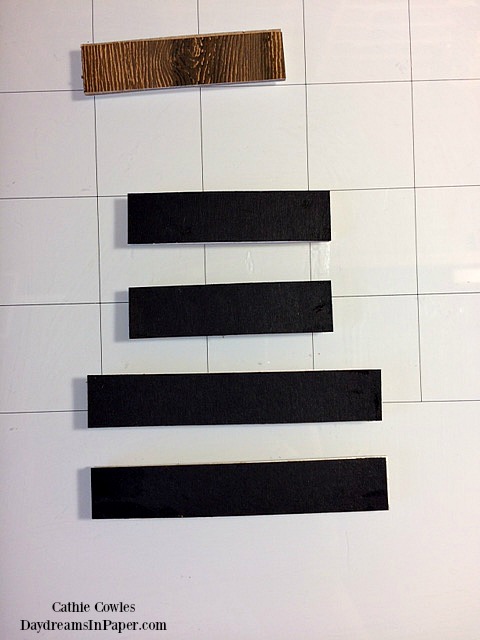
- Set one of the 2-1/2″ x 5/8″ pieces of woodgrain covered cardboard aside. (You will not adhere black or brown cardstock to the other side of this piece.)
- Cover the other 2-1/2″ x 5/8″ piece of woodgrain covered cardboard with black or brown cardstock on the other side.
- Cover the two 3-1/2″ x 5/8″ pieces of woodgrain covered cardboard with black or dark brown cardstock on the other side .
- Cover one side of the 2-1/4″ x 5/8″ plain piece of cardboard with black or brown cardstock.
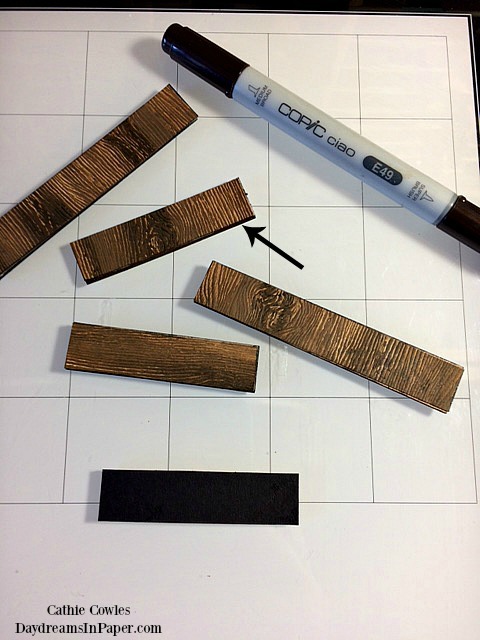
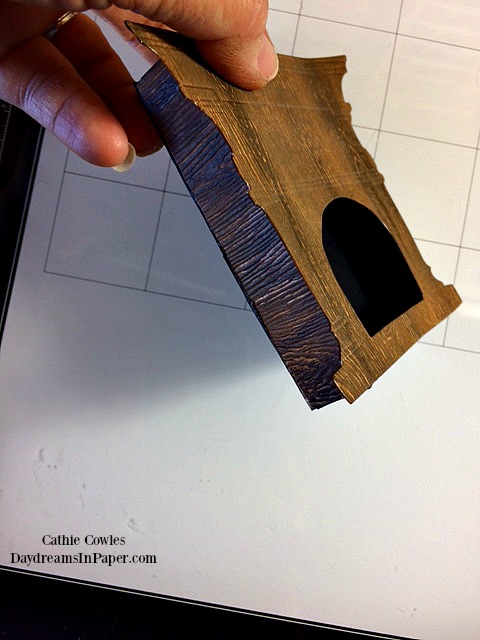
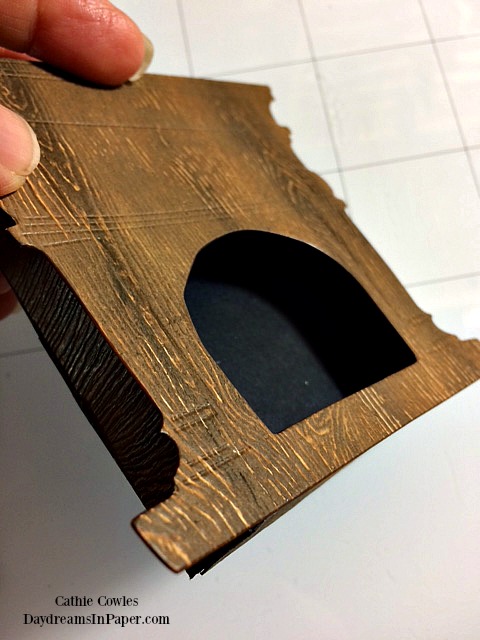
Using an alcohol ink marker, color all the exposed cardboard sides of each piece with dark brown ink.
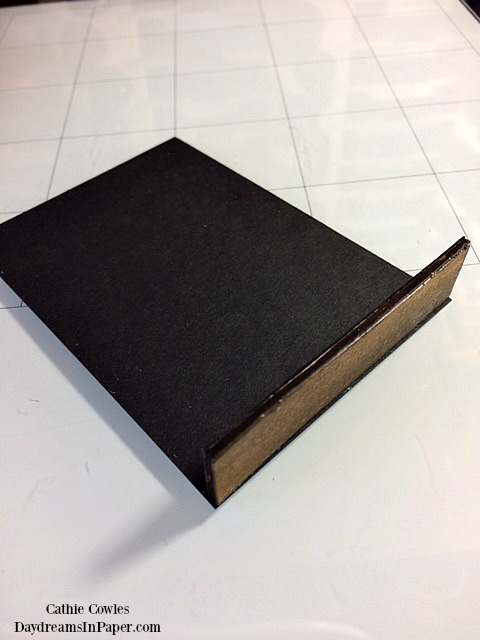
Adhere the 2-1/2″ x 5/8″ piece of cardboard covered with woodgrain AND black cardstock to the bottom of the large black cardstock backing. Make sure the black side of the piece faces the inside of the box and the woodgrain design faces out.

Next, adhere one of the 3-1/2″ x 5/8″ pieces to the left side of the black cardstock backing. Make sure the black cardstock side of the piece is facing the inside of the box and the woodgrain pattern is facing out.
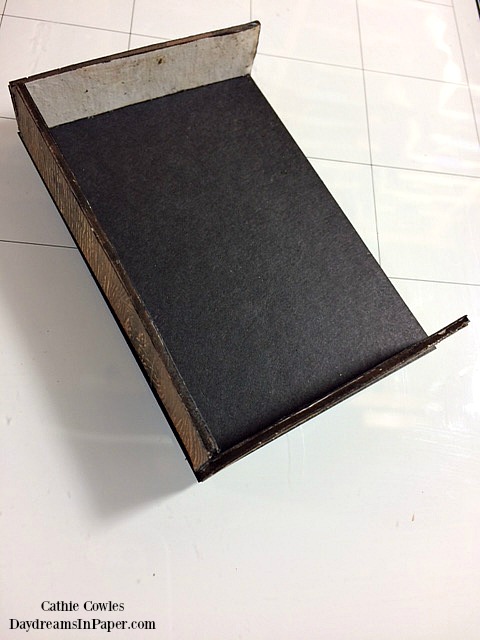
Now adhere the 3-1/2″ x 5/8″ piece that is covered with woodgrain cardstock on one side and nothing on the other side to the top of the black cardstock backing. Make sure the woodgrain pattern is facing out and the plain side is facing inward.
Adhere the last 3-1/2″ x 5/8″ piece to the right side of the black cardstock backing. Make sure the black cardstock side of the piece is facing the inside of the box and the woodgrain pattern is facing out.
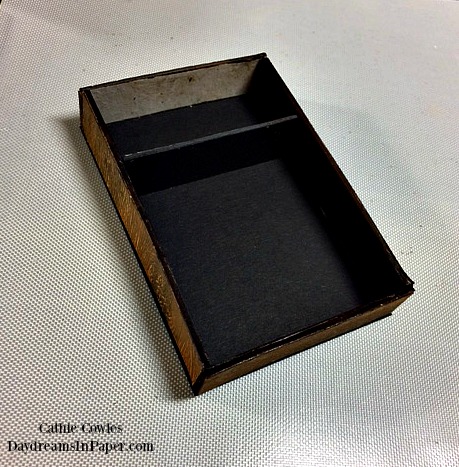
Adhere the 2-1/4″ x 5/8″ cardboard piece, that has black cardstock on one side, an inch from the top of the box. Make sure the black cardstock side is facing toward the bottom of the box. This piece will help to stabilize the top of the fireplace front and helps to keep it from sagging inward.
Now you can adhere the fireplace front to the box and it’s ready to decorate. You can decorate the front of the fireplace before adhering it to the box, if you would prefer. For my fireplace mantle, I adhered a 5″ x 5/8″ Etcetera Bracket Trim piece to the top of the fireplace that I painted with brown paint.
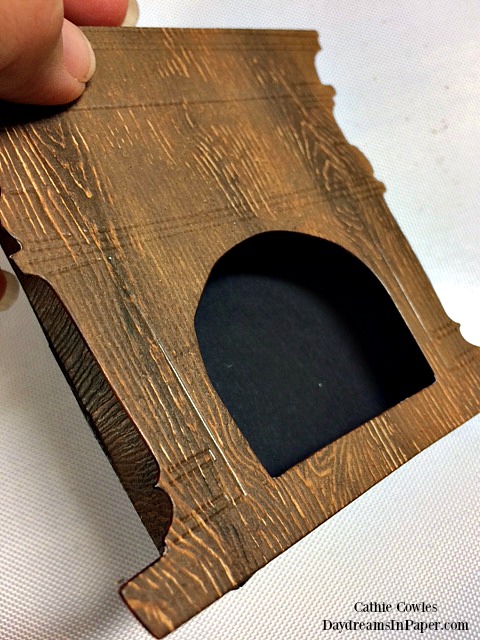
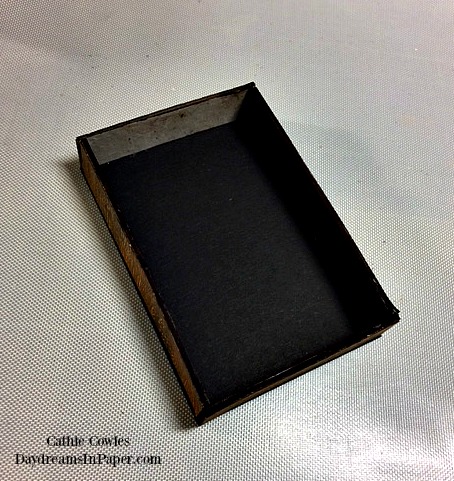
As you can see, this 3D design not only provides space for a mantle but it also creates a wonderful inner hearth to tuck all kinds of fun things. Let your imagination go wild!
I hope you enjoyed seeing how I put together this 3D version of the Fireside Die Set fireplace and that you give it a try. It really is very easy to put together. I’ll be sharing many more projects I created for Tim with the Sizzix Chapter 3 release in the coming months. I hope you’ll join me for all the fun. Thank you so much for stopping by, see you soon!

 |
 |
 |
 |
 |
 |
 |
 |
 |
 |
 |
 |
 |
 |
 |
 |
 |
 |
 |
 |
 |
 |
 |
 |


Such a cool idea to make the fireplace 3-D. Thanks for the tutorial on how you made it.