
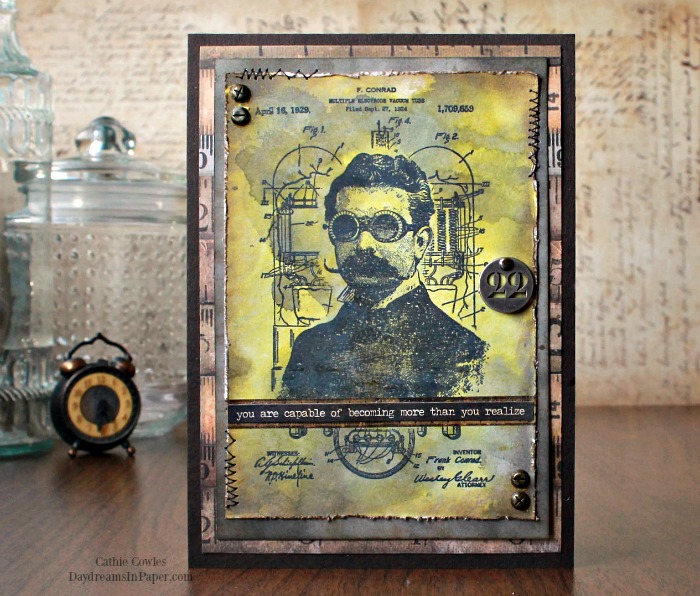
Hi Friends! Today I’m sharing a card I created using two stamps but resulting in a single layer image. There are several ways to accomplish this but I’ve found an easy way that helps take out all the guess work. Tag along with me below to see how I put it all together. Enjoy!
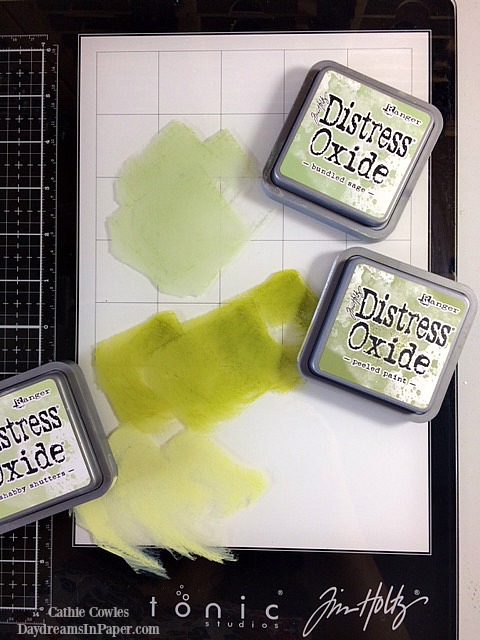
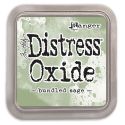
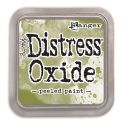
Cut a piece of mixed media cardstock. I start out with a 5×7 piece and cut it down later. Smoosh Bundled Sage, Shabby Shutters and Peeled Paint Distress Oxides onto a glass media mat and spritz the oxides with water. Spritz the mixed media cardstock with water and run it through the water and oxide mixture picking up color. Dry the cardstock with a heat tool. Complete the same process a couple of times or until you are happy with the outcome. Make sure to dry each layer to avoid creating a muddy mess.
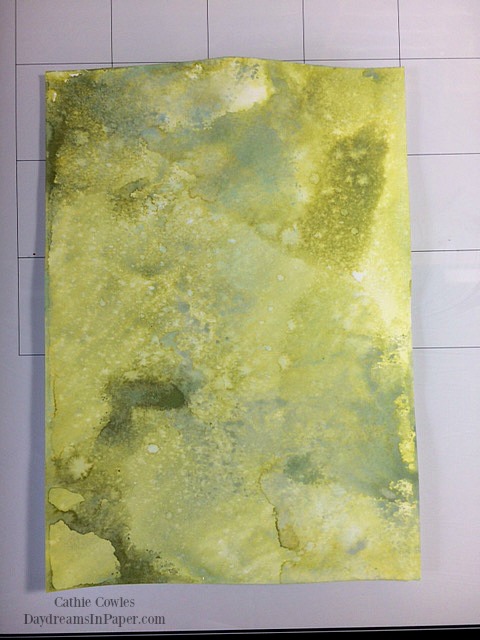
Here are the results of completing the above process. I ran my cardstock through the water and oxide mixture three times.
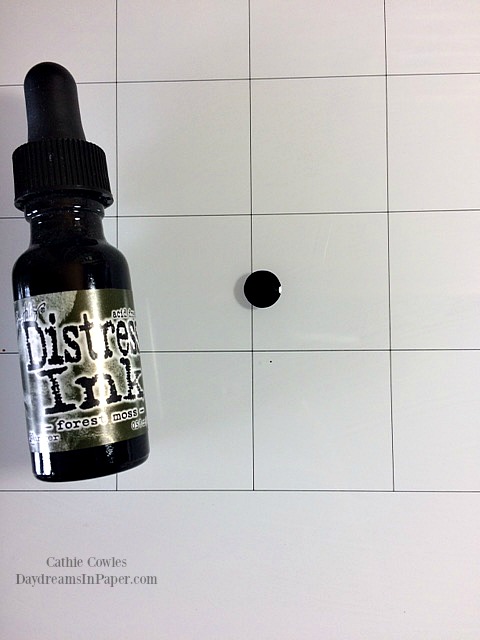
Next, clean the glass media mat and place a small drop of Forest Moss Distress Ink onto the mat.
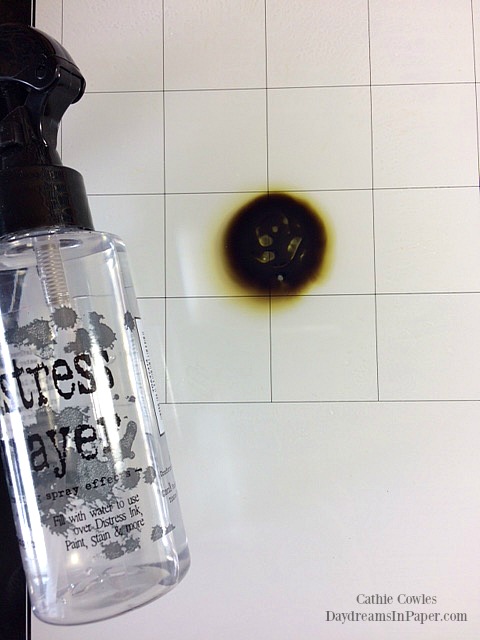
Spritz the Distress Ink with a good amount of water. Smoosh the cardstock created above into the ink and water mixture picking up color where you want the colors to be vibrant and bold.
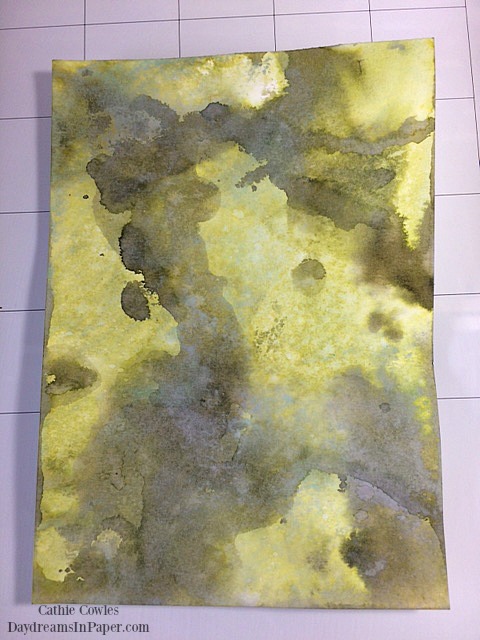
Here are the results of the process completed above. I completed the process twice to get this result. Allow to completely dry.
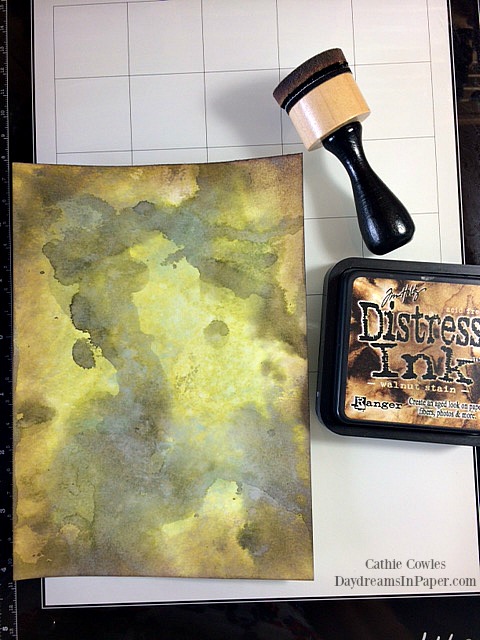
When the cardstock is completely dry, ink the edges with Walnut Stain Distress Ink using a blending tool. This is going to be the background for the one layer image.
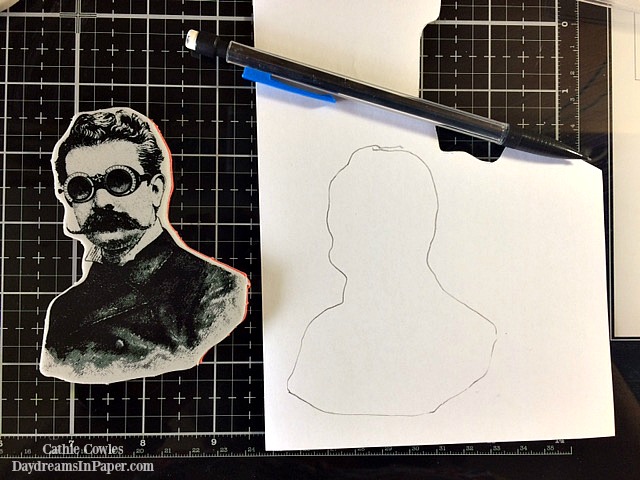
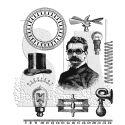
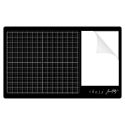
Now to create the mask. Place The Professor stamp onto a piece of masking paper and trace around the edges with a pencil.
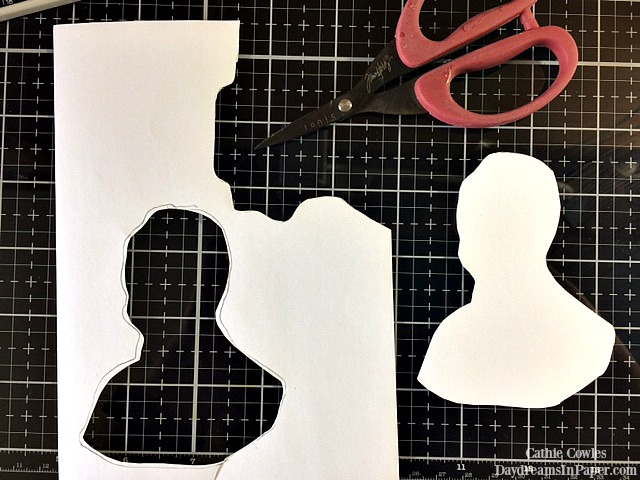
Cut along the inside of the pencil lines. By cutting on the inside of the pencil lines, this allows the image not to create a shadow or halo around it when the mask is removed.

Peel the backing off of mask.
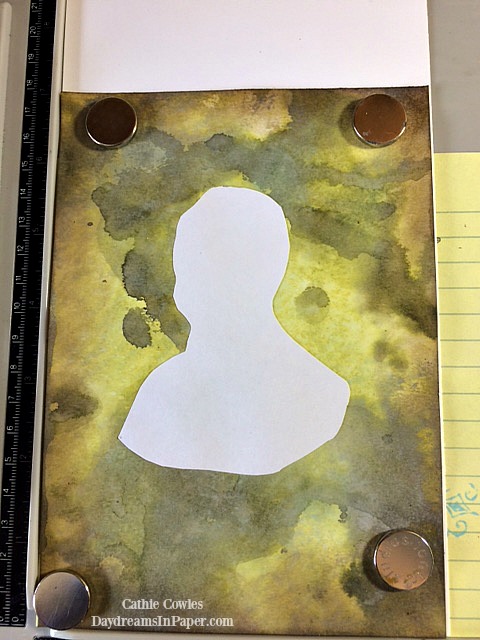
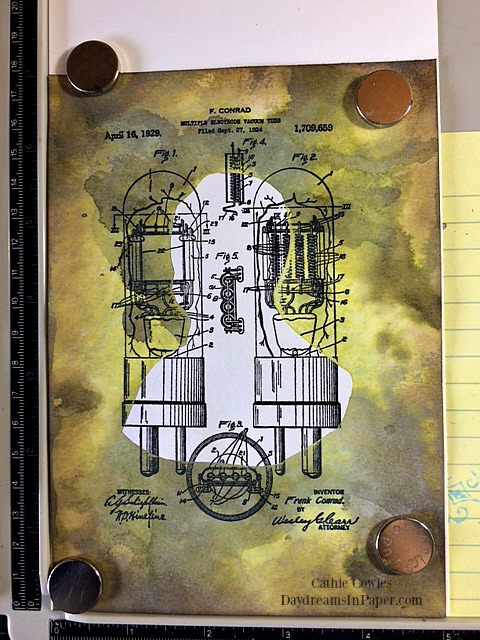
Place the mask in the center of the cardstock piece.
This is where the trick comes in. Place the bottom image (light bulbs) down over the mask, but allow a tiny piece of the mask to be exposed.

Place the stamp you will be stamping on top of the bottom image and line it up with the piece of the mask that is exposed. Remember the right shoulder of the mask is exposed under the light bulb stamp, so line The Professor stamp’s right shoulder over the exposed piece of mask.
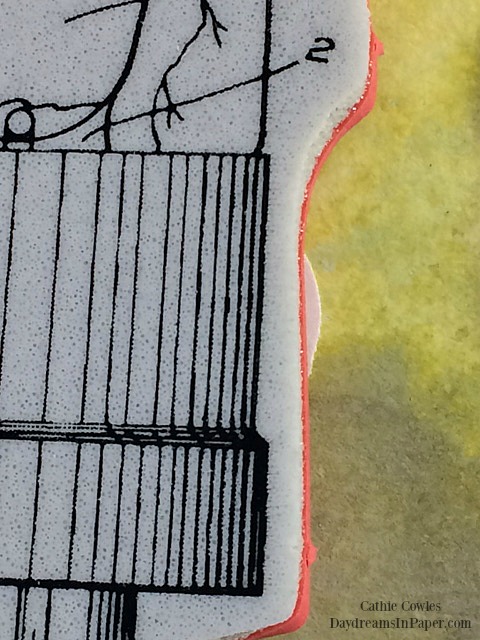
Like this. (This is a side view, but looking from above you will not be able to see the mask because it is lined directly over it.) Now, gently lift up the top stamp (The Professor) so as not to move the bottom stamp (light bulbs). Pick up the bottom stamp with the door of the stamping platform.
Now ink up the stamp and stamp it over the mask.
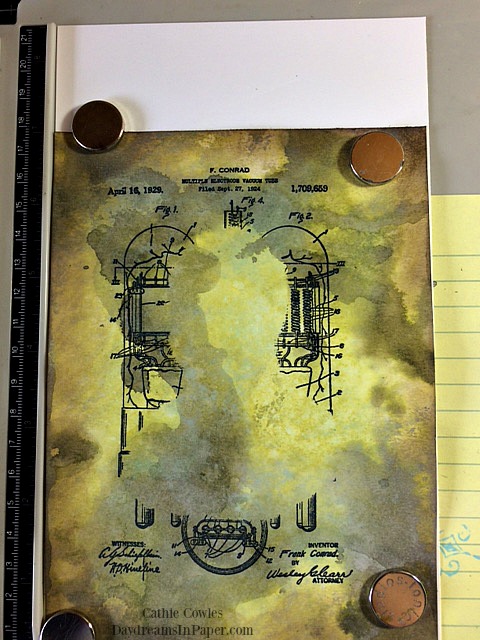
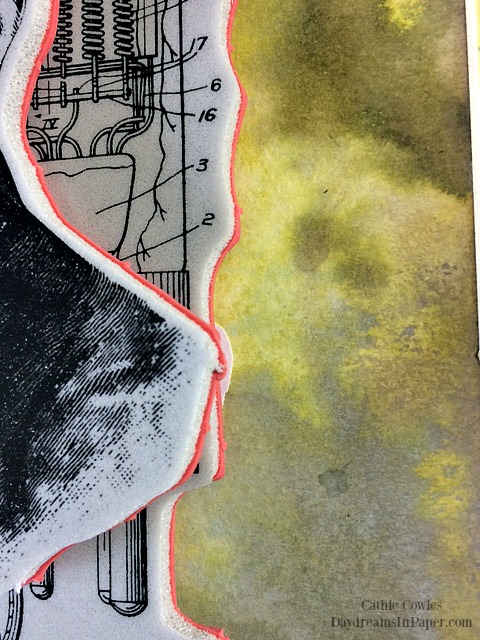
After removing the mask you can see where the image did not stamp. This space is where you will stamp The Professor.
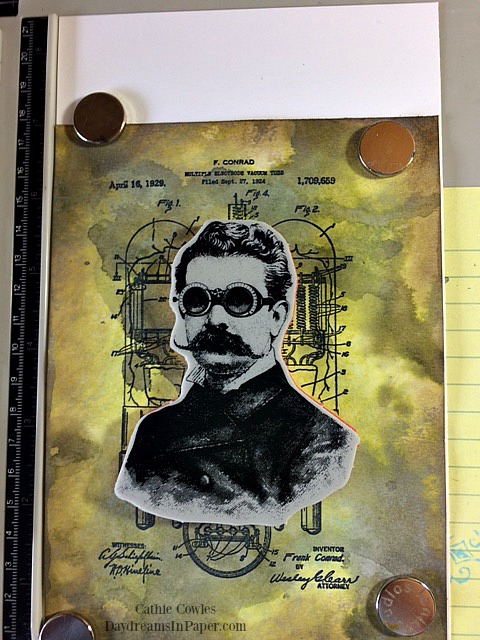
Place The Professor stamp over the blank area left from the mask and use the stamping platform door to pick up the stamp.
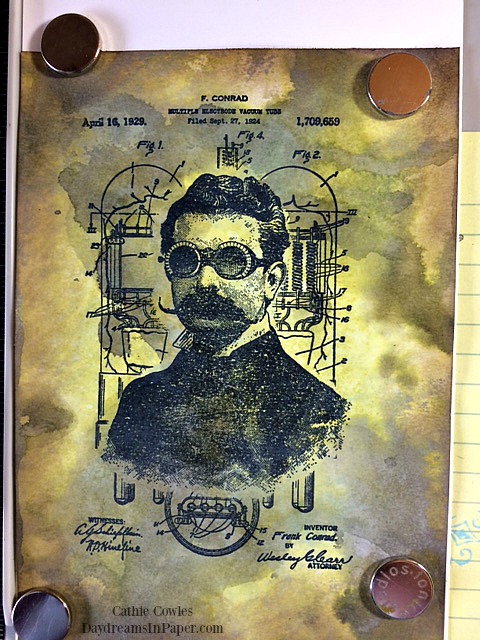
Ink the image and stamp it over the light bulb image where the empty space was left from the mask. Viola, now you have a single layer image that you created using two stamps.
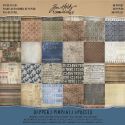
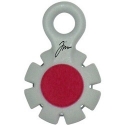
To complete the card, I sewed zig zag lines in a couple of areas using black thread. I added a small talk sticker over a piece of design tape. Next, I adhered a couple of hardware heads in the corners that were colored with Espresso alcohol ink and a number token with a brad to the side of the panel. I layered the focus panel on a couple of pieces of Tim Holtz Dapper cardstock and adhered that to the base of the card cut from Simon Says Stamp Dark Chocolate.
I hope you enjoyed seeing how I created this two stamps – one layer card and that you give this technique a try. Thanks for sticking with to the end. I really appreciate you stopping by! Have a great week!

 |
 |
 |
 |
 |
 |
 |
 |
 |
 |
 |
 |
 |
 |
 |
 |
 |
 |
 |
 |
 |
 |
 |


