
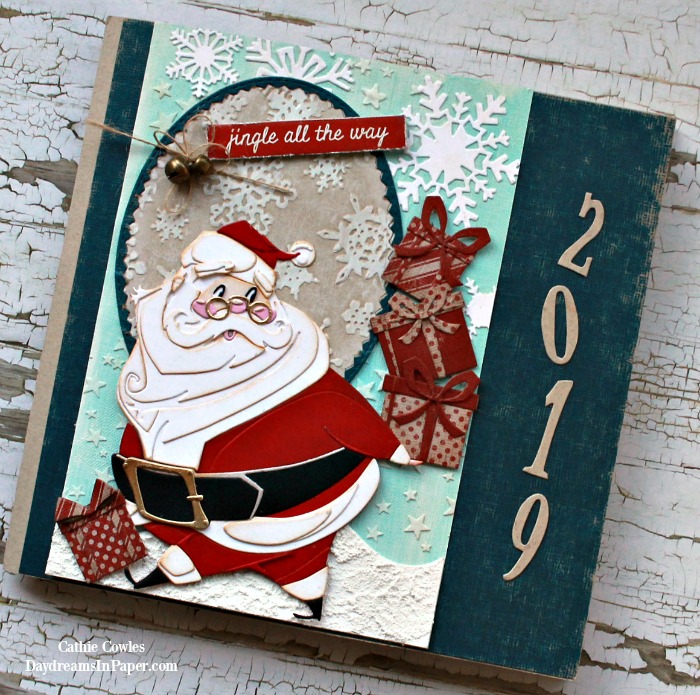
Hi Friends! I’m back to share another of my makes for the Tim Holtz Facebook Live Sizzix Chapter 3 release. I used several of the dies from the release but the main focus of this 8×8 memory book is Jolly St. Nick. Don’t you just love him! He’s so fun to create and after putting the first one together, the second was super fast. I know there are a lot of pieces but, believe me, the fun of putting all those pieces together and then seeing him not only come together but come alive is so rewarding. The tutorial I’m sharing with you today is how to make an 8×8 size mini memory book. I specifically made this size so I could use Tim’s Christmas papers for the backgrounds. This is not a tutorial on how I created the pages but just how to put the book together so you can create one using your own style and ideas. I will share close-up photos of the cover and each page with a list supplies in case you’re interested. Enjoy!
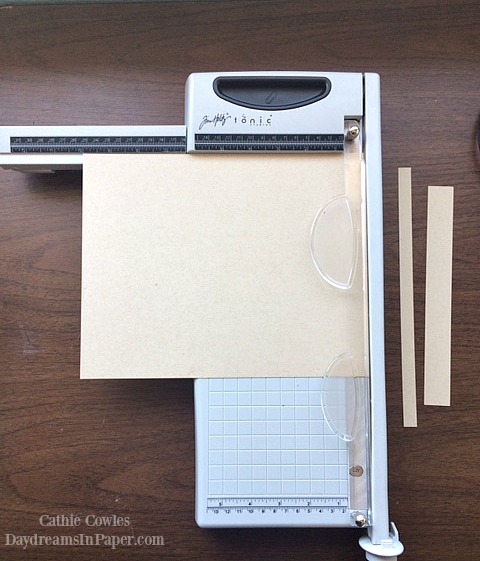
To create the pages for the mini memory book, cut three 8-1/2″ x 11″ sheets of Desert Storm cardstock down to 8″ x 10″.
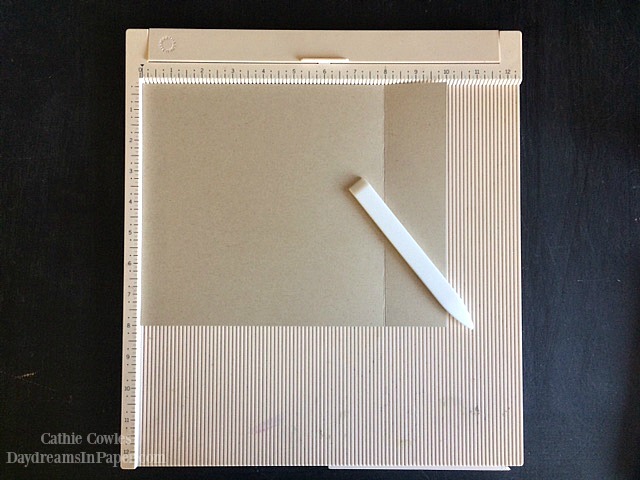
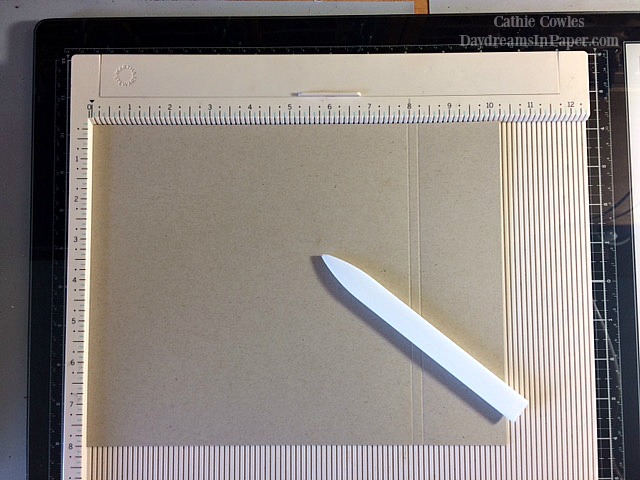
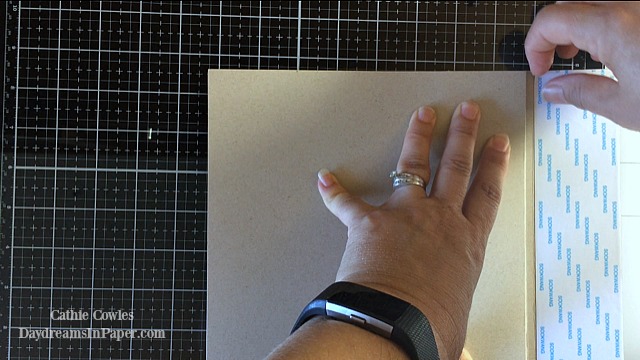
Score each of the three 8″ x 10″ pieces of cardstock at 8″ as shown above and crease with a bone folder or card creaser.
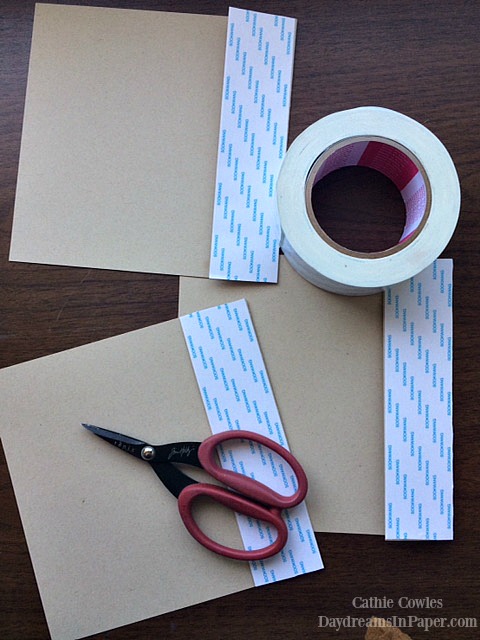
Attach a 2″ wide double-sided piece of Scor-Tape to the flap of each of the three pieces as shown above and set aside. These will be your pages.
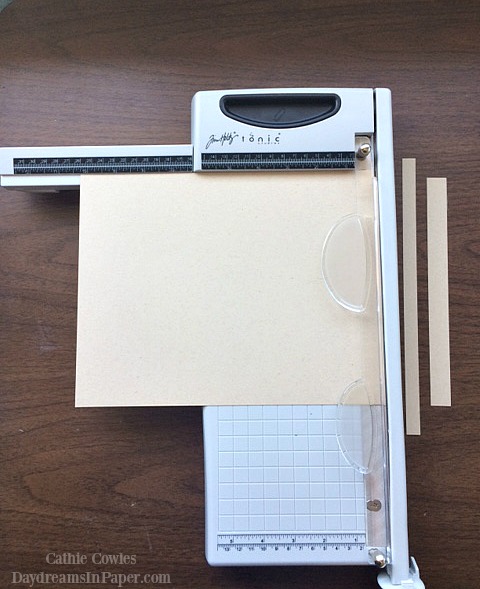
To create the cover, cut one 8-1/2″ x 11″ piece of Desert Storm cardstock down to 8″ x 10-1/4″.
Score this 8″ x 10-1/4″ piece of cardstock at 8″ and 8-1/4″.
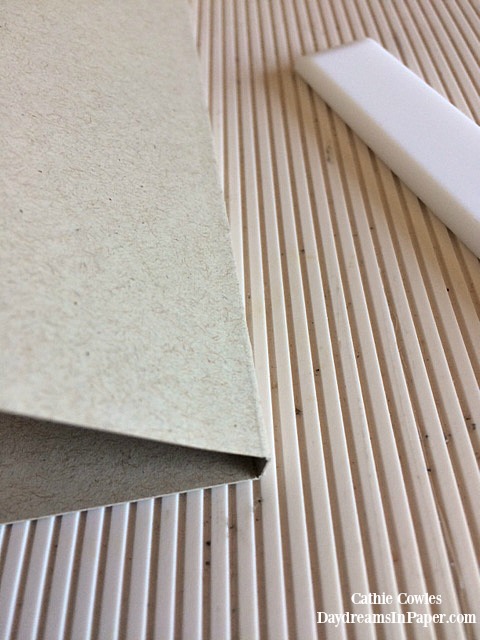
Using the Tonic card creaser, crease both the 8″ and 8-1/4″ scores as shown above.
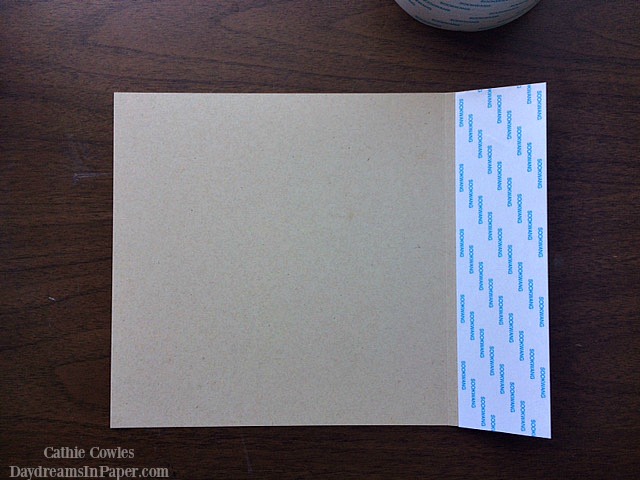
Attach a 2″ double-sided piece of Scor-Tape to the inside flap of the cover from the 8-1/4″ crease to the edge as shown above.
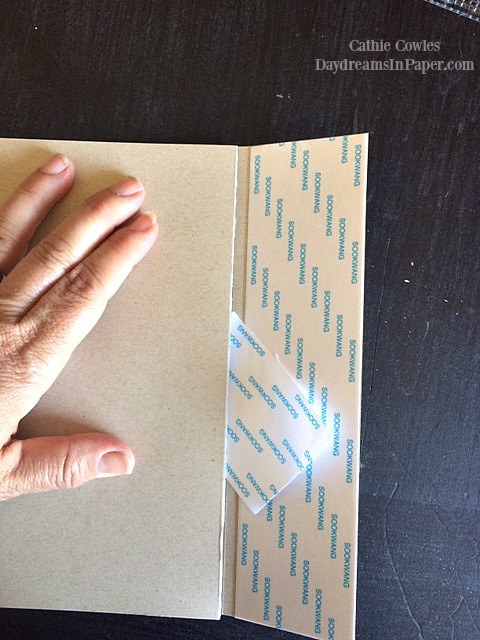
Without removing the protective cover over the tape, take one of the pages and turn the taped side facing down on the cover and align it with the 8″ crease of the cover piece as shown above. While firmly holding the page in place, gently peel the paper from the tape at a downward angle. This will keep everything lined up perfectly.
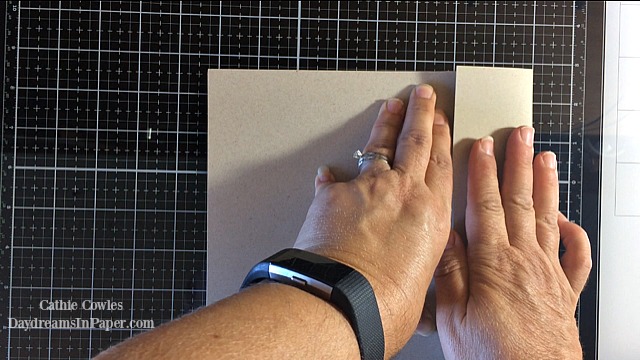
Continue adding each page one on top of the other.
Now that all the pages are adhered to the cover piece, firmly hold the album down with one hand and peel the paper over the tape with the other hand.
Fold the flap over making sure to fold it at the 8-1/4″ crease mark onto the back side of the mini album.
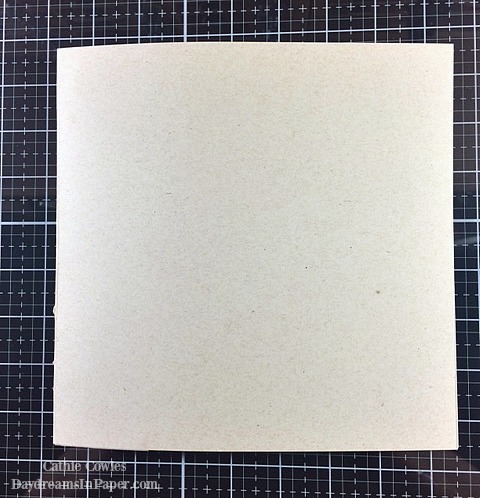
Turn the album over, and it’s ready for you to personalize. This creates a 6 page mini album. I hope this tutorial was helpful and not confusing. If you have any questions, please don’t hesitate to contact me and I’ll help in any way I can.
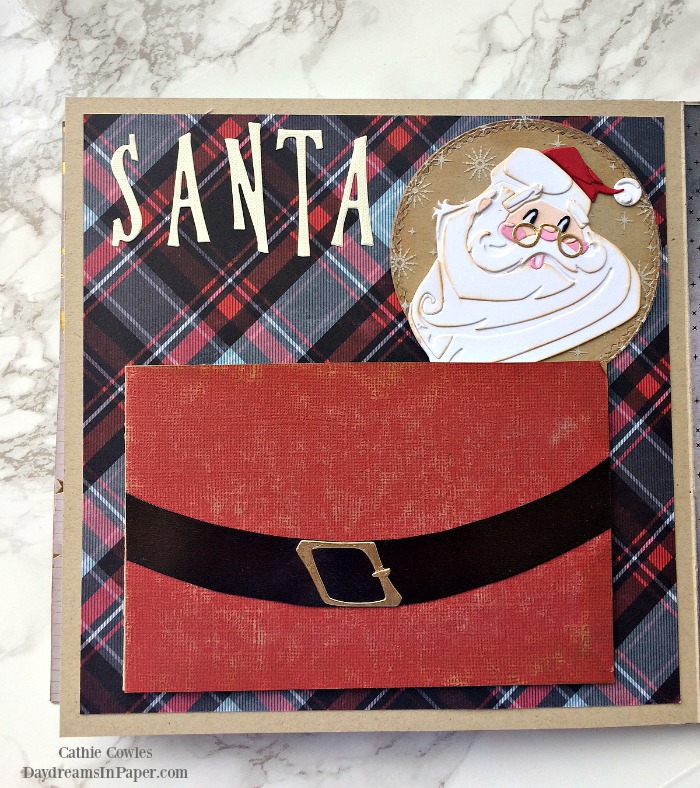
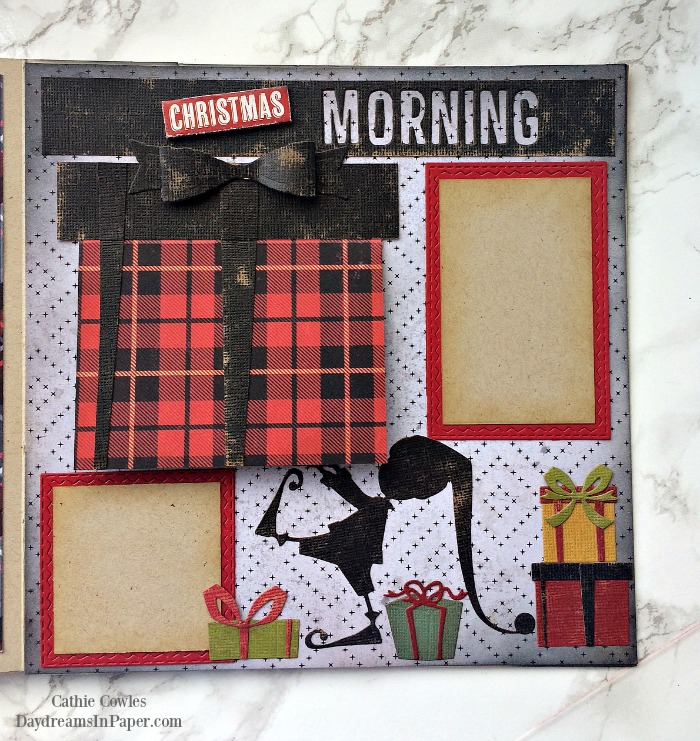
Below I have provided each page of my Jolly St. Nick 8×8 Memory Album along with their supply list.
Cover Supplies:
- Jolly St. Nick
- Santa’s Helper
- Handmade Alpha Bigz Die
- Mini Paper Snowflakes
- Home for the Holidays
- Stitched Ovals
- 8×8 Paper Stash Classic Kraft Stock
- Simon Says Stamp Schoolhouse Red Cardstock
- 8×8 Paper Stash Metallic Jewels Kraft Stock Paperie
- 8×8 Paper Stash Metallic Kraft Stock
- Neenah Solar White 110 lb. Cardstock
- Tiny Bells Findings
- May Arts Natural Twine String
- Grit Paste
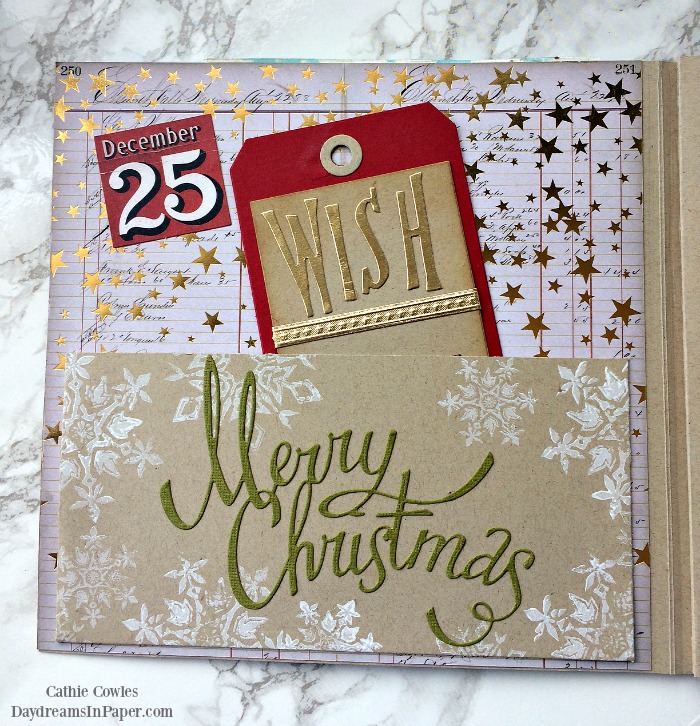
Page 1 Supplies:
- Christmas Ribbon
- Handmade Alpha Bigz Die
- 3D Star Trim
- Stacked Tags Thinlits die
- Mini Weathered Winter
- 8×8 Mini Paper Stash Christmas Paperie
- Simon Says Stamp Schoolhouse Red Cardstock
- Desert Storm Cardstock
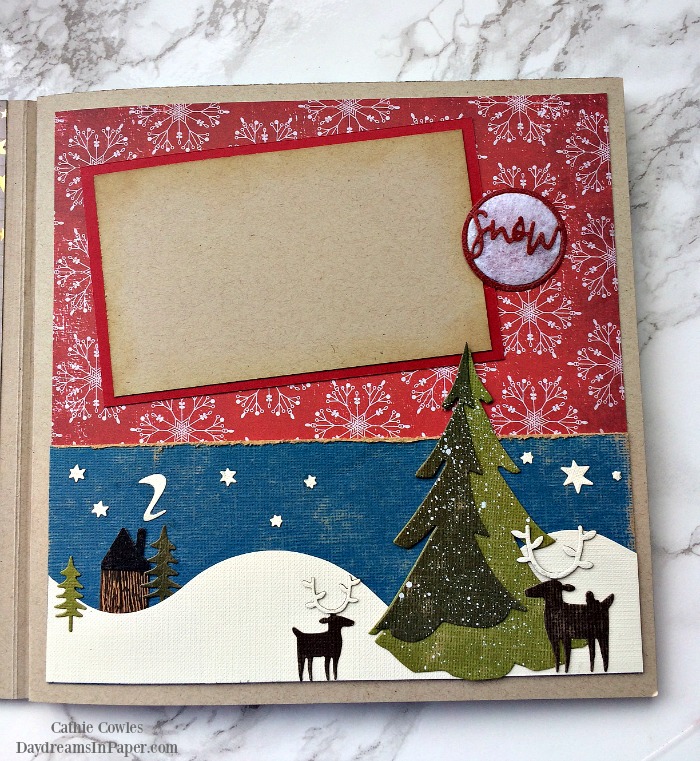
Page 2 Supplies:
- Nordic Winter
- Circle Words, Christmas
- Regions Beyond
- Layered Pine Bigz Die
- Home for the Holidays
- 8×8 Mini Paper Stash Christmas Paperie
- Simon Says Stamp Schoolhouse Red Cardstock
- Desert Storm Cardstock
- 8×8 Paper Stash Classic Kraft Stock
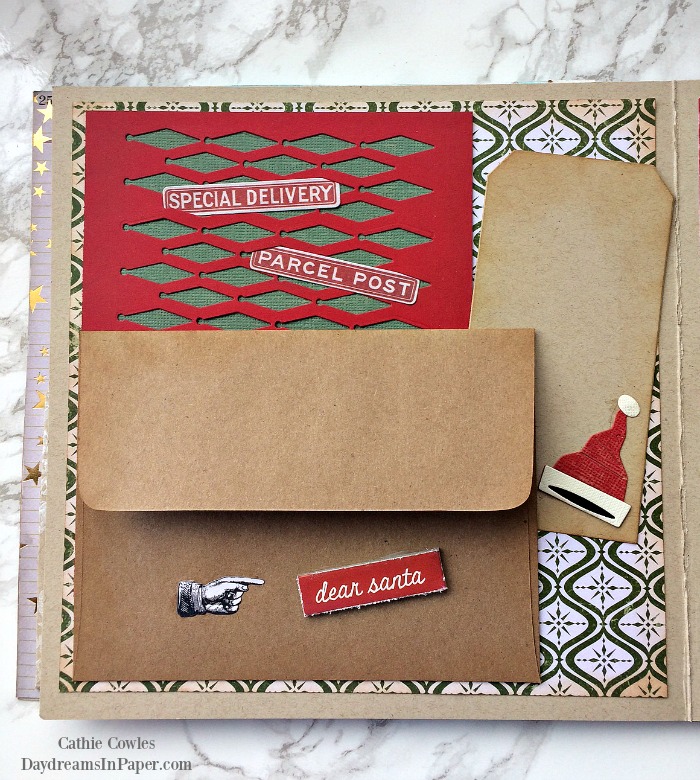
Page 3 Supplies:
- Festive Things
- Festive Repeat
- Stacked Tags Thinlits die
- Simon Says Stamp Schoolhouse Red Cardstock
- Desert Storm Cardstock
- 8×8 Mini Paper Stash Christmas Paperie
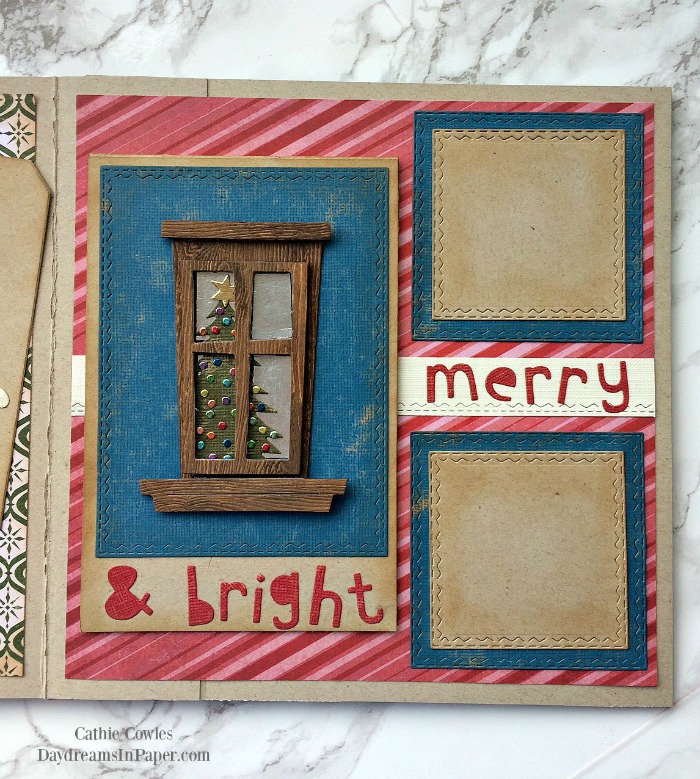
Page 4 Supplies:
- Window Frame Bigz Die
- Festive Things
- Alphanumeric Lower Cutout
- Stitched Squares
- Stitched Rectangles
- 8×8 Paper Stash Classic Kraft Stock
- 8×8 Mini Paper Stash Christmas Paperie
- Desert Storm Cardstock
Page 5 Supplies:
- Jolly St. Nick
- Handmade Alpha Bigz Die
- 8×8 Mini Paper Stash Christmas Paperie
- 8×8 Paper Stash Classic Kraft Stock
- 8×8 Paper Stash Metallic Jewels Kraft Stock Paperie
- Simon Says Stamp Schoolhouse Red Cardstock
- Desert Storm Cardstock
Page 6 Supplies:
- Santa’s Helper
- Festive Things
- Fold Up Bows
- 8×8 Paper Stash Classic Kraft Stock
- Simon Says Stamp Schoolhouse Red Cardstock
- 8×8 Mini Paper Stash Christmas Paperie
- Christmas Quote Chips
I hope you enjoyed seeing how I put this memory album together and that you found the tutorial helpful. Thanks so much for stopping by and have an beautiful day!


This is an absolutely adorable little booklet. My Niece must have one for this Christmas to hold her special memories. Thank you for sharing all the details.