


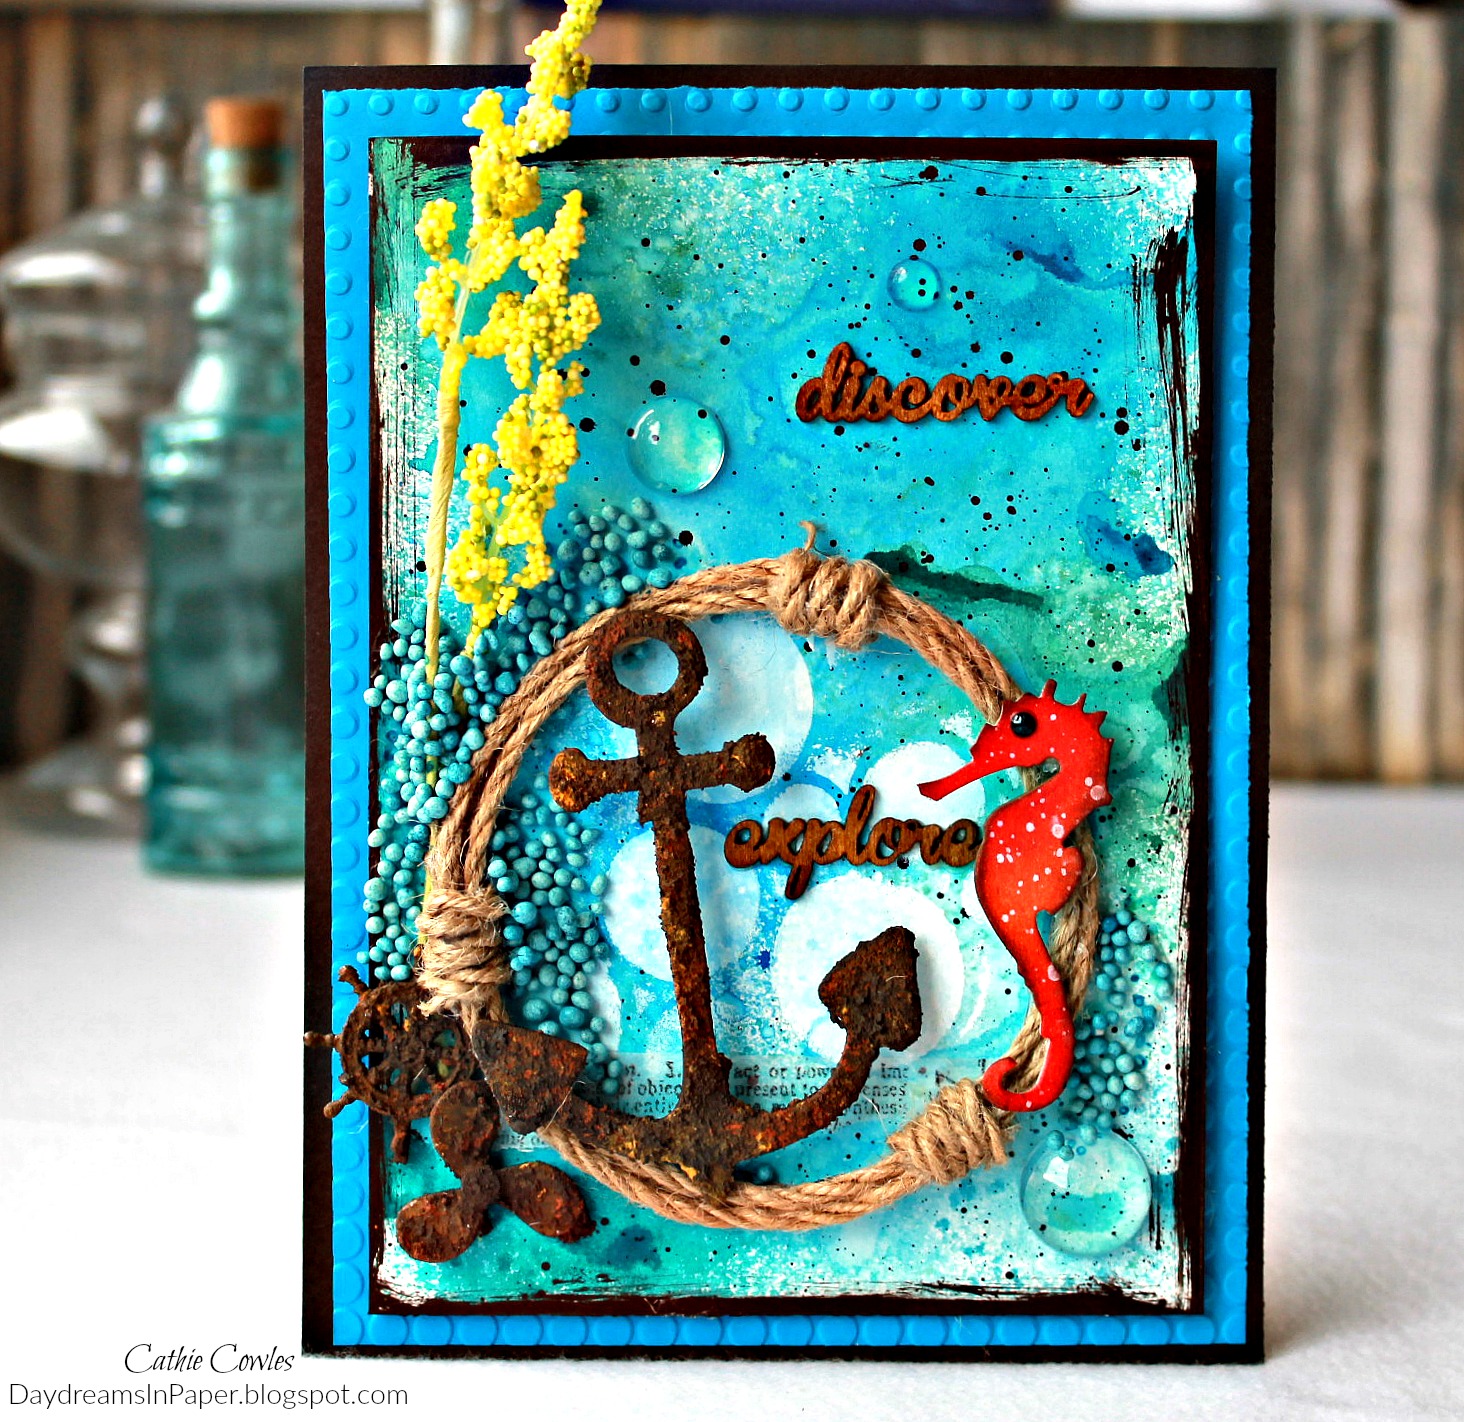
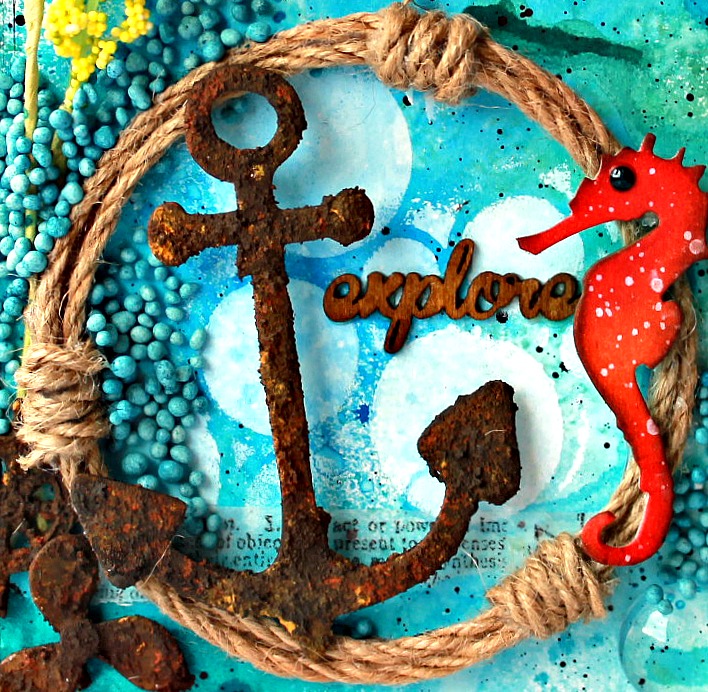
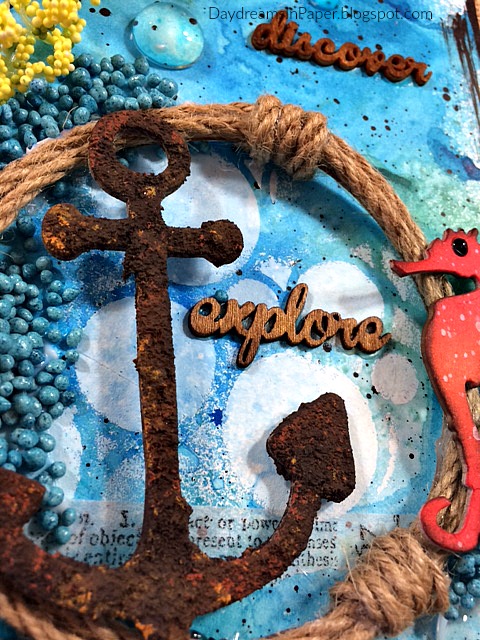
Hi Everyone! I’m so happy you stopped by for the Simon Says Stamp Monday Challenge. Our theme this week is, Nautical. I love everything about the sea and the first thing that came to my mind was a deep sea expedition where rusted treasures were found among the beautiful blue ocean water. I hope you enjoy seeing how I put together my mixed media panel below.
Don’t forget to check out, Simona Rebecchi from Ginny and the Sheep and her amazing project this week. Last week she created an amazing journal page with a beautiful background. Stop by and send her some love. She’s awesome!

Cut a piece of Bristol Watercolor paper to 5″ x 7″ and spray it liberally with water. Next, spray on Salty Ocean, Broken China, Peacock Feathers, Tumbled Glass, Evergreen Bough and Mermaid Lagoon Distress Inks onto the paper in random areas. Dry the inks completely with a heat tool.
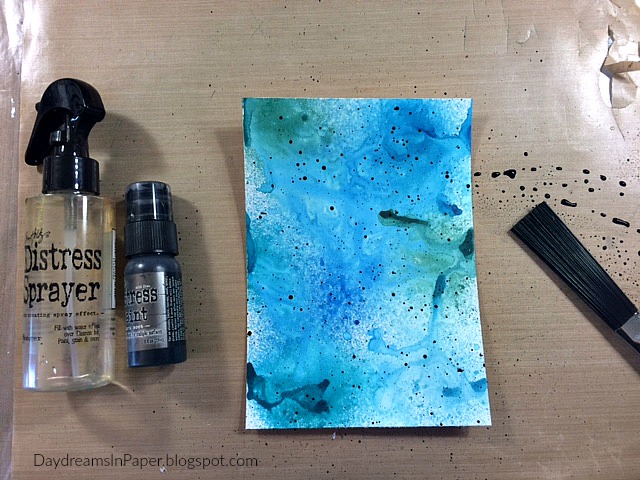
Mix Black Soot Distress Paint and water onto a craft sheet and mix with the Ranger Splatter Brush. Flick the bristles of the splatter brush over the panel to create random spatters. Allow to completely dry.
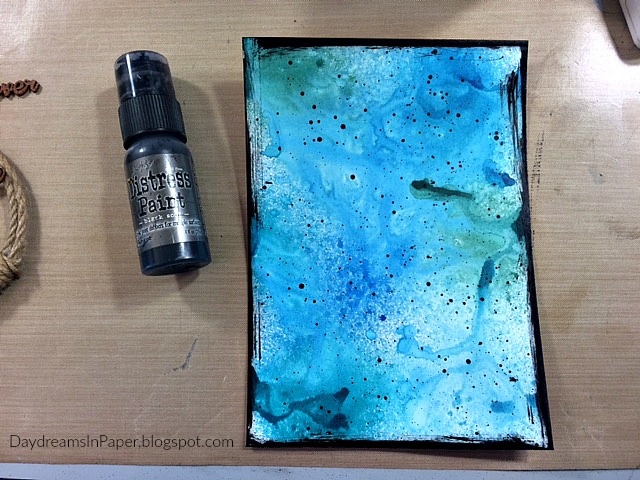
Paint the edges of the panel by running the dauber topped Black Soot Distress Paint along the edges.
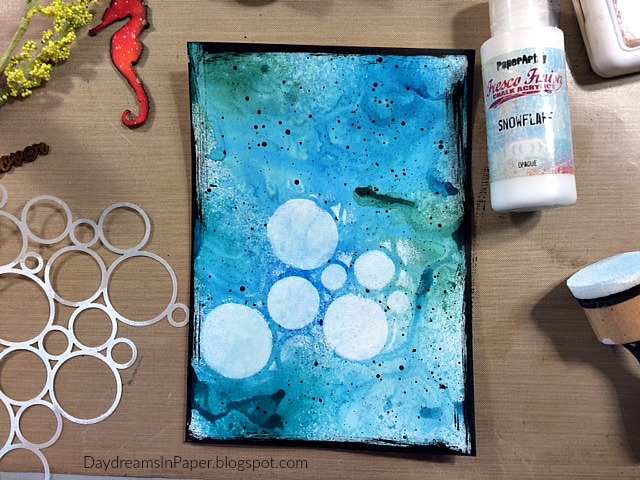
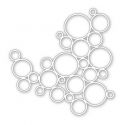
Create some white behind the focal point. Here, I use PaperArtsy Snowflake Fresco Finish paint with a mini ink blending tool and stencil on the Simon Says Stamp Ring Cluster stencil.
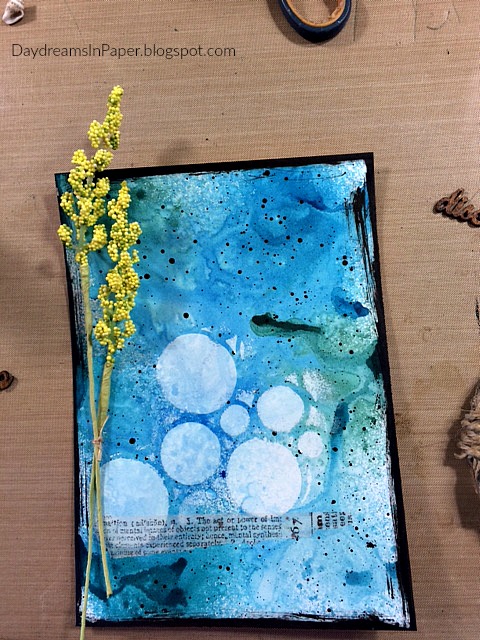
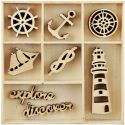
I add some Tim Holtz Tissue Tape and some sea florals and my background is complete.
Below are ways in which I created some of the elements for my panel.

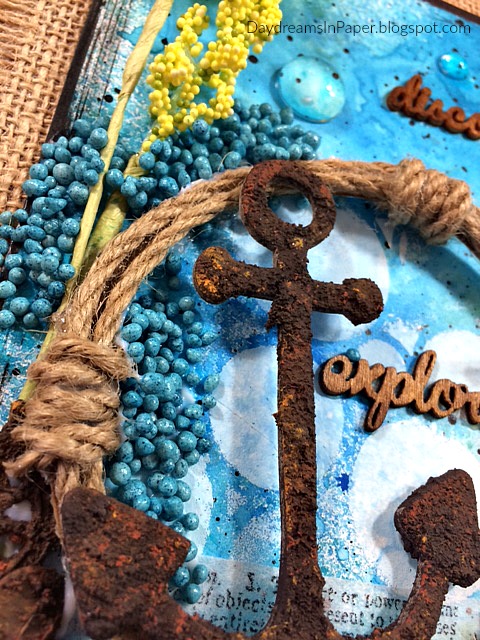
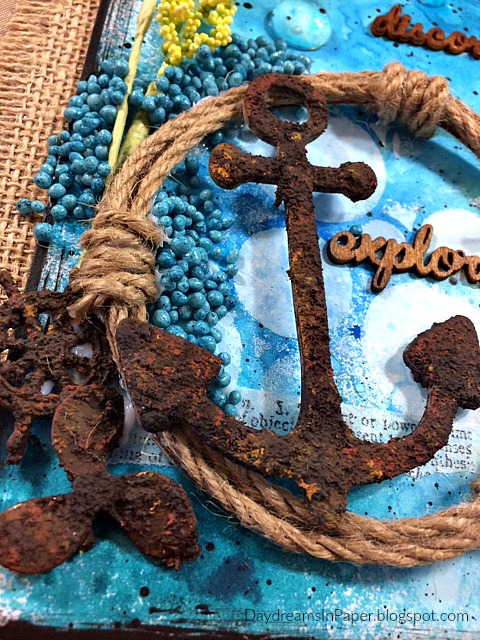
I use Prima Rust Effect Paste to create an old rusty anchor that was cut out of cardboard that I had in my stash. Apply the Brown Rust paste all over the anchor, then dab on the Red Rust paste in a few random areas. Apply the Gold Rust paste very sparingly in random areas and then go over the whole anchor lightly with the Brown Rust paste again. This will result in a perfectly “rusted” piece. I did the same to the ship’s wheel and rudder piece both of which started out as shiny metal pieces.
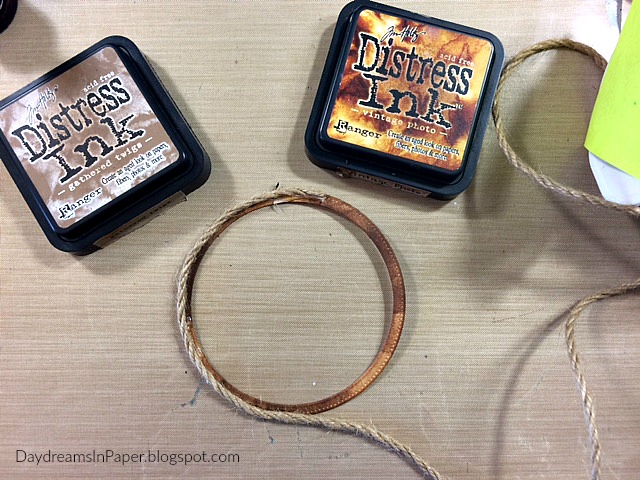
I use circle dies to create a “window” to the sea. I cut the circle out of Neenah Solar White 110 lb. card stock and ink it with Vintage Photo and Gathered Twigs Distress Inks to cover any white that may show through. I then take thick burlap cord and with a hot glue gun adhere it to the outside of the circle.
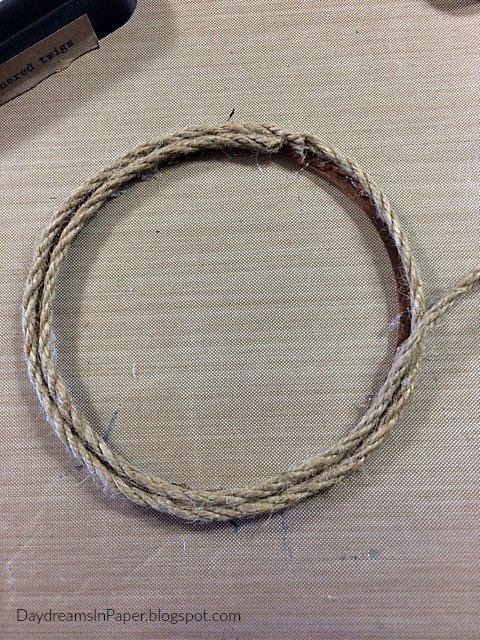
I adhered a second piece of thick burlap cord to the inner portion of the circle.
Here is the completed “window”.
I cut three small pieces of thick burlap cord and wrapp them around the top, and two sides in small sections with hot glue. (I forgot to take a photo of this last step but you an see it here in the closeup.)

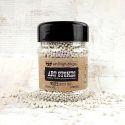
To color the Prima Art Stones, I put a few in a small plastic bowl and spray them with Broken China and Tumbled Glass Distress Ink. I let them completely dry before adhering them to the project.

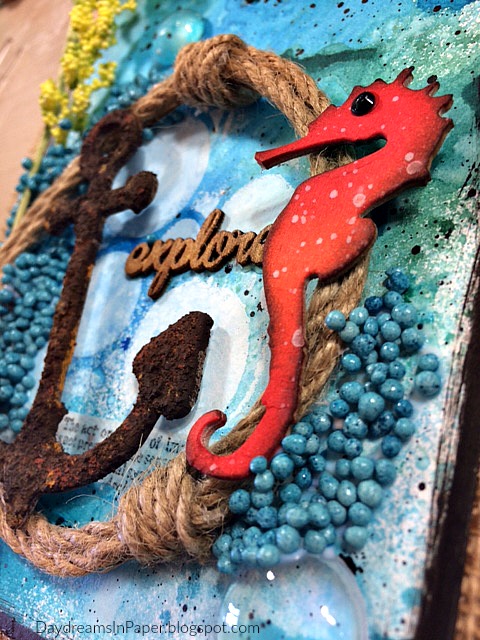
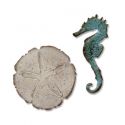
The seahorse is cut from the Tim Holtz Mini Sand & Sea die set out of chipboard and inked with Ripe Persimmon and Festive Berries Distress Inks.
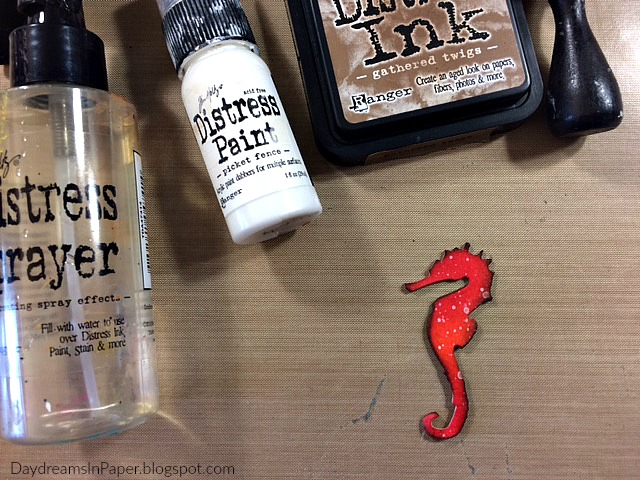
I splattered on some Picket Fence Distress Paint and ink the edges with Gathered Twigs Distress Ink.

To finish the seahorse I add a black enamel dot for the eye that I created out of Ranger Black Enamel Accents.

To finish the project, I add all the elements as you can see in the photo above. I add some Kaisercraft wood pieces, “discover” and “explore”, that have been colored with Gathered Twigs Distress Ink. For the finishing touches, I add Prima Melange Art Pebbles and the colored Prima Art Stones.
I hope you enjoyed seeing the process I used to create my panel for the Nautical challenge and that you join us for this fun challenge by adding your project to Simon Says Stamp’s Monday Challenge Blog for your chance to win a $50 gift voucher to their amazing store.

For more inspiration, tips and tricks for all types of papercraft creations, follow Simon Says Stamp on:


You can find all the following supplies I used to create this project at Simon Says Stamp:

 |
 |
 |
 |
 |
 |
 |
 |
 |
 |
 |
 |
 |
 |
 |
 |
 |
 |
 |
 |
 |
 |
 |
 |
 |
 |


