
I hope you’re all ready for a fun tutorial featuring Mr. Bones and a couple of fun and creepy Halloween backgrounds. If you follow me on Instagram, I put together a story for the first part of my project and intended to have the completed project up on my blog the next day. Unfortunately, someone decided to run a red light and smashed into my car so I was unable to complete anything last week. I tried so hard to get it done. My mind was in a fog and I felt a little anxious for the entire week but I’m okay now. I was blessed to be able to walk away with no injuries, so I’m very thankful. Enough of that, let’s get to the fun stuff!
I’m really enjoying the new Tim Holtz Halloween products this year and so in love with the new stencils and stamps. I hope you like the card I created and enjoy the step-by-step tutorial I put together for this card. Enjoy!
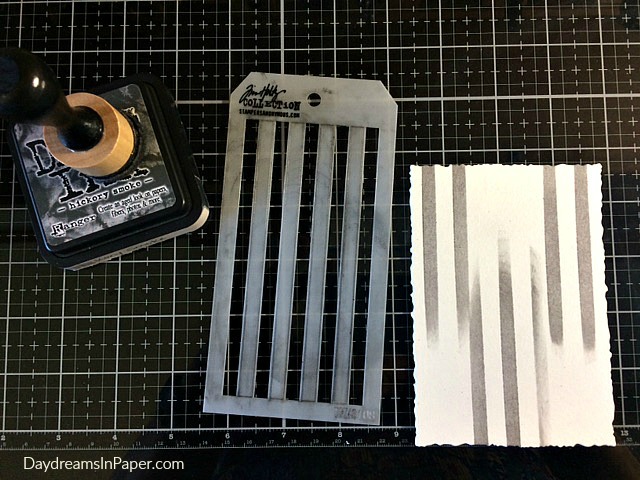
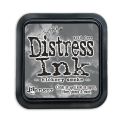
To begin, cut the largest Tim Holtz Stacked Deckle die out of watercolor paper. Apply the first set of stripes with Hickory Smoke Distress Ink using Tim’s Shifter Stripes stencil. Apply the stripes in three random areas.
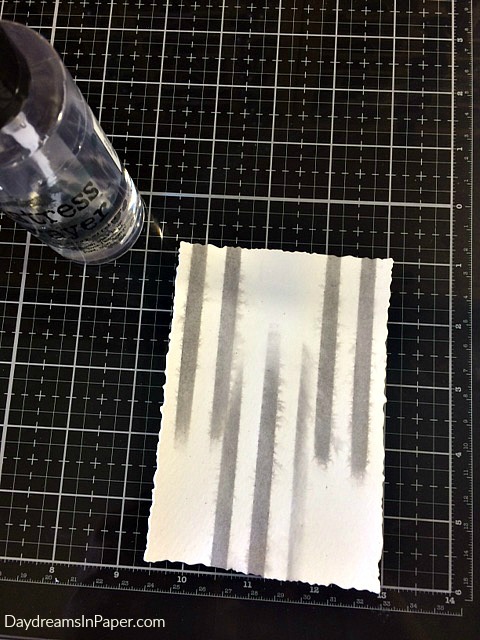
Spritz with water and let the ink run a little. Dry completely with a heat tool before moving on to the next set of stripes.
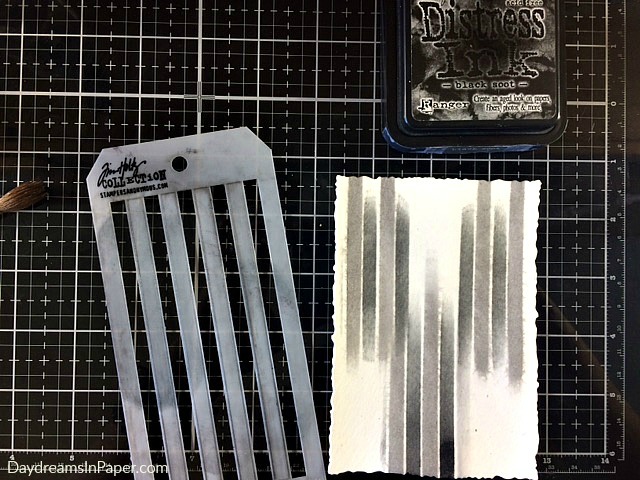
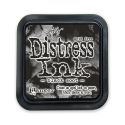
Shift the stencil and ink the next set of stripes using Black Soot Distress Ink.
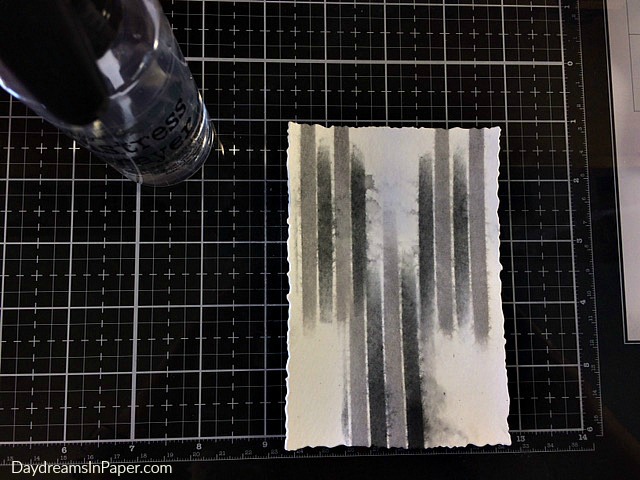
Spritz the ink with water and allow the ink to run a bit. Dry completely with a heat tool before moving on to the next step.
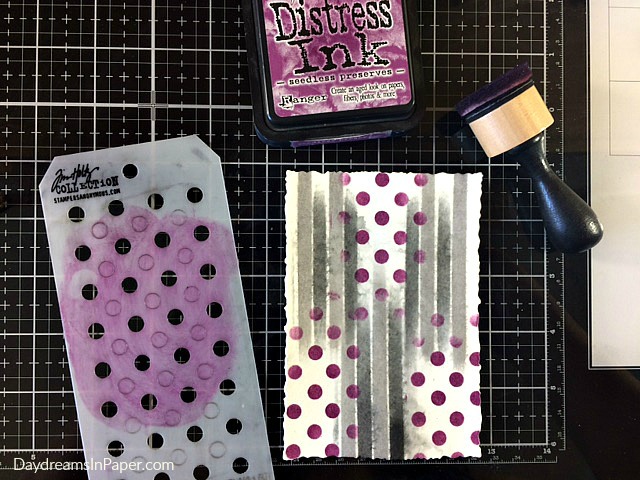
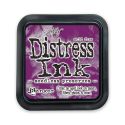
Now that the stripes are completely dry, add Tim’s Shifter Dots stencil in the three empty areas with Seedless Preserves Distress Ink. I used the same color for both sets of dots.
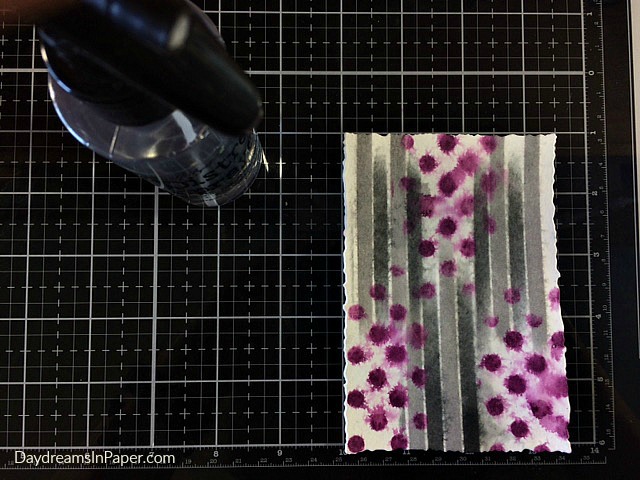
Spritz the dots with water and allow the ink to run. Dry completely with a heat tool.
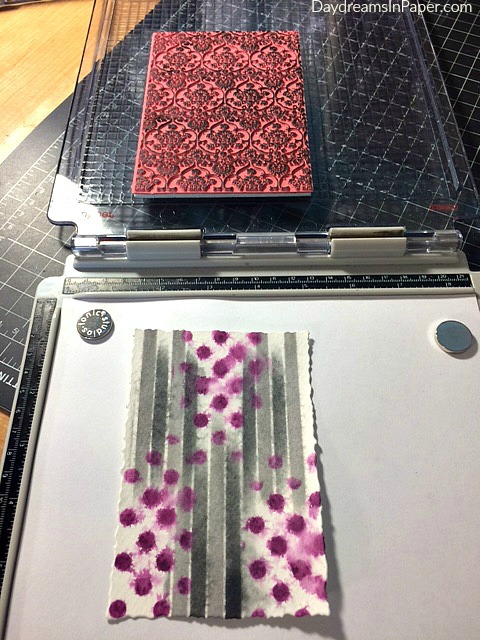
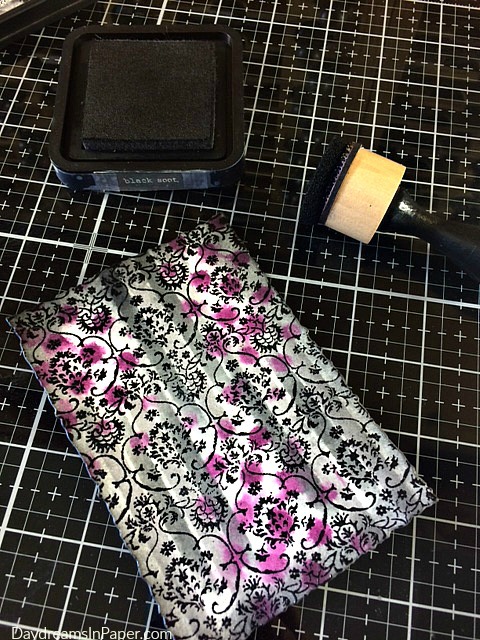
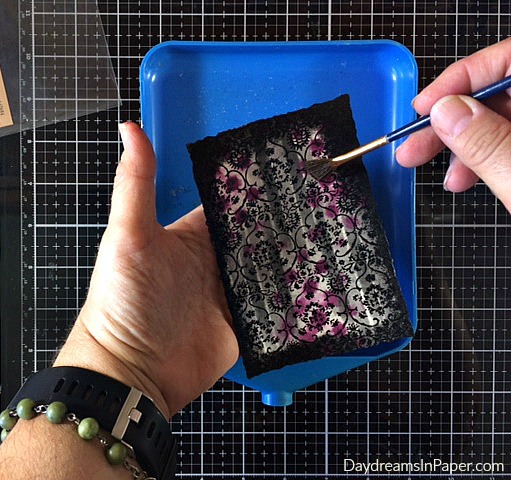
For this next step, add the Ornate background stamp to the entire background. Set a piece of copy paper on the stamp platform so that ink doesn’t get on the base of the platform plate. Use a dot runner to stick the background to the copy paper and place the Ornate stamp on top of the stenciled background. I use the lid to pick up the stamp and ink the stamp with Embossing Distress Ink and close the lid over the background to transfer the image.
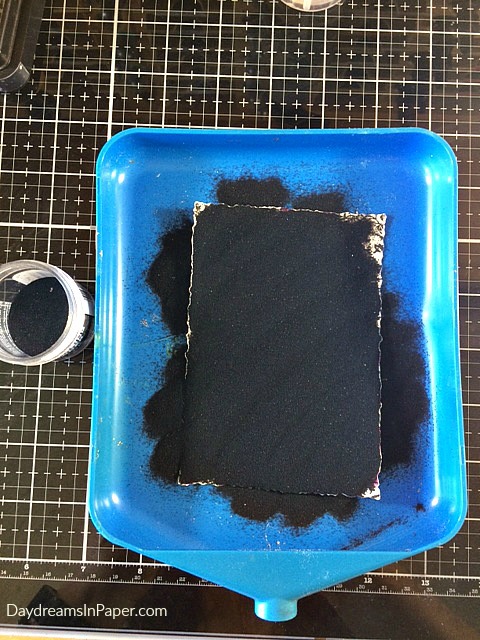
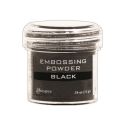
Immediately sprinkle black embossing powder over the entire panel.

Allow the embossing powder to slide off the panel and heat the embossed image with a heat tool.
When the embossing powder is completely cooled, ink the edges with Black Soot Distress Ink.
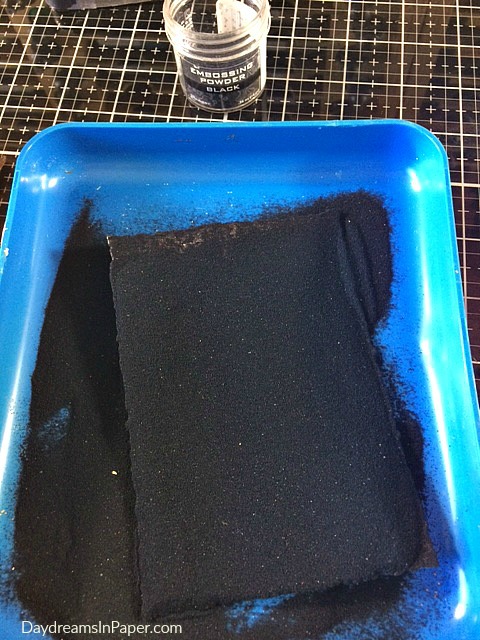
Immediately sprinkle black embossing powder over the entire panel.
Pick up the panel and allow the embossing powder to slide off the background. If there is too much embossing powder on the edges, that can be fixed.
To fix the problem of having too much embossing powder along the edges, gently brush away some of the powder by using a paintbrush. To avoid creating a hard edge, use a flicking motion to brush away the excess powder. Heat the powder with a heat tool.
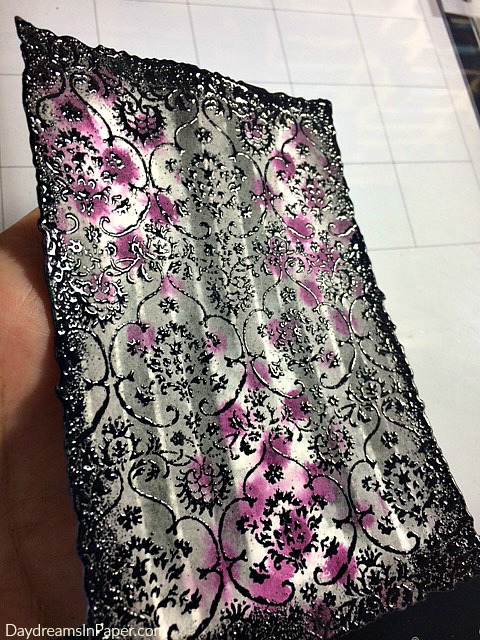
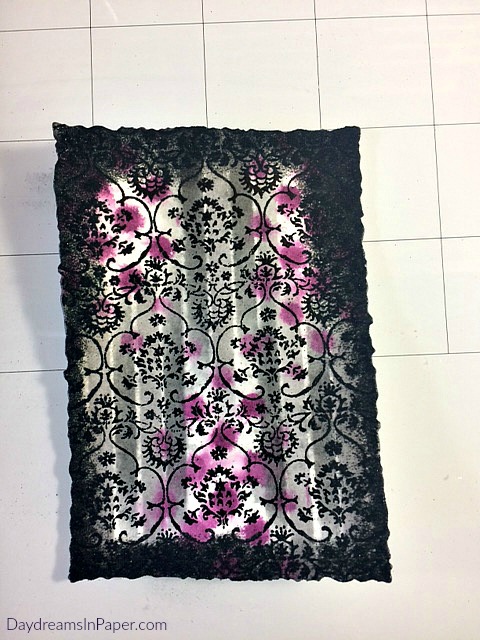
See all the beautiful detail and how the embossing powder gives it shimmer and dimension?
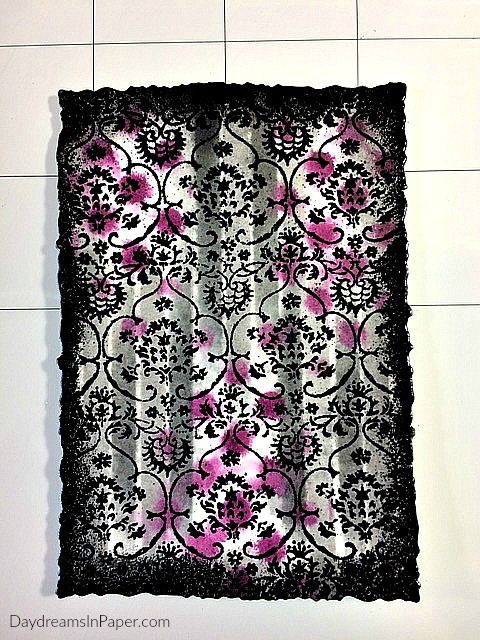
Here is the completed panel where I will showcase Mr. Bones.
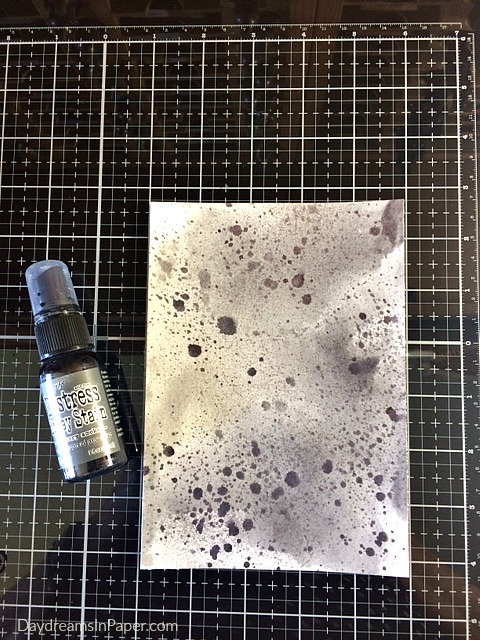
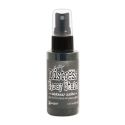
For the next background, cut a 4-3/4″ x 6-3/4″ piece of watercolor paper and spritz it with Hickory Smoke Distress Spray Stain. To achieve the look of the panel above, spritz the panel once, dry it completely with a heat tool, and then complete that same process two more times. It’s important to completely dry the spray after each application to get layers of splotches.
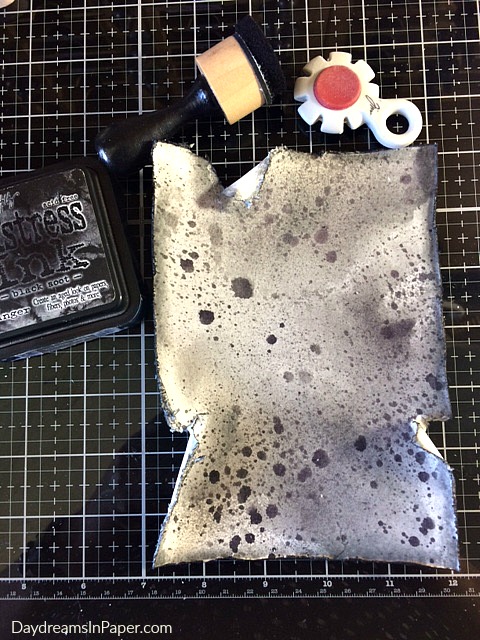
Next, using Tim’s Paper Distresser tool, distress the edges. Tear a few edges and curl the edges inward toward the center of the panel. Next, ink the edges and tears with Black Soot Distress Ink. This completes the second panel for the card.

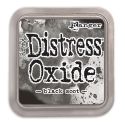
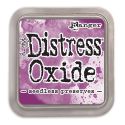
For the third panel, cut a 5-1/2″ x 7″ piece of watercolor paper. Using Tim’s Shifter Diamonds stencil, ink the first set of diamonds with Black Soot Distress Oxide and spritz with water. Dry completely with a heat tool. Next, shift the stencil and ink the second set of diamonds with Seedless Preserves Distress Oxide and spritz water. Dry completely with a heat tool. Lastly, smudge some Hickory Smoke Distress Ink onto a craft mat or glass mat and spritz with water. Run the panel through the ink to further add some smudges and to give the background a smokey look.
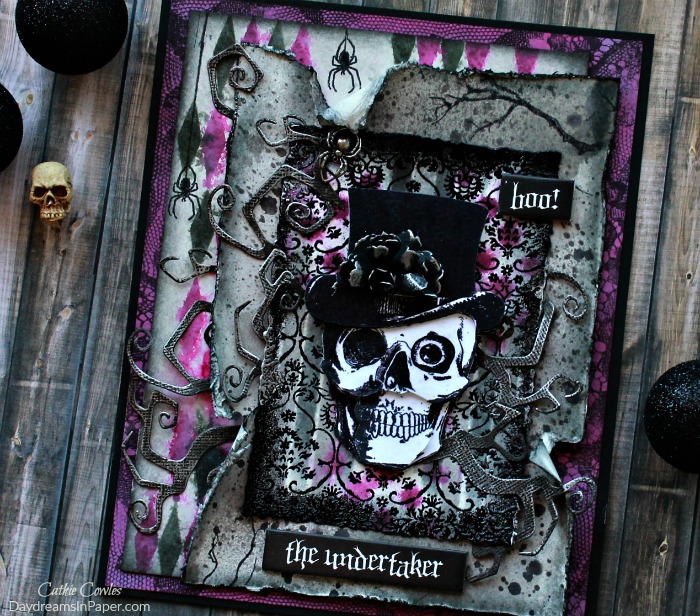
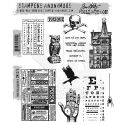
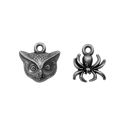
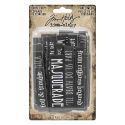
To finish the card, you will need to create one more panel for which I did not create a tutorial. Cut a piece of heavy white cardstock and ink the edges with Seedless Preserves Distress Oxide. Stamp Tim’s Lace background stamp on the edges so they can peek through behind the diamond background. Stamp Mr. Bones three times, cut him out in three pieces following the lines of his skull and piece him back together in layers with 3D foam tape. Just follow whatever lines make sense to you. This will give him spooky dimension. Upon his hat is a creepy flower that was created from the Tiny Tattered Florals die set and cut out of black cardstock and brushed with Prima Metallique Old Silver Wax. Adhere Mr. Bones to the center of the smallest panel and adhere that panel onto a the gray splattered panel. Tuck pieces of Tim’s Twisted Edge die behind Mr. Bones and in between the two panels. The twisted pieces were cut out of black kraft stock cardstock that was sanded and rubbed with the old silver wax. Adhere these two panels onto the diamond background and adhere that to the Seedless Preserves and Lace background. Stamp on some spiders from Tim’s Mini Halloween CMS275 stamp set and some branches from the Mr. Bones CMS345 stamp set. Add a spider from the Idea-ology Halloween Adornments metal pieces, a couple of Halloween Quote Chips and adhere the entire card to a 6-1/4″ x 7-3/4″ piece of Simon Says Stamp Black Cardstock.
I hope you enjoyed seeing how I created this cool and creepy card. Thank you so much for stopping by, I really appreciate it!


 |
 |
 |
 |
 |
 |
 |
 |
 |
 |
 |
 |
 |
 |
 |
 |
 |
 |
 |
 |


Wow. Glad you’re ok and THANKS for the tutorial.