
Hi Everyone! Are you ready for another fun challenge on the Simon Says Stamp Monday Challenge. Our theme this week is, It’s A Dog’s Life. If you have a dog, you know what it’s like to come home to their wagging tail and smiling little face. This scene was created with that in mind. It’s a Christmas Greeting that’s sure to bring a warmth to your heart and a smile to your face! I’ve created three tutorials for you this week. One is the woodgrain door that I created using the Tim Holtz Window & Window Box die set, a “stained glass” window insert created out of vellum and Distress Oxide Ink and a dimensional Christmas Tree all decorated for Christmas. I hope you enjoy what I’ve put together for you. Enjoy!
Don’t forget to check out our guest designer, Wanda Hentges, from Art By Wanda. Last week, Wendy created a beautiful journal page with amazing colors. Stop by and send her some love!

![]()

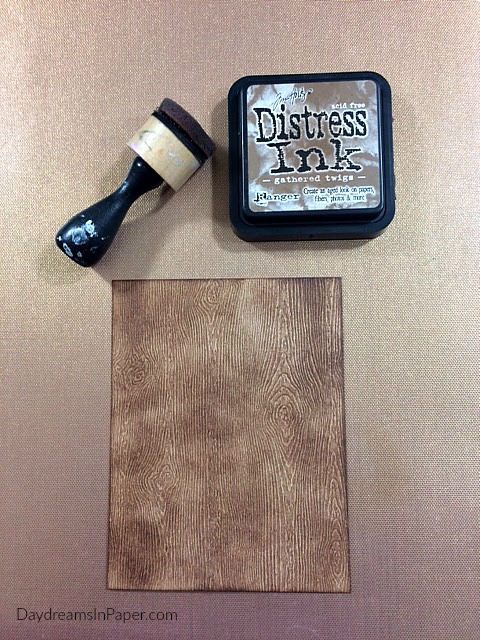
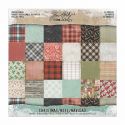
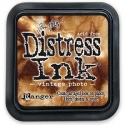
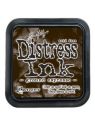
Ink a piece of Tim Holtz Woodgrain paper with Gathered Twigs Distress Ink.
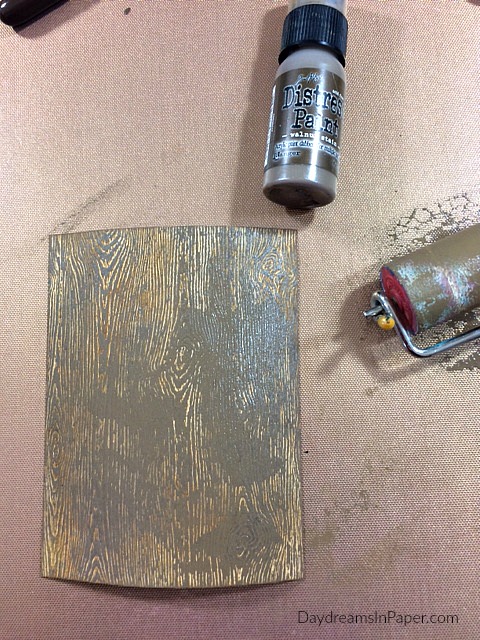
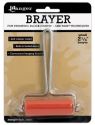
Paint over the woodgrain paper with Walnut Stain Distress Paint using a brayer.

Gently swipe over the surface with a baby wipe.
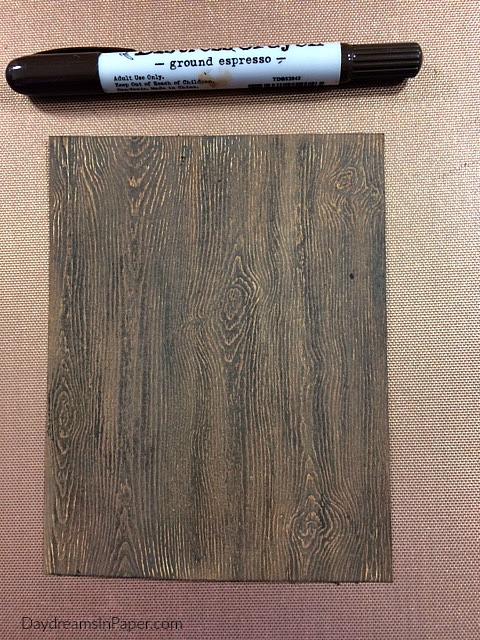
White the cardstock is still wet, add Ground Espresso Distress Crayon pigment by gently coloring over the surface with the crayon. Gently rub the pigment into the pattern with your fingertip. Wait to cut out your window from this woodgrain paper piece after it is completely dry. (You will need two of these panels to create the woodgrain door.)
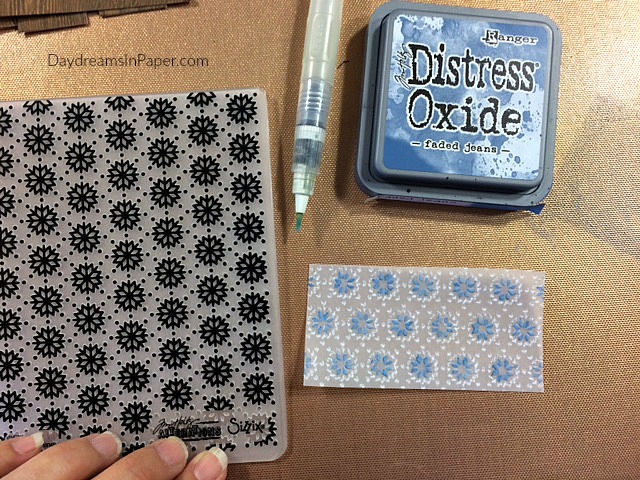
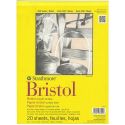
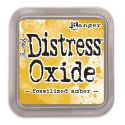
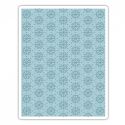
To create the “stained glass” window piece, emboss a small piece of vellum with any embossing folder that resembles a stained glass window pattern. I used the Tim Holtz Snowflakes 3 embossing folder. Color the pattern with Distress Oxide Ink. Rub ink pad onto craft mat and pick up the ink with a water brush. You don’t want to use too much water to apply the oxide, so use very, very light pressure when using the water brush as you pick up the ink from the mat.
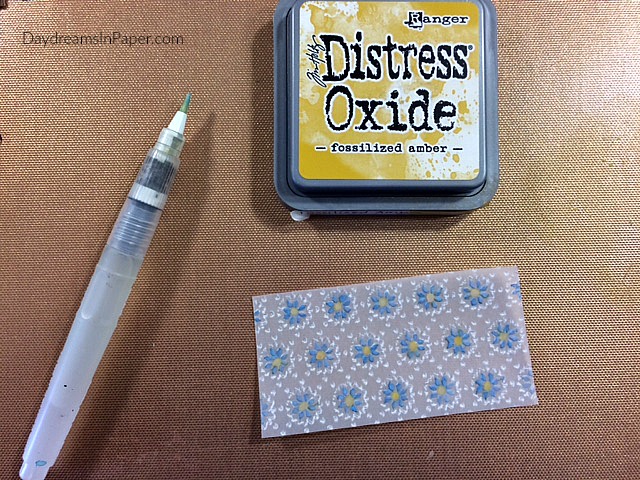
Continue to color the vellum until you’re happy with the way it looks.
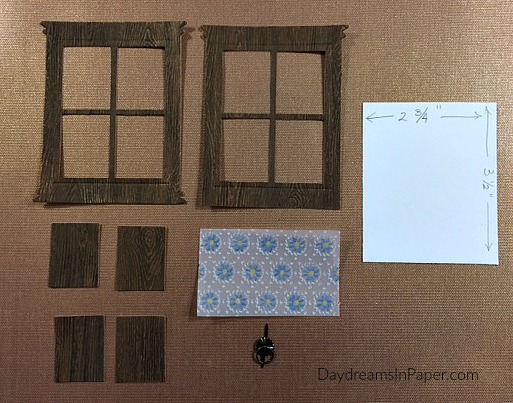
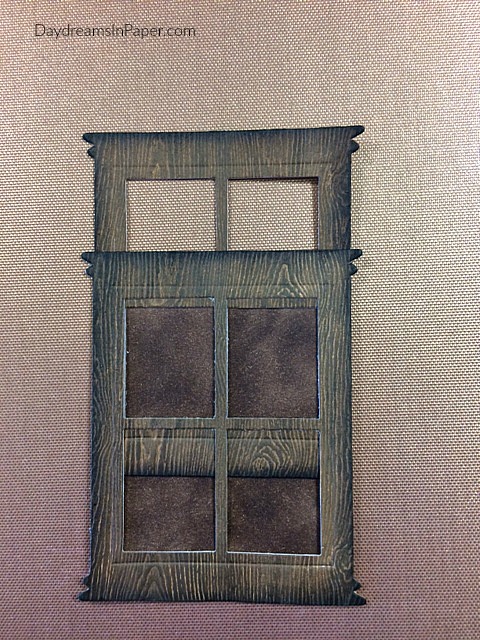
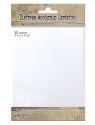
Here are all the pieces you will need to create the door. The white piece of cardstock contains the measurements of the piece. You will need to color this piece brown because it will be placed behind the wood panels of the door and you don’t want white peeking through as the panels will be popped up with 3D foam tape. You can also use brown cardstock if you’d like instead.
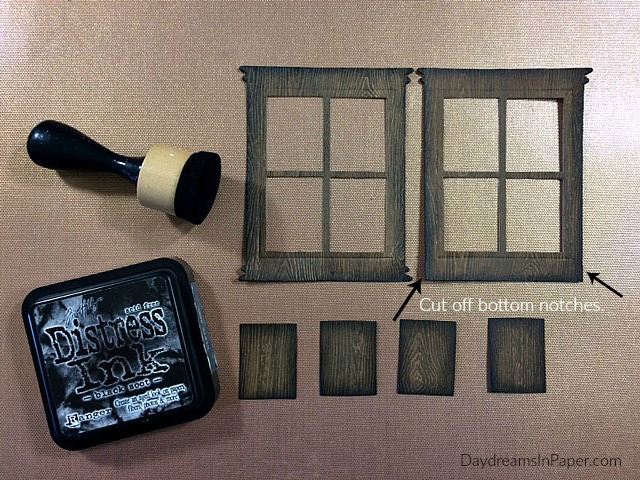
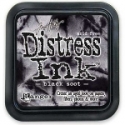
Ink the edges of each woodgrain piece with Black Soot Distress Ink. (Also, notice you will need to cut off the bottom notches of one of the window pane pieces as shown above.)
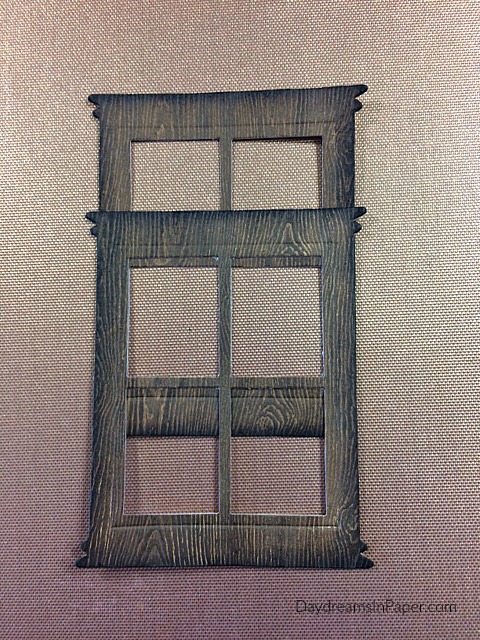
Adhere the window pane panel with both notches on top of the window pane panel with bottom notches that have been removed as shown above.
Place the brown colored cardstock or piece of brown cardstock behind the bottom window panes.

Adhere the “stained glass” piece behind the top window pane panels.
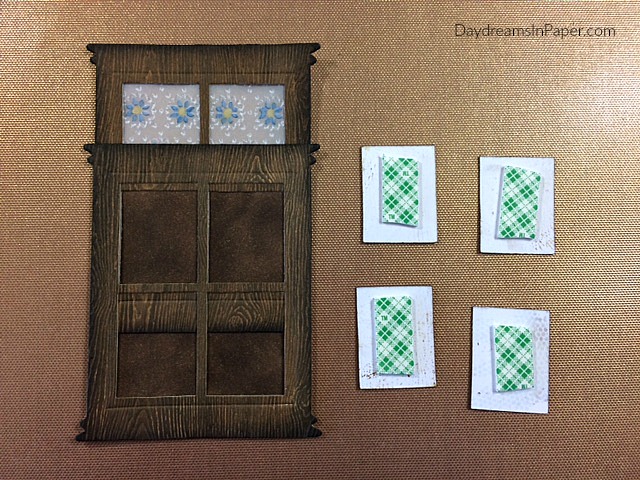
Place a piece of 3D foam tape on the back side of each woodgrain panel cutout left over from when you cut out the window pieces.
Adhere the panels into each of the window pane areas as shown above.
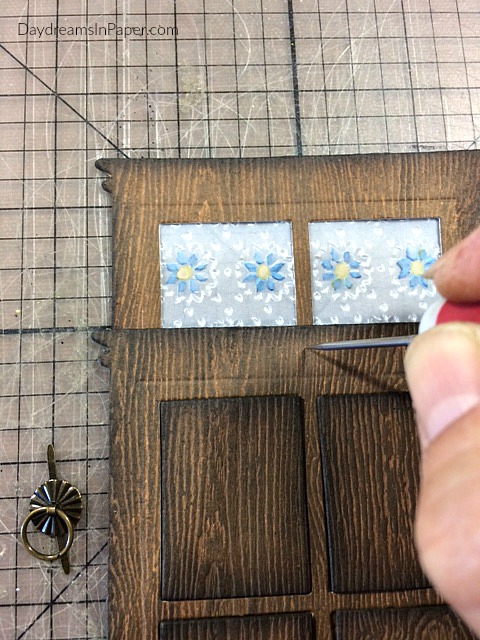
Using the Tonic Studios Craft Pick Needle create a hole for the Tim Holtz Ring Fastener that will be the door knocker.
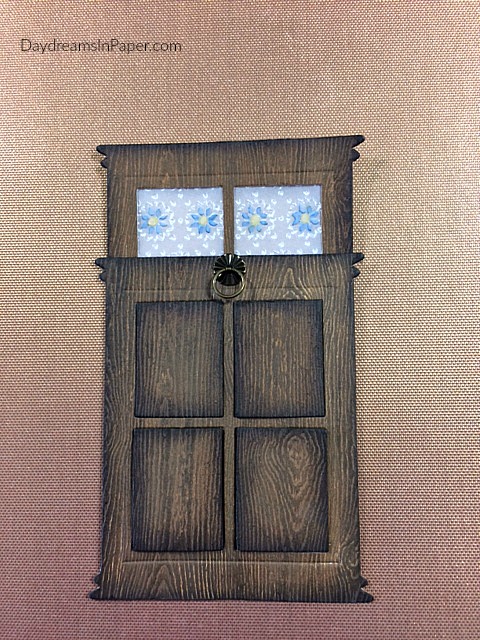
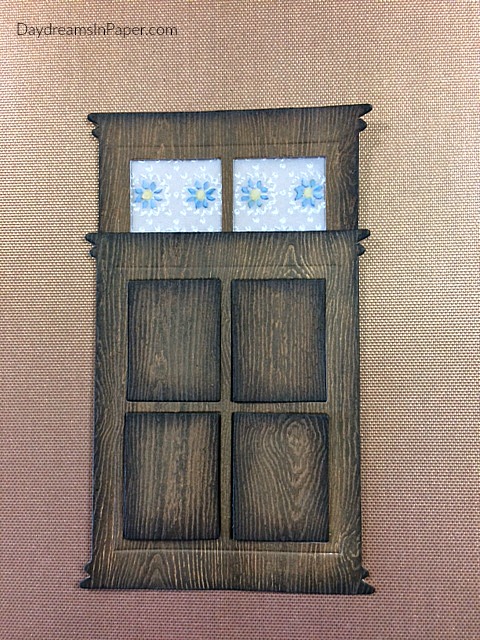
Your door should look like this.
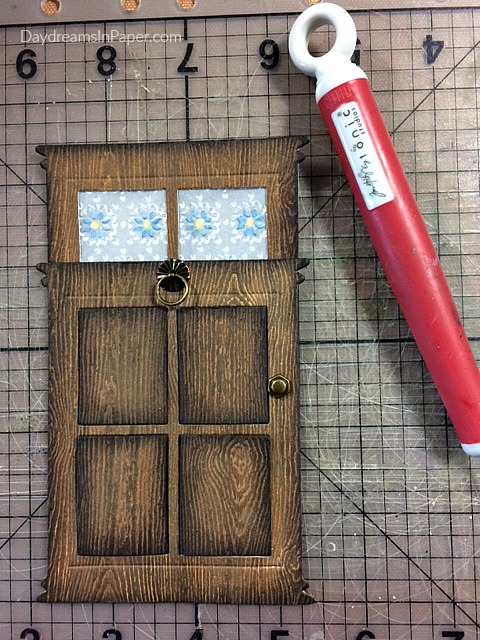
Add a Tim Holtz Hex Fastener to the side of the top window panes to create a “door handle” using the same process as above. This completes the door.
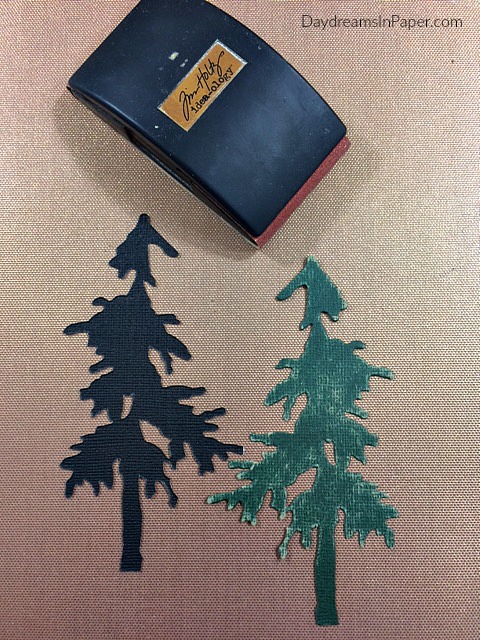
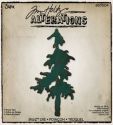
To create the dimensional pine tree, cut two Tim Holtz Pine Trees.
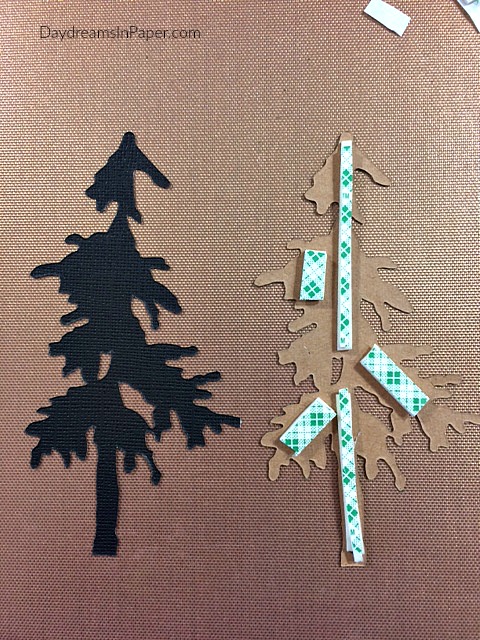
Add 3D foam tape to the pine tree that will be placed on top.
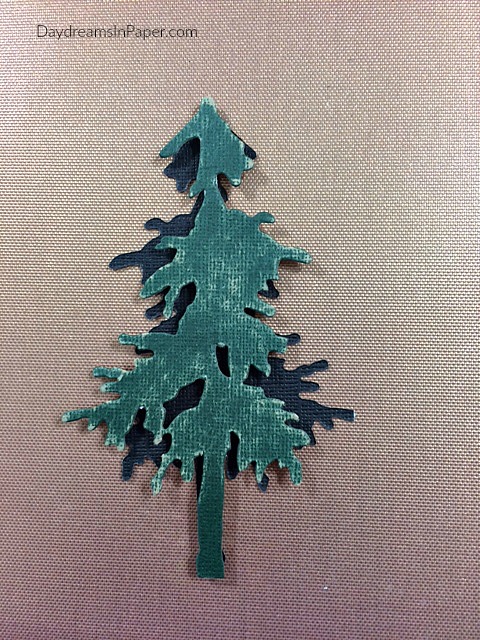
Adhere the top tree to the back side of the bottom tree. (Notice by adhering the top pine tree to the back side of the bottom pine tree, a fuller tree is created.)
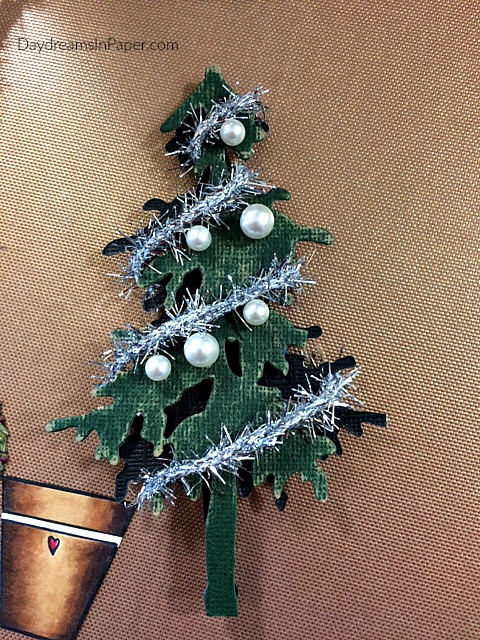
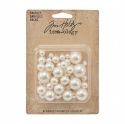
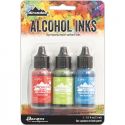
Wrap Tim Holtz Tinsel Twine around the tree and create Christmas lights out of Tim Holtz Baubles. (In the finished Christmas tree, I colored the baubles with red and green alcohol ink. When the red and green ink dries I added a little mushroom alcohol ink to the baubles to give them more of a vintage look.) See Tim’s FaceBook video for the process here.
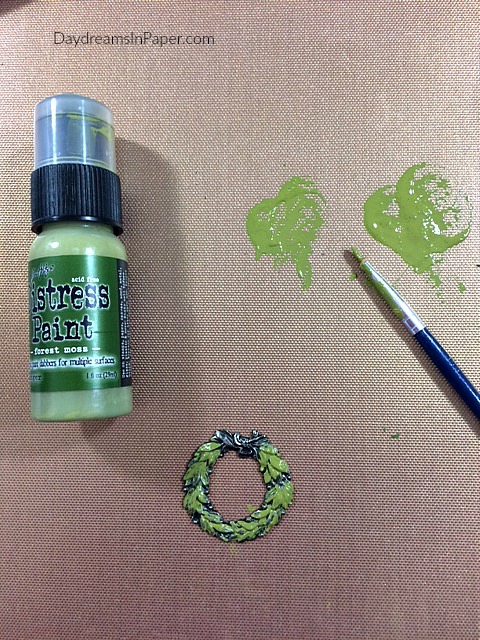
To create the Christmas wreath, use a small paint brush and paint leaves with Forest Moss Distress Paint.
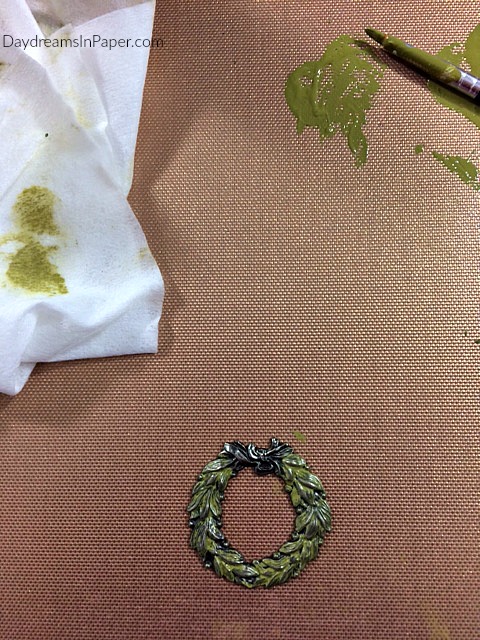
Before paint dries, gently go over raised surface of the leaves with a baby wipe.
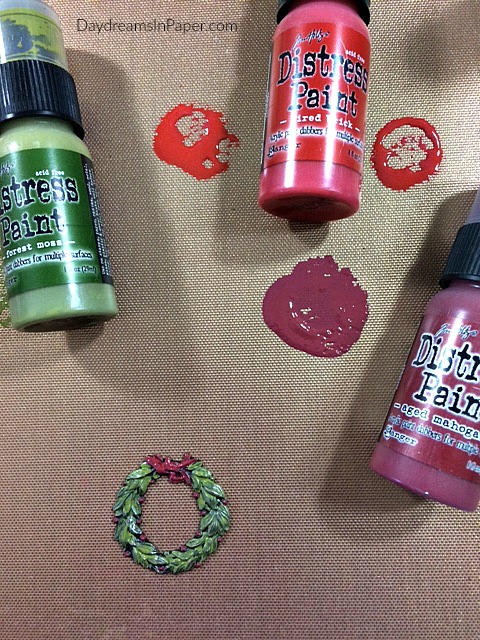
Paint the ribbon and berries on the wreath with Fired Brick and Aged Mahogany Distress Paint using a small paint brush. Set aside to completely dry.
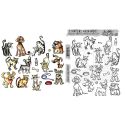
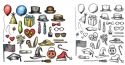
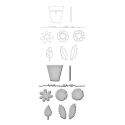
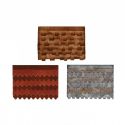
Putting it all together: The house was created from one of the Tim Holtz Village Rooftops patterns. I created a step in front of the door out of watercolor paper and Distress Markers. I placed a cute dog from the Tim Holtz Mini Crazy Dogs & Cats stamp set and a present from the Crazy Things stamp set on the doorstep. The dog is colored with Disress Ink and a waterbrush. I adhered the wreath just below the door knocker. The pot for the tree is from the Tammy Tutterow Posie Parts stamp and die set and colored with Copic markers. The Merry Christmas sentiment is from the Tim Holtz Home For the Holidays die set and the whole scene is adhered to a 5-1/2″ x 7-1/2″ piece of Simon Says Stamp Black cardstock. This completes my card.
I hope you enjoyed seeing the process I used to create some of the elements I used to put together my Christmas Greeting card and that you join us for this fun challenge. Remember, you could win a $50 gift voucher to Simon Says Stamp too!


<!
 |
 |
 |
 |
 |
 |
 |
 |
 |
 |
 |
 |
 |
 |
 |
 |
 |
 |
 |
 |
 |
 |
 |
 |
 |
 |
 |
 |
 |
 |
 |
 |
 |
 |
 |
 |
 |
 |
 |
 |
 |

— END thumbnail code by ThumbLinky.com–>


Pingback: Simon Says: It's A Dogs Life - Simon Monday Challenge Blog
What a gorgeous card Cathie! I love how you made the door with ‘stained glass’ windows at the top, very clever idea and the wreath, tree and little pup are all adorable! LOVE it 🙂
luv
Lols x x x
This is amazing! I love the rooftops background, it’s so cool and so 3D! The way you made the door is brillant! Love all about it and all the outdoor scene you created. The Xmas tree is so cute with the pearls. Hugs, Marzena
Absolutely love this card! Thank you so much for the tutorial… the door is fantastic!
Whew, you did a LOT of work on this card! I adore the look of it. Your instructions are so easy to follow and I thank you. It was so clever of you to make a door with the window box die. I love the metal pieces, bobbles and tinsels you used, too. All of the detail is fabulous and the walls of the house look remarkable.
Cathie, I love this beautiful card! What a delightful Christmas scene! It just brings me such a warm feeling. Hugs, Maura
Cathie this scene is ADORABLE! I love how it’s perfect down to every detail including the painted baubles and tinsel on the tree 🙂
*mwah*
Steph
Simon Says Stamp!
Oh my goodness! This is fantastic! I am absolutely loving what you did with the tree especially and the stained glass is nothing short of brilliant!
Wow!!! A Really wonderful card and great tutorial!!!!
Wow, your Christmas greeting card is amazing! I enjoyed seeing the process you followed to create each piece, you pay so much attention to all the lovely details – I love it 😁. Wishing you a happy week! J 😊
This is wonderful Cathie! There are so many special details on this project. I love the coloured vellum, the wood grain and the lovely layered tree with tinsel and baubles.
What a wonderful Christmas project! I adore the door , so clever! barbara
what a wonderful Christmas project! I adore the door, so clever! Barbara
This is such a gorgeous holiday card! Cathie. Love the beautiful dimensional Christmas scene! 🙂
This is just so gorgeous Cathie… You’ve created such a beautiful Christmas scene and I love how you’ve made the front door and added all the little finishing details ~ it’s just wonderful! <3
what an adorable Christmas scene Cathie, love the tiles and the woodgrain door and of course that adorable crazy dog…hugs kath xxx
Wow, Cathie this is amazing! Love every detail of it! And there are so many! Wonderful to see all the steps and techniques! Hugs, Sandra