
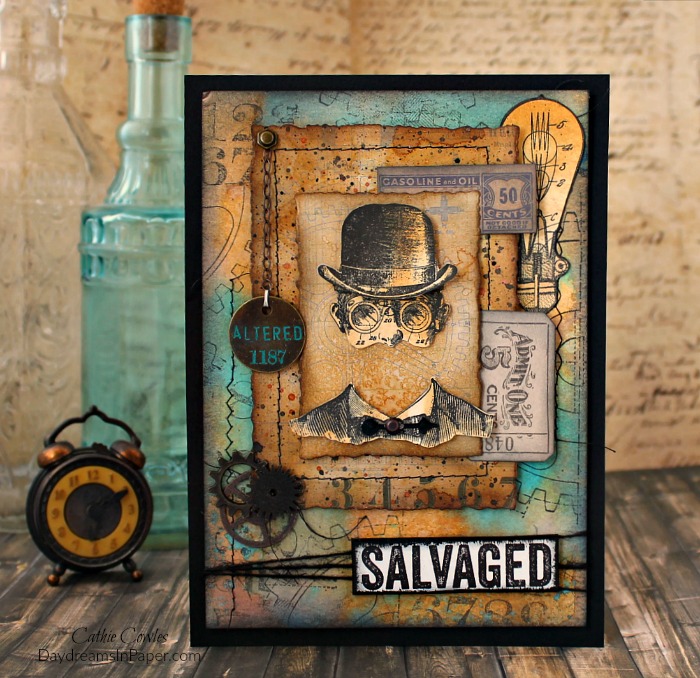
Hi friends! Today I’m sharing a card I created using one of the new Inventor stamp sets from Tim Holtz. There are three sets in the series so far and I fell in love with the second set as soon as I saw it. I envisioned pairing it with the Dapper man from another of Tim’s stamp sets. I couldn’t wait to get my hands on it and play. I used Distress Oxides and Inks in my backgrounds and I show you how I put it all together below. Enjoy!
Creating The First Background Panel
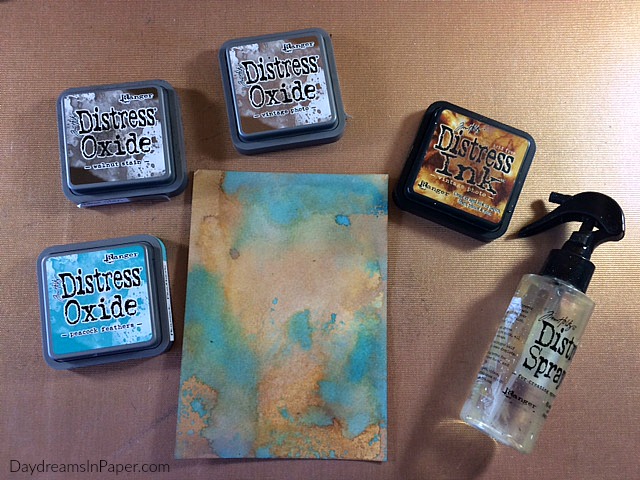
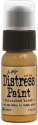
- To begin, I cut a 5″ x 7″ piece of Bristol Watercolor Paper and spritzed it with water. For the first layer of color, I combined Vintage Photo Distress Oxide and water onto the craft mat and ran the panel through the mixture. I completely dried the first layer with a heat tool.
- For the second layer, I did the same thing with Walnut Stain Distress Oxide.
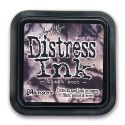
- Next, I used a mini ink blending tool and applied Vintage Photo Distress Ink over the entire panel and dried it with a heat tool.
- Lastly, I combined Peacock Feathers Distress Oxide and water on the craft mat and gently dipped the panel in the ink where I wanted it to go. I dried the panel completely with a heat tool.
Creating the First Background Panel
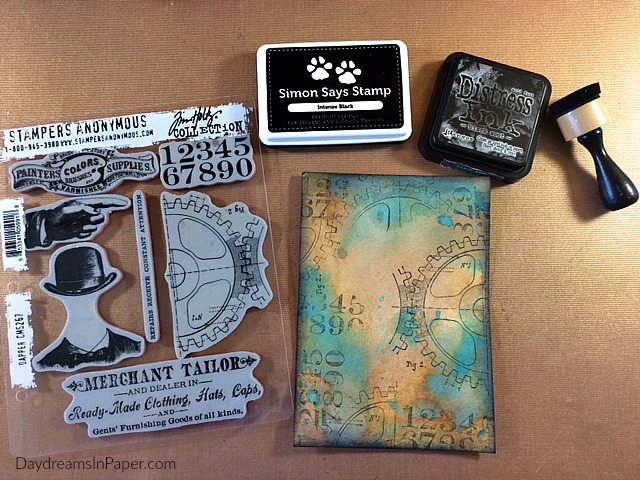
- Now that the panel is completely dry, I add some images to the background for interest using Simon Says Stamp Intense Black Ink.
- Next, I ink the edges with Black Soot Distress Ink using a mini ink blending tool.
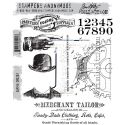
Creating the Invented Dapper Gentleman
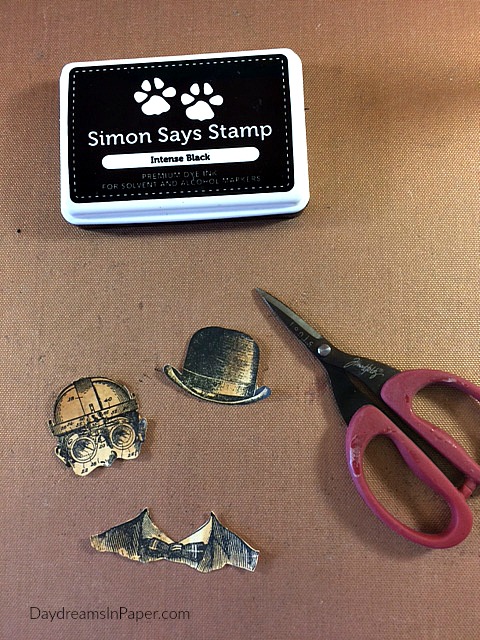
- To create the invented dapper gentleman, I stamp the gentleman and his top hat from the Tim Holtz Dapper stamp set.
- Next, I stamp the man with goggles from the Inventor 2 stamp set and fussy cut out each image.
Creating the Second Background Panel & Main Panel
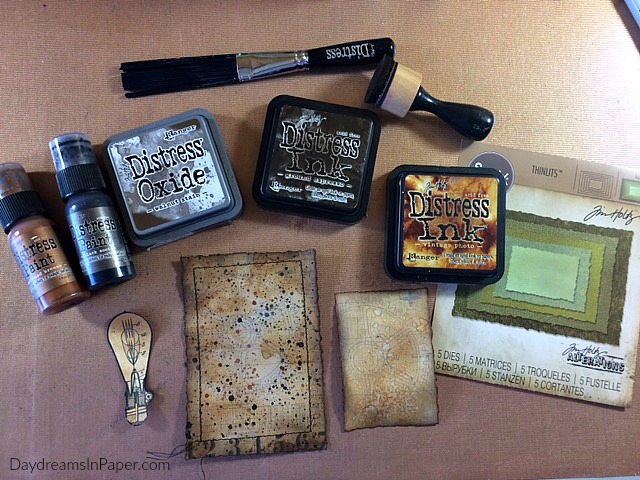
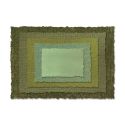
- For the second panel, I cut the largest Tim Holtz Deckle die and color it with Walnut Stain Distress Oxide and Vintage Photo Distress Ink. I ink the edges with Black Soot Distress Ink.
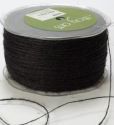
- Next. I sew a simple stitch around the edges with black thread using my sewing machine.
- I splatter on Antique Brass Distress Ink mixed with water onto the panel and do the same with Black Soot Distress Ink. I set the panel aside to completely dry.
- For the Main Panel, I use a piece of cardstock with gears from the Tim Holtz Paper Stash and cut out a smaller deckle rectangle from the Tim Holtz Deckle die set.
- I ink the cardstock with Vintage Photo Distress Ink and spritz it with water. I then ink the edges with Ground Espresso Distress ink.
- Next, I stamp a lightbulb from the Inventor 2 stamp set and fussy cut it out to add to the background.
Putting It All Together

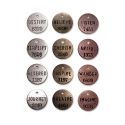
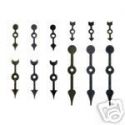
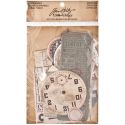
I layer the panels one on top of the other and lay out the ephemera and metal Idea-ology pieces where I generally want them to go.
I hope you enjoyed seeing how I put together my card. Thanks so much for sticking with me to the end and leave a comment below. I’d love to hear what you think!

 |
 |
 |
 |
 |
 |
 |
 |
 |
 |
 |
 |
 |
 |
 |
 |
 |
 |
 |
 |
 |
 |
 |
 |
 |
 |
 |
 |
 |
 |
 |


I absolutely LOVE your card – especially the background!!
Cathie, I just love that first background you created! I think I would have stopped right there because it’s so gorgeous! Of course, the next layer is way cool and the way you created your “invented dapper gent” with the various stamped elements, fussy cutting and attaching them perfectly makes an amazing card! Thanks so much for sharing the details of your artistic process!!! Hugs, Laura