


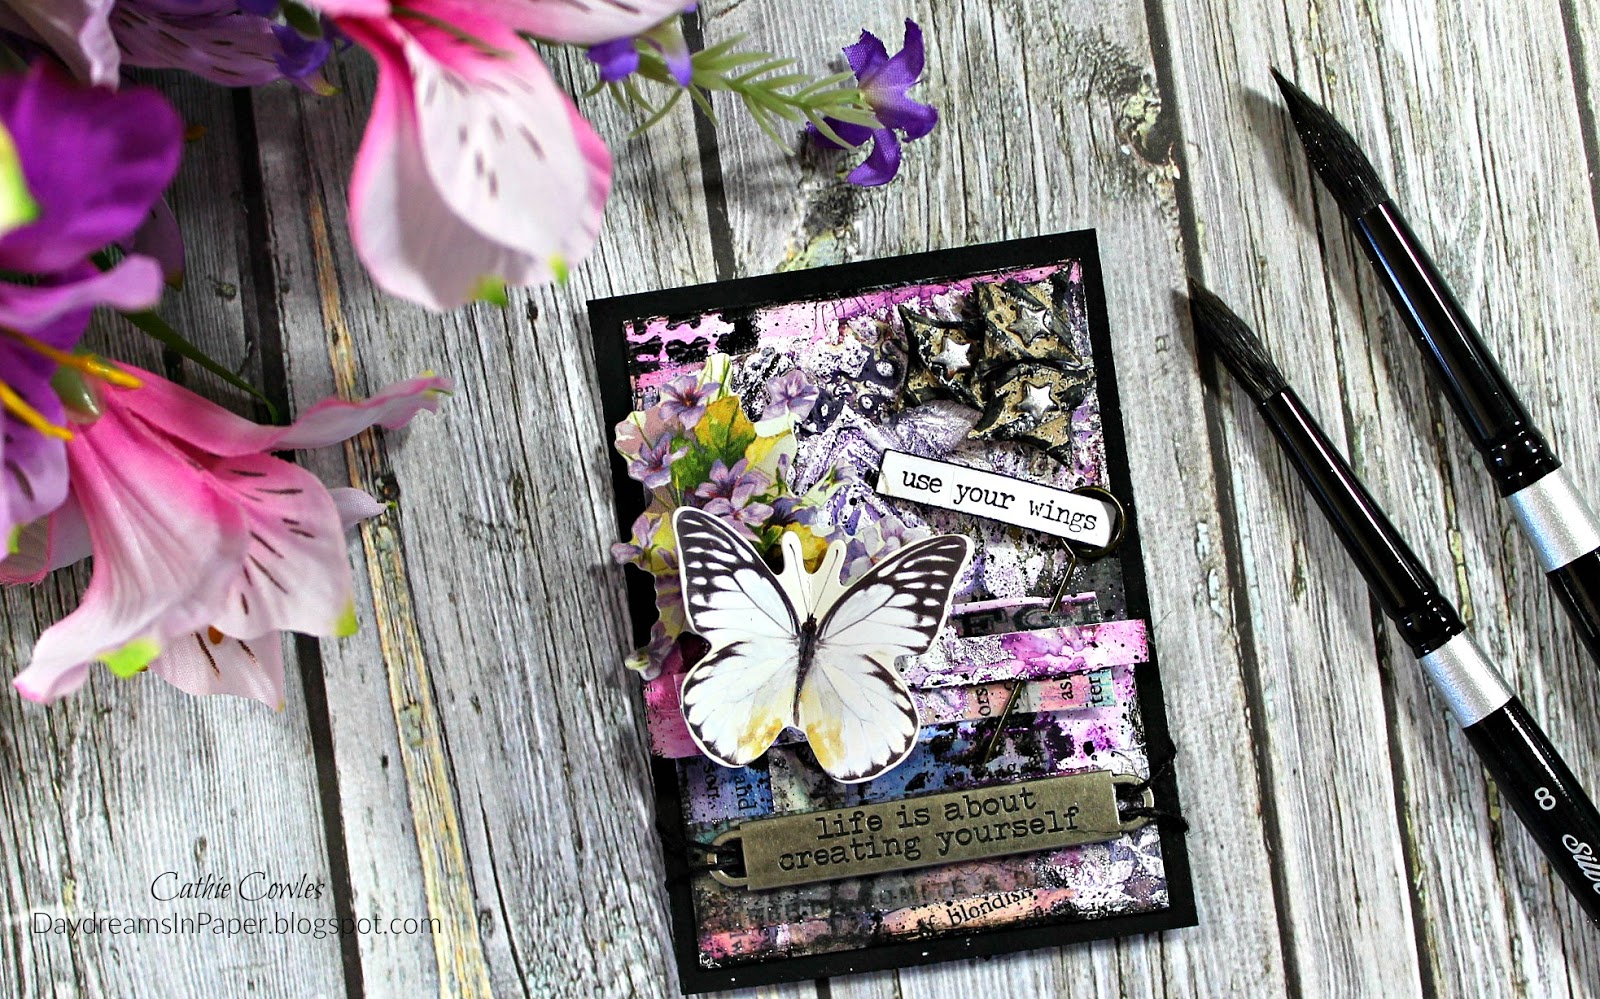
Hi Everyone! I hope you’re excited for another challenge on the Simon Says Stamp Monday Challenge. Our theme this week is, Artist Trading Cards. This was something completely new to me as I’ve never made one before and I have to tell you, through the process, I was ready to pull my hair out! Why? It’s such a small space! I’m use to working on a 5″ x 7″ or 6″ x 8″ surface so this was a real challenge for me. I used a method where you create a background on a 8-1/2″ x 11″ surface and then cut the cards out of that background. I hope you enjoy seeing how I created the background for my ATC and that you’ll join us for this fun challenge.
Also, don’t forget to stop by Simona Rebecchi’s blog, Ginny and the Sheep. Her project last week was amazing and I fell in love with the way she created the background for her beautiful sailboat. She’s so talented and I know you won’t want to miss out so stop by and send her some love.
Oh and one last thing, Simon Says Stamp’s Kids Summer Challenge is going on until the end of the month. They’re giving away three gift vouchers. It’s for kids only, so if you have a child, grandchild, niece, nephew or friend that is between the ages of 2-16, get those supplies out and get craftin’. Link Below:

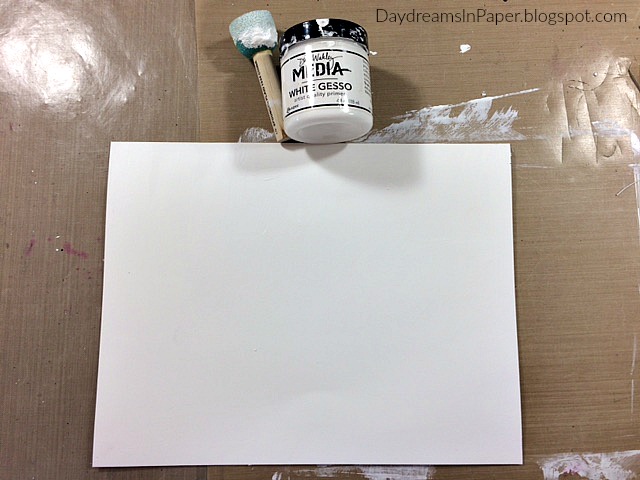
I begin with an 8-1/2″ x 11″ sheet of Neenah Solar White 110 lb. card stock and cover the entire surface with Dina Wakley White Gesso. I allow that to completely dry.
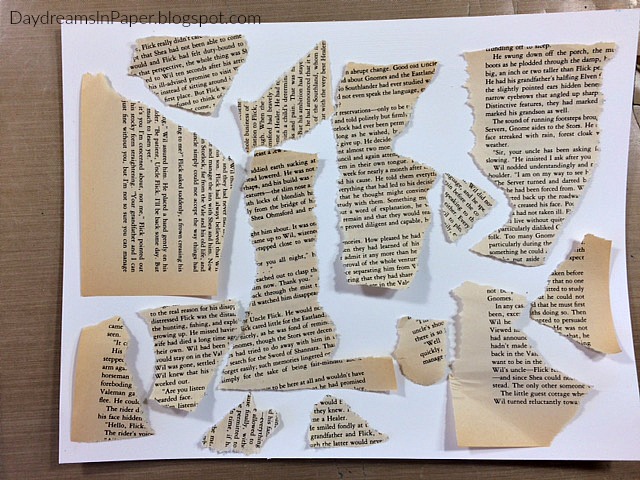
Now that the gesso is dry, I tear a couple of sheets of book pages and place them on the surface where I want to adhere them to the card stock.
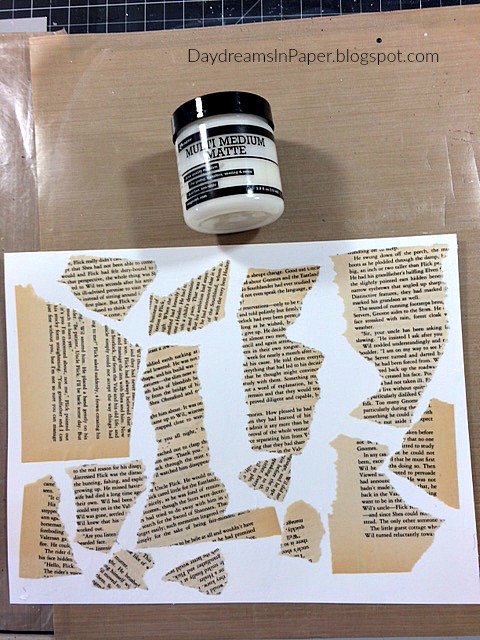
I apply Ranger Multi Matte Medium to the entire gesso covered card stock. I then place the torn book pages on top and brush another layer of multi matte medium over the entire surface. I allow that to completely dry.
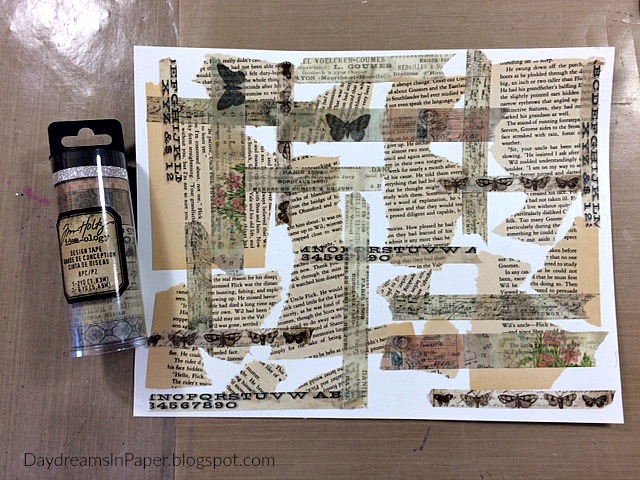
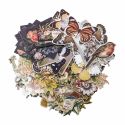
For the next layer on the background, I apply design tape from the Tim Holtz Butterfly collection in random areas.

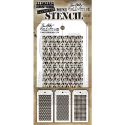
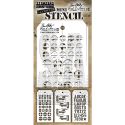
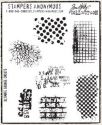
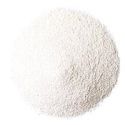
I stencil on several different patterns onto the surface using Golden Molding Paste and sprinkle all the stenciled patterns with Hero Arts white embossing powder.
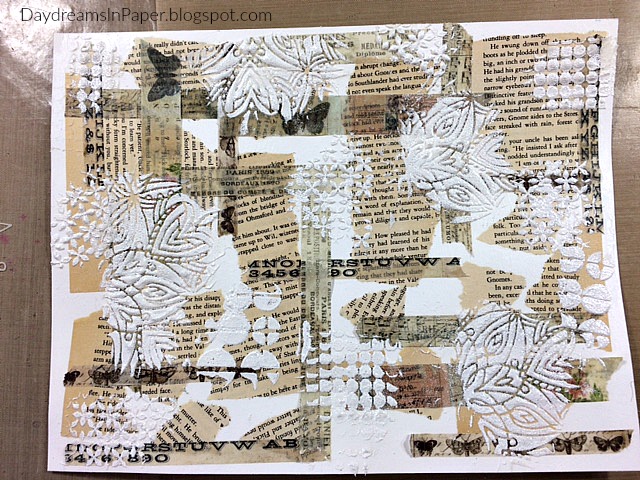
I heat the embossing powder with a heat tool by applying the heat very close to the stenciling. I want the paste to bubble. By doing this, a unique texture will develop.
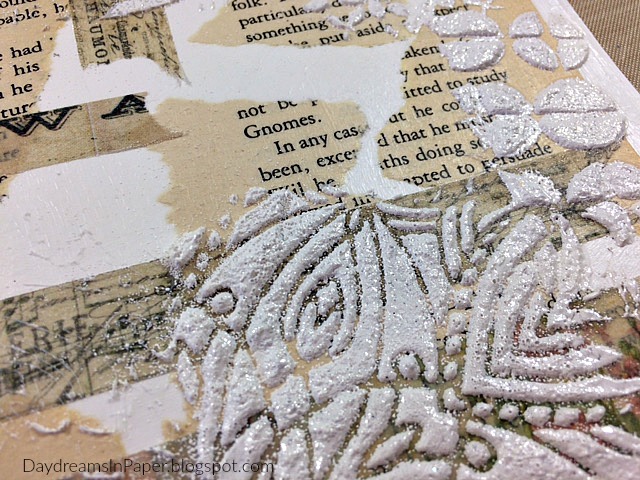
Here is a close-up of the bubble texture I was looking for.
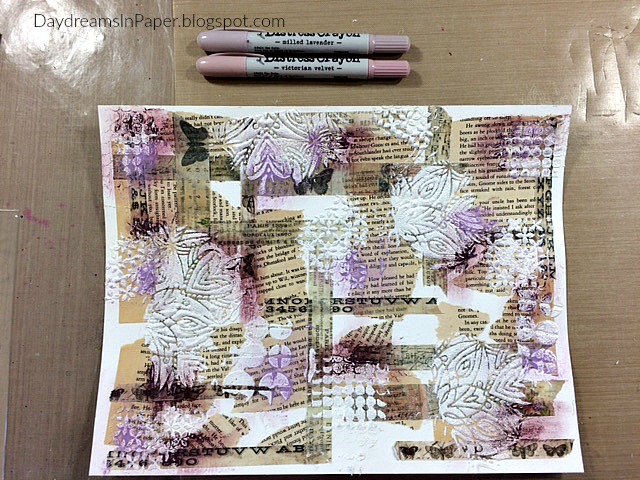
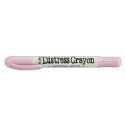
I begin to add color to the background by applying Milled Lavender and Victorian Velvet Distress Crayon in random areas on the surface. I color the pigment on and then rub it in with my fingertips.
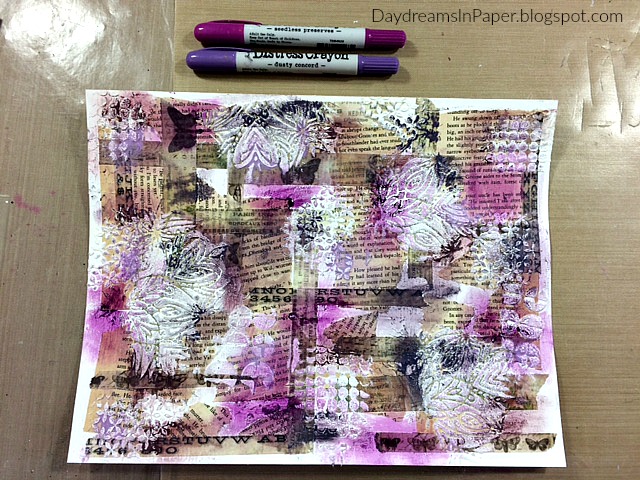
I add some deeper, richer color with Seedless Preserves and Dusty Concord Distress Crayons using the same steps as above.
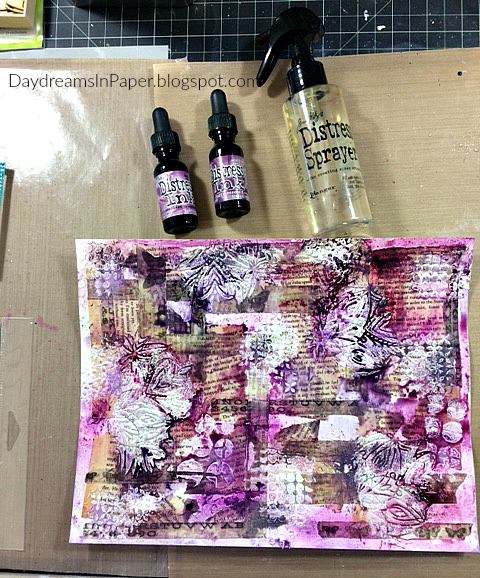
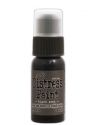
I dribble on some Seedless Preserves and Dusty Concord ink in very small amounts in random areas of the background and spray the surface with water. I tip and turn the panel so the ink dribbles and spread in random areas.
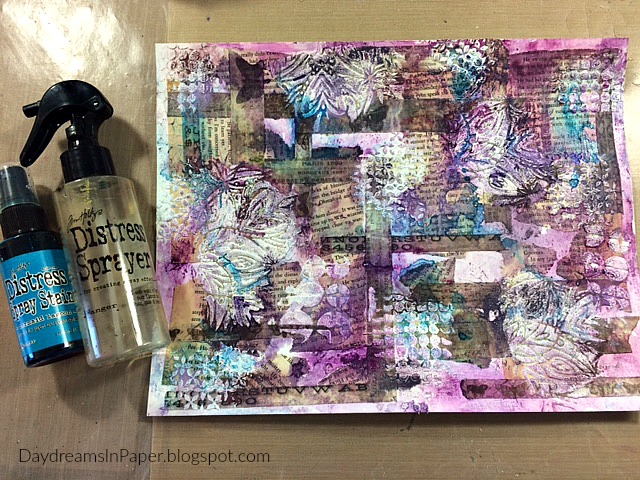
Next, I remove the lid of the Mermaid Lagoon Distress Spray and using the bottom of the spray nozzle, I dribble some ink over the surface in random areas. I dilute the ink by spraying on water allowing the ink to spread. (Confession: When I look at this background, I’m not smiling. It looks like a hot mess to me and I’m not happy with it but I continue moving forward to see what I get.)
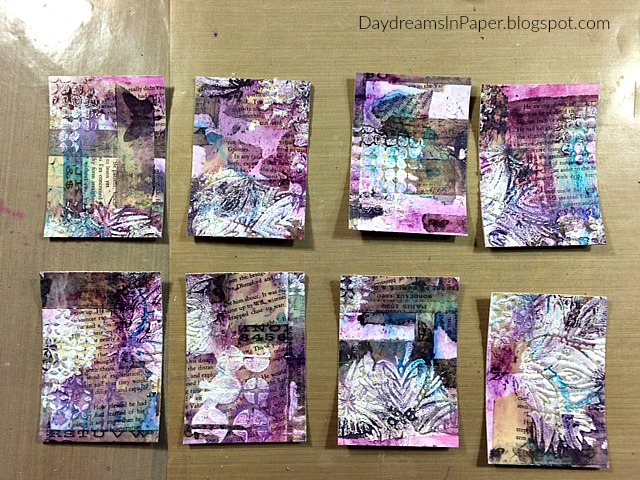
I cut the background down into 2-1/2″ x 3-1/2″ ATC size cards. As I look at them, I’m still not happy with the backgrounds. It looks too busy, but I keep moving forward. We’ll see!
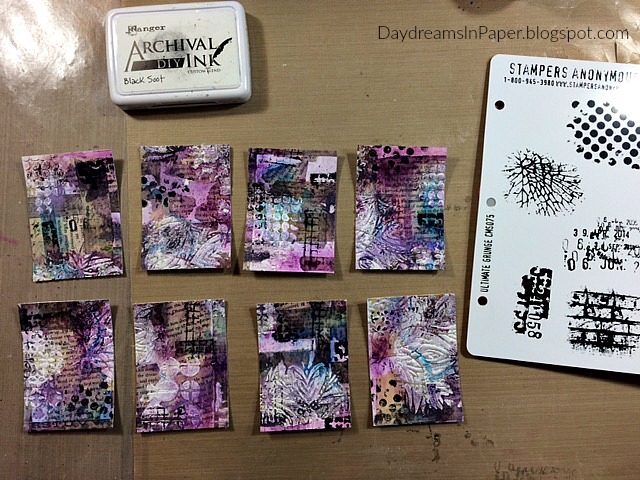
Next, I stamp on some images from the Tim Holtz Ultimate Grunge stamp set with Black Soot Archival Ink in random areas on each card.
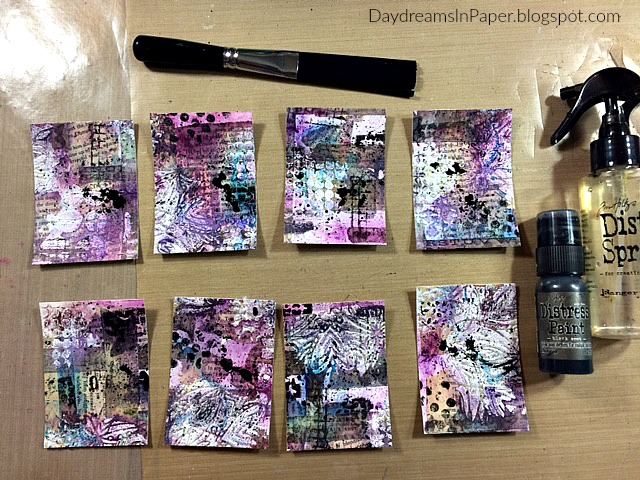
For the last step, I splatter on some Black Soot Distress Paint that I diluted with water over the top of each card. Hmmm, didn’t I just add more to what I already thought was a confusing background? I don’t know, I keep going forward. We’ll see.

To finish the ATC, I add some of the leftover strips of the background to the lower center portion of the card. I fasten a Tim Holtz Memo Pin through the layers and also add some Tim Holtz Botanical Layers on the left side of the card. The stars in the corner are the inside leftover pieces from the Tim Holtz Courtyard Frameworks die brushed with a little Black Soot Distress Paint. I add a Tim Holtz Star Fastener to the centers that I painted with Brushed Pewter Distress Paint. The small sentiment in the pin is from the Tim Holtz Small Talk sticker set and the metal sentiment on the bottom is one of the words bands from the Tim Holtz Word Bands set.
I hope you enjoyed seeing the process I used to create my ATC and that you join us for this fun challenge by adding your project to Simon Says Stamp’s Monday Challenge Blog for your chance to win a $50 gift voucher to their amazing store.

For more inspiration, tips and tricks for all types of papercraft creations, follow Simon Says Stamp on:


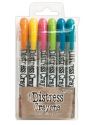
You can find all the following supplies I used to create this project at Simon Says Stamp:

 |
 |
 |
 |
 |
 |
 |
 |
 |
 |
 |
 |
 |
 |
 |
 |
 |
 |
 |
 |
 |
 |
 |
 |
 |
 |
 |
 |


