


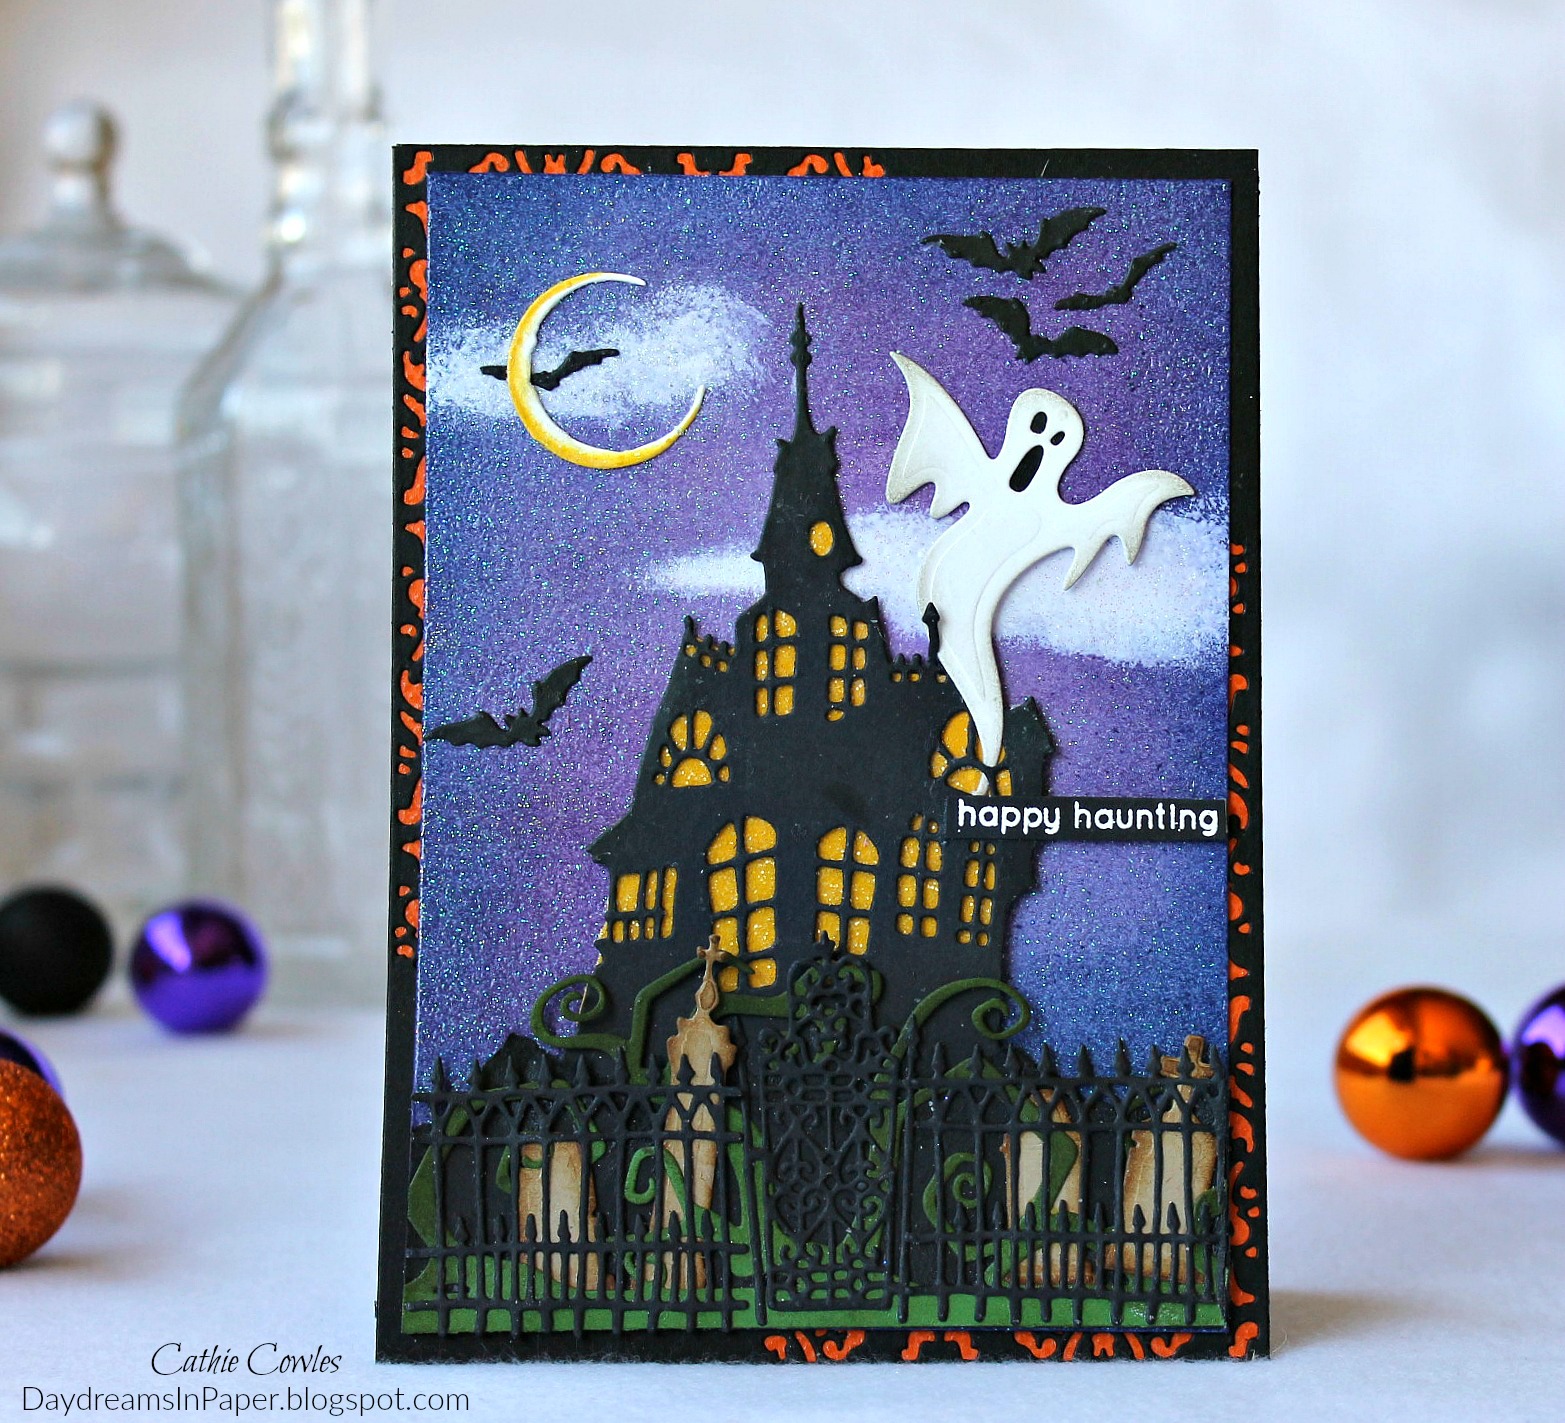
It’s that wonderful time of the week again! Yep, time for another mixed media challenge on the Simon Says Stamp Monday Challenge. This week our theme is, Shimmer & Shine. I’ve created a fun and spooky card with a shimmery and shiny background and I’ve added a few other glittery elements as well. Come along with me below and see how I put everything together.
Also, don’t forget to check out our September guest designer, Carol Harper from Carol Stamps. She’s awesome!

To create the shimmer and shine background, blend together Seedless Preserves, Dusty Concord, Faded Jeans and Chipped Sapphire Distress inks onto a 4-3/4″ x 6-3/4″ piece of Bristol watercolor paper using a mini ink blending tool. Allow to completely dry or use a heat tool to speed up the drying process before moving on to the next step.

Add clouds to the background with Picket Fence Distress Paint and a triangle sponge. You will need to apply about 3 coats drying each in between applications. Make sure the paint is completely dry before moving on to the next step.
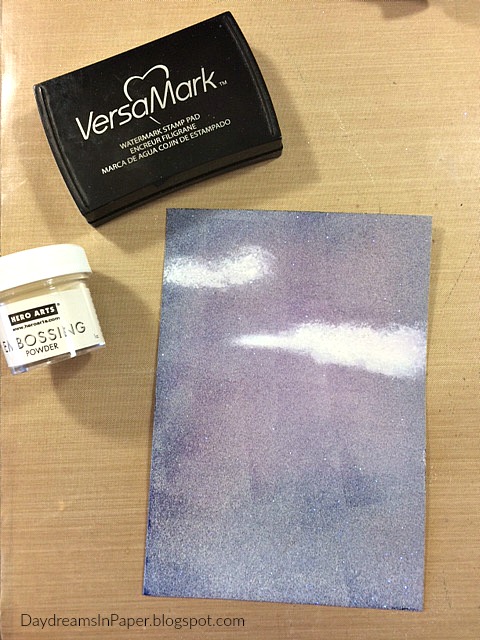
Using a VersaMark watermark stamp pad, completely cover the background by dabbing the entire pad over the entire surface of the background and sprinkle with Hero Arts Sparkle embossing powder.
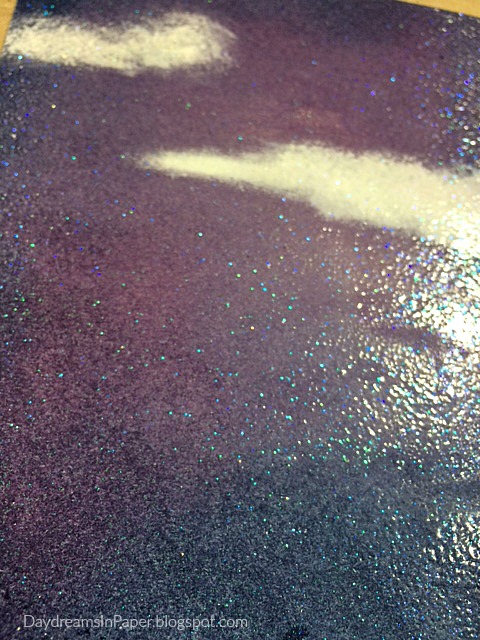
After heating the background with a heat tool, this is the beautiful shimmer and shine result. Isn’t it amazing!?!
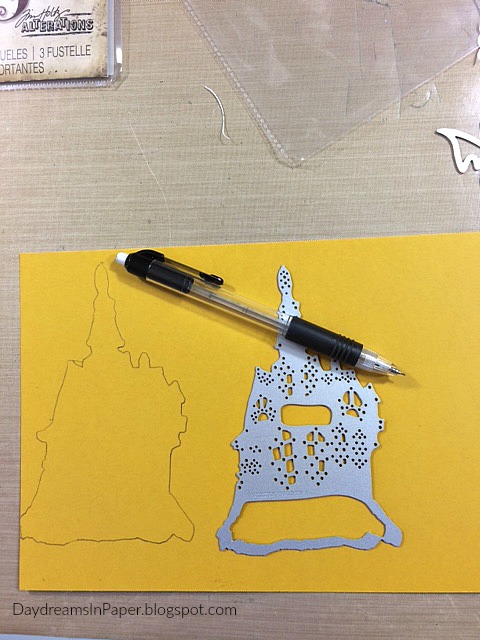
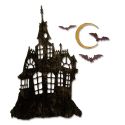
Begin creating all the elements for the card. Trace the Tim Holtz Haunted House thinlits die on a yellow cardstock piece. Roughly cut out the shape. It doesn’t have to be precise but make sure not to cut too much off. This piece will show through the haunted house windows.

Cut the Haunted House out of black cardstock. Here are the two pieces that will be put together to complete the house.
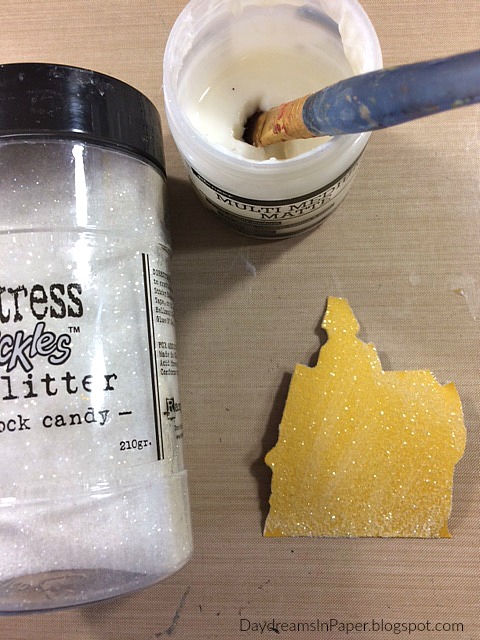
Before adhering the two pieces together, brush the yellow outlined house with Ranger Multi Matte Medium. Make sure the layer of medium is thin and not thick and uneven. Immediately sprinkle on Distress Stickles Clear Rock Candy Dry Glitter. Set this aside to completely dry.

Create the moon using the same die cut set. Ink the edges of the moon with Fossilized Amber Distress Oxide and allow to dry. Brush with Ranger Multi Matte Medium and sprinkle with the Rock Candy Distress Dry Glitter. Set aside to dry.

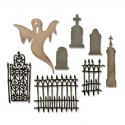
Cut out all the other pieces for the card and ink the tombstones and ghost. The tombstones are cut out of craft paper and inked with Gathered Twigs Distress Ink. The Ghost is cut out of Neenah Solar White cardstock and inked, very lightly, with Pumice Stone Distress Ink. The rest of the pieces are cut out of Simon Says Stamp Black cardstock.

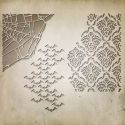
For the bottom card panel, cut a 5″ x 7″ piece of Simon Says Stamp Black cardstock and die cut the top left and bottom right edges of the piece with the Tim Holtz Mixed Media Halloween Damask die.
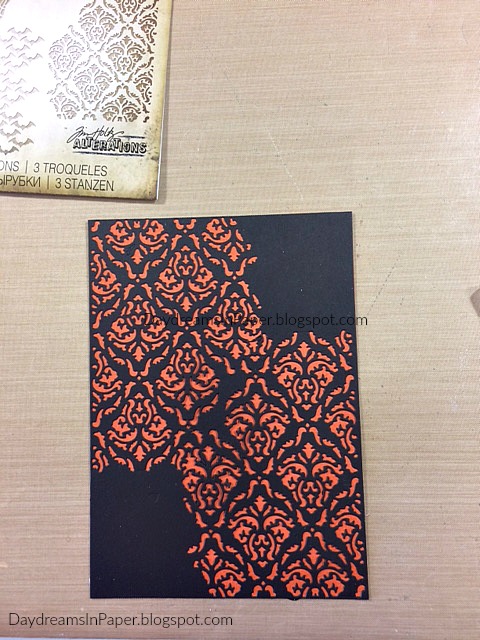
Adhere the die cut panel over a 5″ x 7″ piece of Bazzill Candy Corn card stock.

To complete the card, I adhere all the die cut pieces with multi matte medium onto the shiny background panel. I also add the Tim Holtz Twisted Edge to the scene along with all the other pieces. I adhere the shimmery panel onto the die cut bottom card panel and add a simple sentiment from the Simon Says Stamp Autumn Greetings stamp set and the card is done.
I hope you enjoyed seeing the process I used to create my card for the Simmer and Shine challenge and that you join us for this fun challenge by adding your project to Simon Says Stamp’s Monday Challenge Blog for your chance to win a $50 gift voucher to their amazing store.

For more inspiration, tips and tricks for all types of papercraft creations, follow Simon Says Stamp on:


You can find all the following supplies I used to create this project at Simon Says Stamp:

 |
 |
 |
 |
 |
 |
 |
 |
 |
 |
 |
 |
 |
 |
 |
 |
 |
 |
 |
 |
 |
 |
 |
 |
 |
 |
 |
 |
 |


