
Hi friends! Today I’m sharing a Halloween card I created using some of the new Stampers Anonymous Tim Holtz Halloween stamps. I have done mirror stamping before, but not with a Stampers Anonymous stamp. The only ones I’ve attempted had very simple lines and not the intricacy that SA stamps have so there’s a little trick in doing this. Here’s a tutorial on how I completed the task. Enjoy!

Place a 4″ x 5″ piece of cardstock onto a stamping platform and face the stamp upwards facing you.
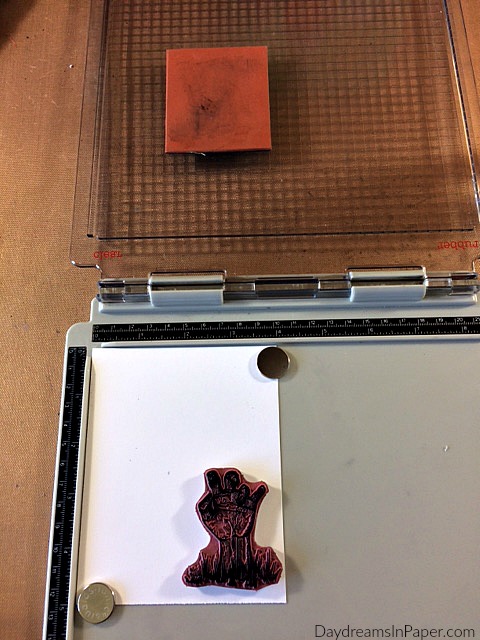
Place a smooth, blank rubber stamp in the area where it will align with the Zombie hand when the lid is closed onto the stamp. (Here’s the trick. If you are using a thin blank rubber stamp to do the transferring, you must use the CLEAR stamp lid or the image will not transfer completely onto your cardstock.) The blank rubber stamp I’m using is very thin but if you have a thicker blank stamp to transfer your image, the rubber side may work. You’ll have to play around with what you have to see what works. Now, ink the Zombie hand stamp.
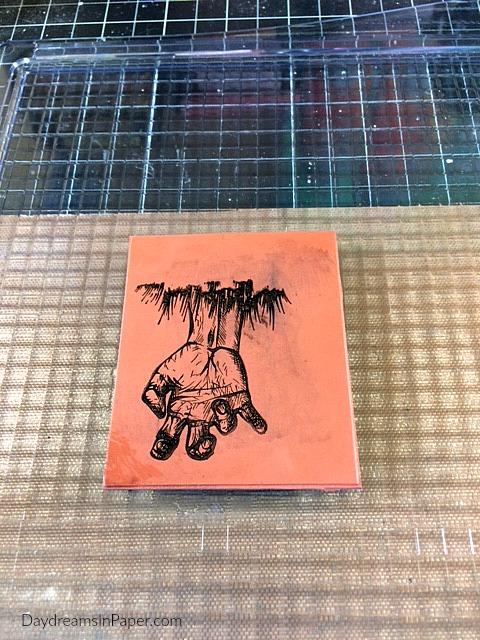
Lower the lid onto the inked Zombie hand and lift the lid. Your image is now transferred onto the blank rubber stamp. Remove the stamp from the bottom platform and lower the lid so the transferred image can be stamped onto the cardstock.
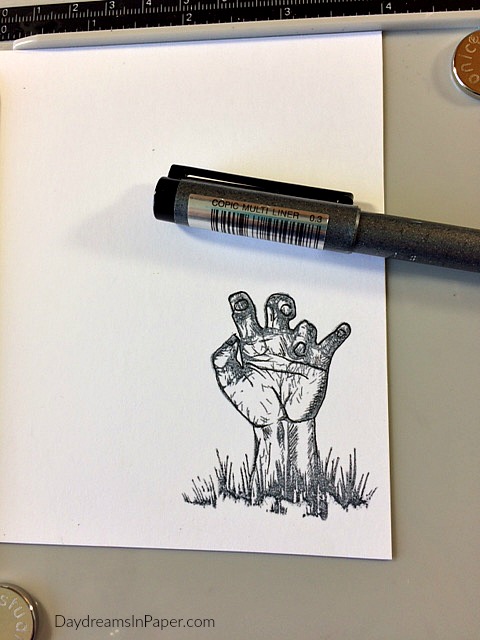
You will notice the image isn’t quite as crisp and dark as when stamped normally, but any lines that are too light or not complete can easily be fixed with a Copic 0.3 Multiliner.
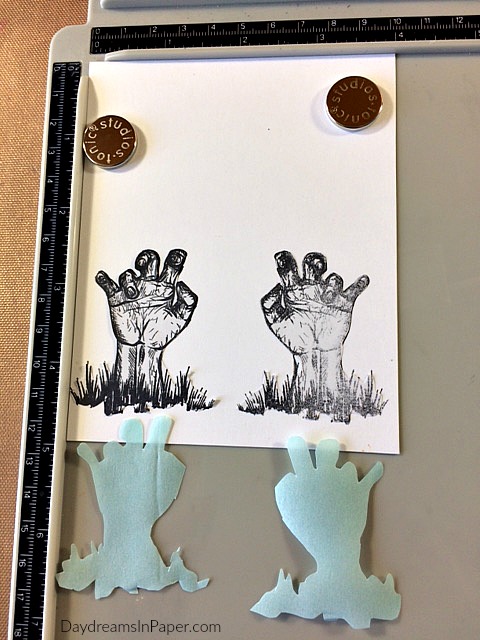
Stamp the right Zombie hand on the other side. Create a mask for both hands and place over the stamped images. (Use the mirror stamping technique, as shown above, to create the left Zombie hand mask.)
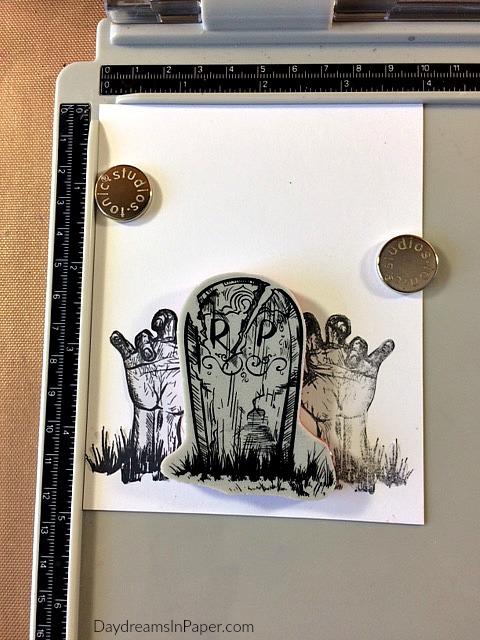
Place the tombstone where you want it to go on your scene and pick up the stamp with the platform lid.
Stamp the tombstone onto the cardstock over the masked Zombie hands.
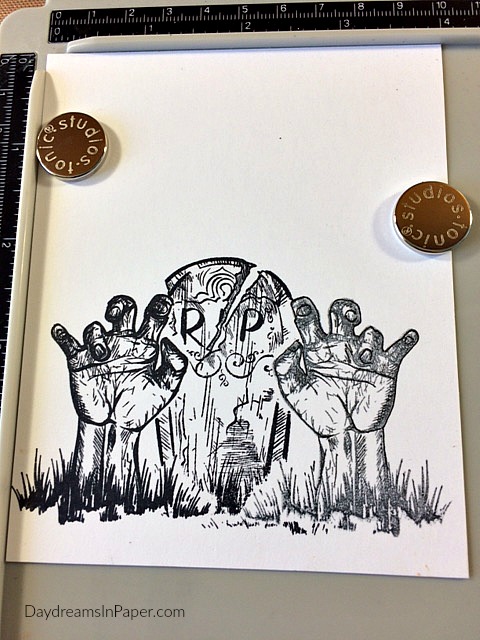
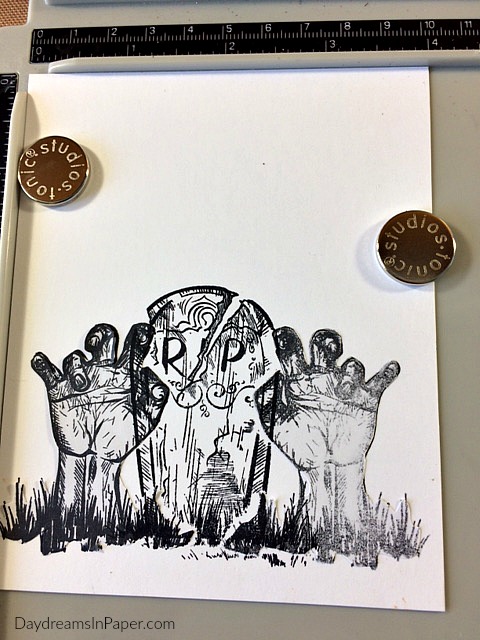
Remove the masks and your image is all ready to color.
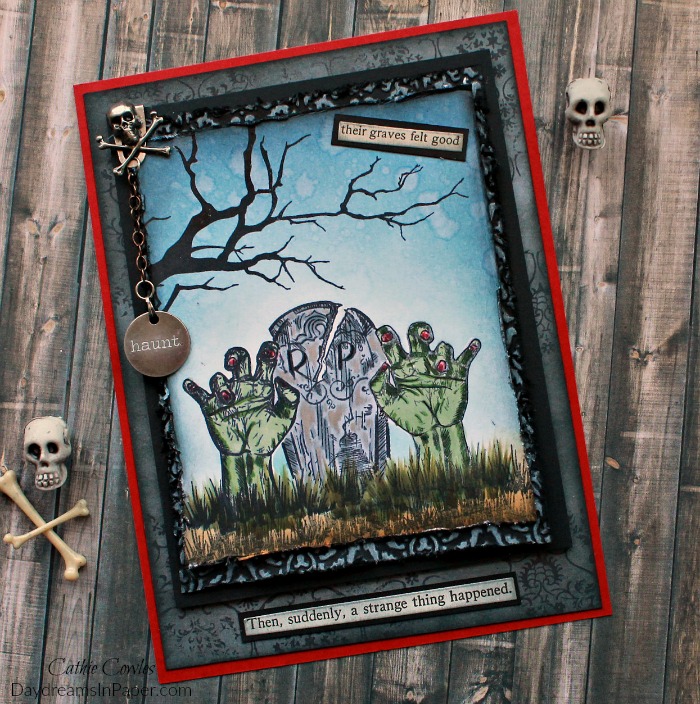
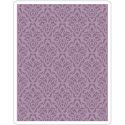
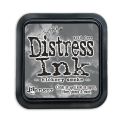
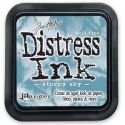
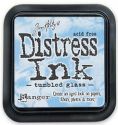
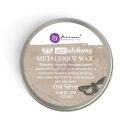
To complete the card, I mask the Zombie hands and tombstone and color the sky and ground with Distress Inks. I stamp on the tree from the Mr. Bones stamp set and add a little more grass using the bottom portion of the Zombie hand stamp. I remove the masks and color the hands and tombstone with Copic markers and apply a little metallic silver wax to the tombstone. I adhere that panel onto a piece of black cardstock that is embossed with the Damask embossing folder and accentuated with Picket Fence Distress Ink. I adhere those two panels onto a plain piece of black cardstock and then onto a piece of white cardstock that is inked with Hickory Smoke Distress Ink and stamped with the new Ornate background stamp in Black Soot Archival Ink. I add a few Idea-ology pieces and a sentiment from the Halloween Clippings Stickers.
I hope you enjoyed seeing how I created this card using a mirror stamping technique and thanks so much for sticking with me to the end.


 |
 |
 |
 |
 |
 |
 |
 |
 |
 |
 |
 |
 |
 |
 |
 |
 |
 |
 |
 |
 |


Such a great technique Catherine!! I need to find some plain flat stamp material to try this cool technique! I’ve often wanted to be able to have a reverse image of something!
Oh I love seeing this, I’ve been attempting the reverse image stamping but have never tried it with the platform, thanks so much for sharing. I just love your card!!!
A fabulous card Cathie, and what a great way of mirror stamping (it certainly beats the brayer method!). Thanks so much for sharing the technique…