
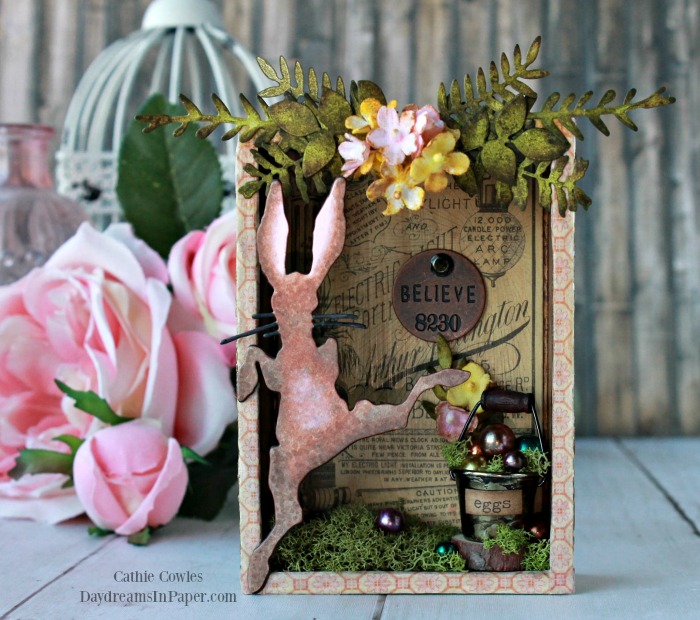
Hi Friends! Today I’m sharing an Easter Vignette box I created using a few of my Tim Holtz supplies. I love to decorate around the house with little vignette’s especially now that I have grandchildren. These little displays can be magical in the eyes of a child. I remember my grandmother had little displays around her house at Christmas and Easter and I would sit and stare at them because they were they were like little imaginary worlds that I would have loved to jump into and explore. I hope this vignette brings a smile to your face and helps you imagine a tiny world where the Easter Bunny lives. Enjoy!
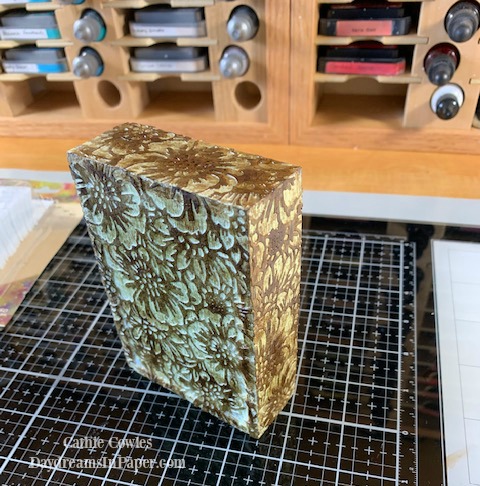
I created a faux etched wood effect to cover the sides and back of the vignette box. You can find my tutorial on how to create this effect this here.
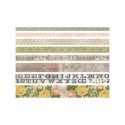
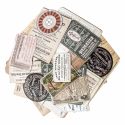
I covered the inside sides of the Tim Holtz cardstock and the back side of the box with a layer piece from the Tim Holtz Collector Layers collection. The edges are covered with one of the designs from the Tim Holtz Rose Design Tape collection.
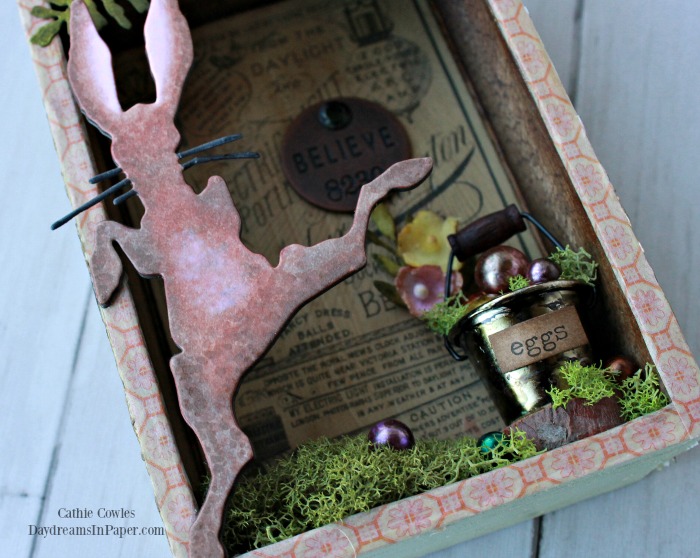
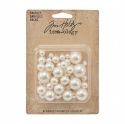
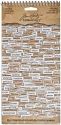
The bucket is a miniature I had in my stash that I colored with Mushroom alcohol ink. I filled it with moss and baubles that were colored with alcohol ink and mushroom ink. I love the vintage look of the eggs instead of brightly colored eggs for this particular vignette but if you like bright colored eggs, just don’t apply the mushroom ink after coloring. I attached the word “eggs” from the Tim Holtz Chit Chat Seasonal sticker collection.
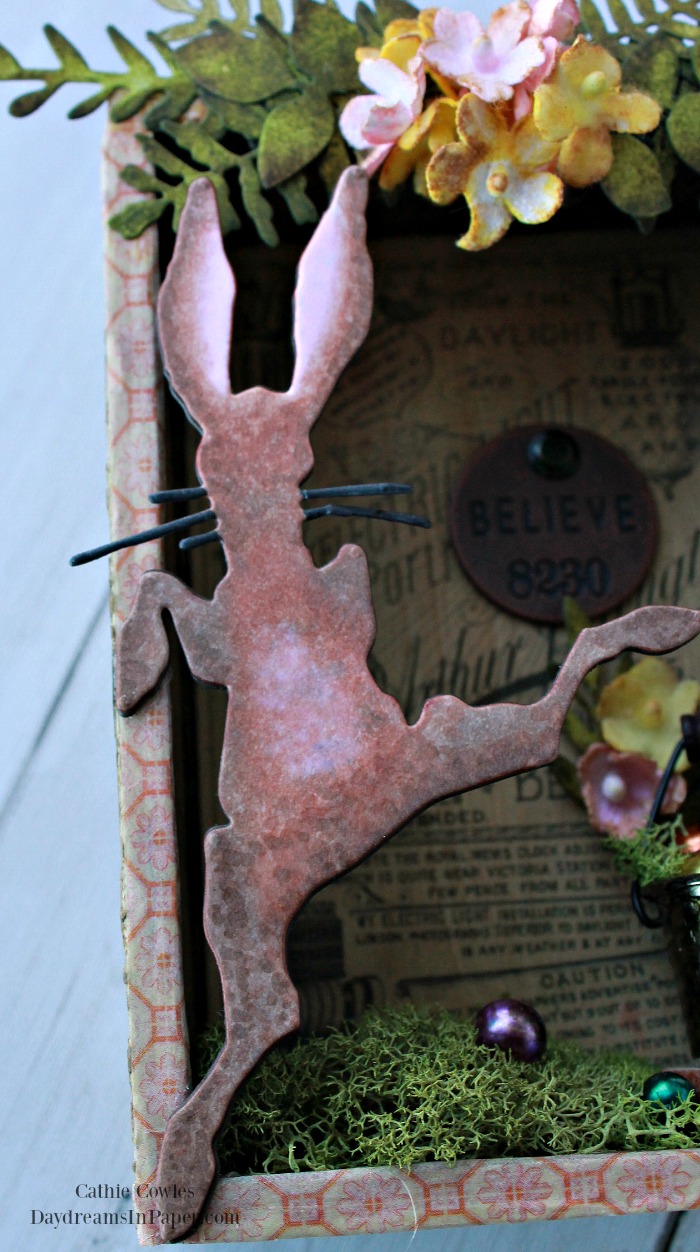
To create the bunny, I first cut it out of mixed media paper and colored it with copic markers, E50, E44, E23, E29, T7 and RV10. (I recently took Kathy Racoosin’s class on the Online Card Classes website called “The Coloring Challenge Road Trip”. You can find the class here and you can find Kathy’s blog here. I highly recommend this class and I used some of the tips she teaches when coloring this bunny.) I then cut out three more of the bunnies out of Simon Says Stamp Dark Chocolate cardstock and stacked them all together to give the bunny some stability. I love the way he turned out and I love that he’s faceless because I think it adds to the mystery of the Easter Bunny.
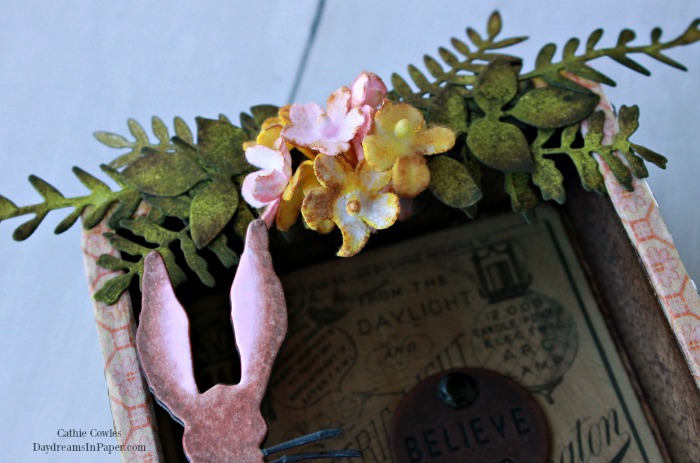
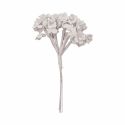
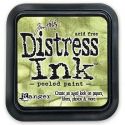
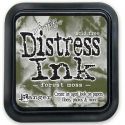
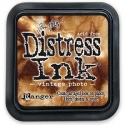
The flowers are from the Tim Holtz Bouquets and colored with Spun Sugar and Squeezed Lemonade Distress Spray. The edges of the flowers were dusted with Vintage Photo Distress Ink. The greenery is from the Tim Holtz Funky Florals #3 die set and colored with Peeled Paint, Forest Moss and Vintage Photo Distress Inks.
I hope you enjoyed seeing how I put this vignette box together. Thanks so much for stopping by and sticking with me to the end. I so appreciate you joining me on my creative adventure.


 |
 |
 |
 |
 |
 |
 |
 |
 |
 |
 |
 |
 |
 |
 |


So, so cute!! What a clever use for the Thimble (egg basket!!) and the die cut is terrific on the Vignette Box. Perfect for the upcoming season!