
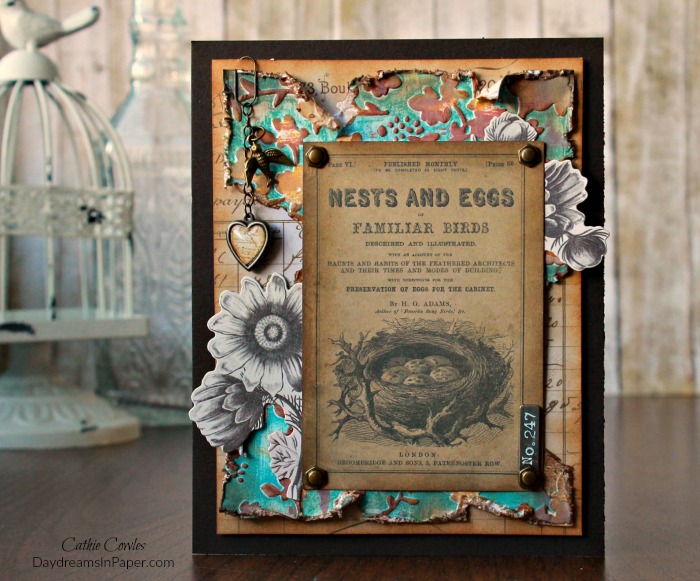
Hi everyone! Today, I’m sharing a card I created using an embossing folder to create a beautiful background piece. When paired together with patterned papers, ephemera and some Idea-ology pieces, it makes for a quick and easy background to use for all types of cards or mixed media pieces. I put together a short tutorial to show you how to create the embossing folder background piece. Enjoy!
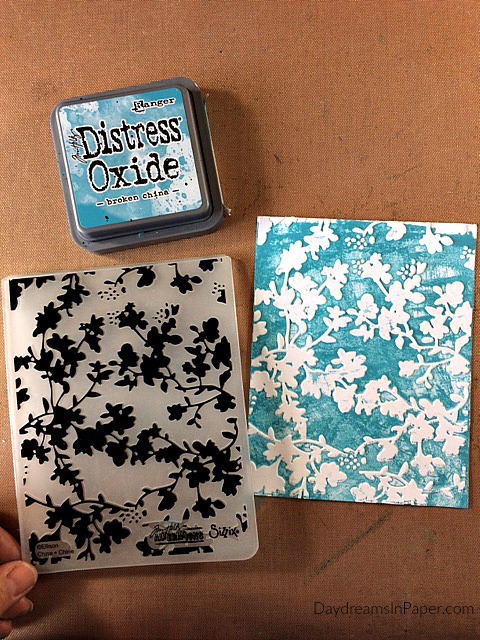
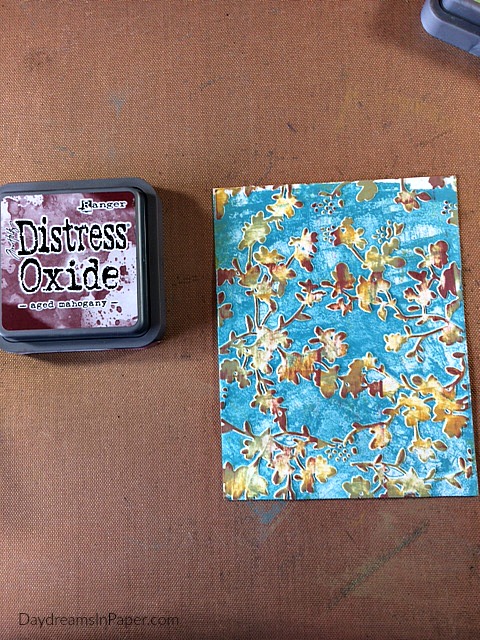
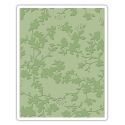
Begin by inking the flat side of an embossing folder with your choice of Distress Oxide ink. Carefully place a piece of white cardstock on the side with no ink and close the embossing folder. Make sure the paper doesn’t move when you’re placing it on the bed of your die cutting machine. Run it through the machine just as you would any embossing folder. Allow to completely air dry or use a heat tool to speed up the process.
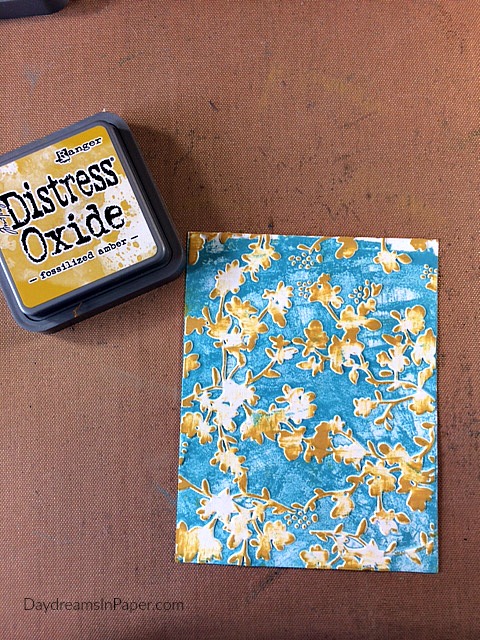
Gently run another Distress Oxide color over the raised areas of the embossed design and allow to completely dry.
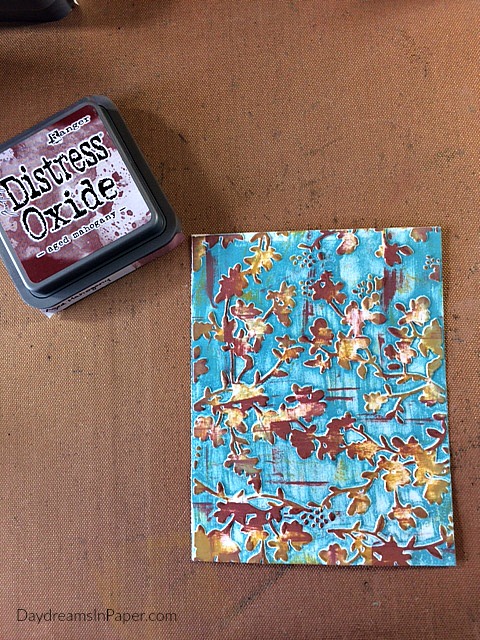
Repeat this process with another color of Distress Oxide ink by gently going over some of the raised areas with the pad.
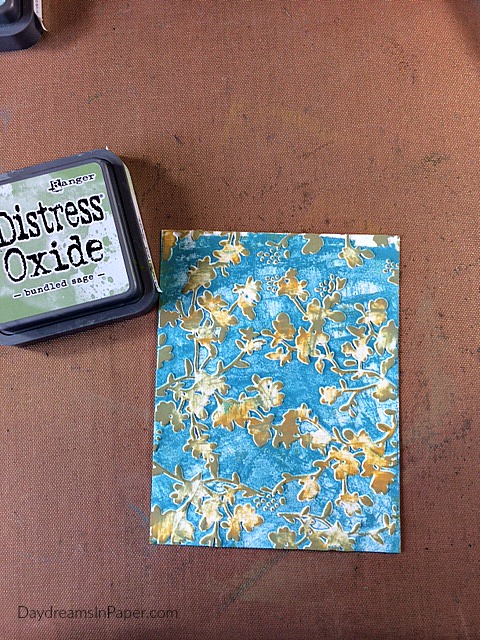
Now choose a dark color and gently use the same process to apply the ink. You could leave the background as it is or add some more interest to the flat area as I’ve done in the next step.
Using the edge of the oxide pad, gently put lines in between the raised areas. I chose to add them horizontally as well as vertically.
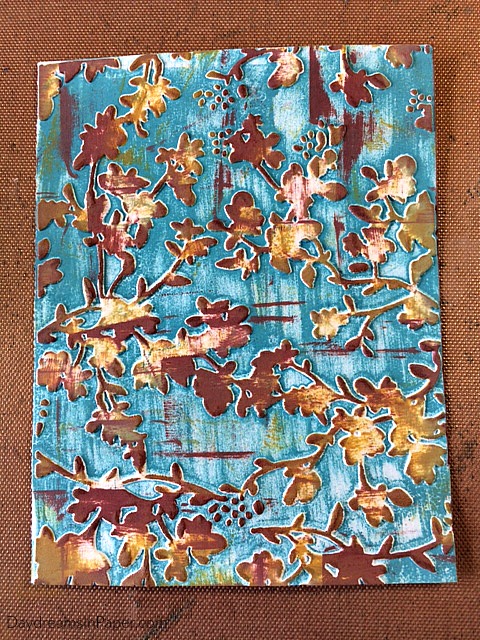
Here is a close-up of the background.
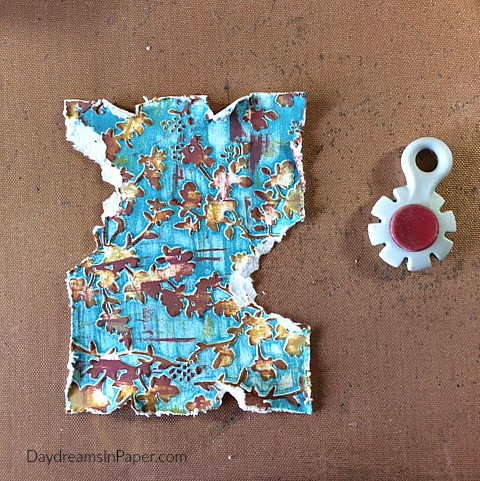
Next, tear a few areas of the background and distress the edges with a distressing tool. Curl some of the edges inward with your finger tips.
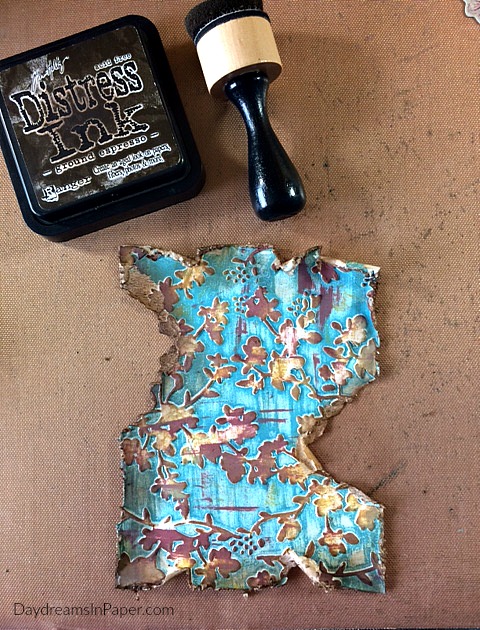
Ink the edges of the piece with a dark shade of Distress Ink and don’t forget to ink the curled edges as well.
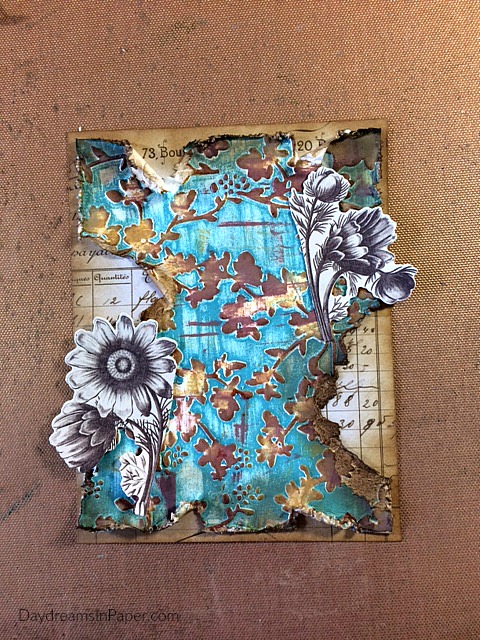
Adhere the background to a piece of patterned paper that has been inked along the edges and add a few ephemera pieces.
To complete the card, I add a vintage style inked ephemera piece just to the right of the center, add some Idea-ology pieces and adhere the entire piece on a 5-1/2″ x 6-1/4″ piece of Simon Says Stamp Dark Chocolate cardstock.
I hope you enjoyed seeing how I created a beautiful background piece using an embossing folder along with a few colors of Distress Oxides. Thanks so much for stopping by and have a wonderful weekend!


 |
 |
 |
 |
 |
 |
 |
 |
 |
 |
 |
 |
 |
 |
 |
 |
 |


