
Hi Friends! It’s good to be back after a couple of weeks off. I’d like to say it was because I was on vacation, but it wasn’t. May was a very busy month. My son, Joseph, graduated from high school and I had a million and one things to do for that, but then to top it off I was stung by a scorpion. Yes, a scorpion. I live in Arizona and they do occasionally get in the house. I’ve never been afraid of them and if one of my kids finds one, they scream and I get rid of it. It was never a big deal being that I was never scared of them. I’m more afraid of wolf spiders but only because they’re really ugly not because they can hurt you. Yeah I know, scorpions are ugly too, but for some reason they never instilled fear in my heart like a wolf spider did. Shouldn’t my fear have been the other way around? I guess so, but after getting stung by this little bugger I now have a new level of respect for them. I’m not sure how long it will be before I stop using a black light to walk to the bathroom in the middle of the night but I’m not counting on putting it away any time soon. Now on to the fun stuff!
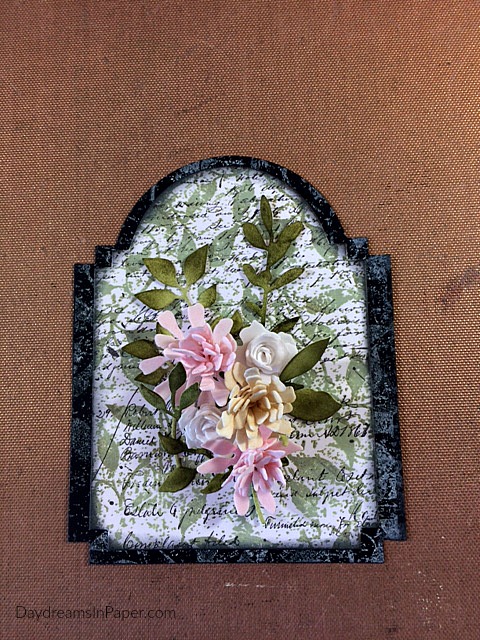
Today, I created a beautiful card with handmade flowers and layers and layers of Tim Holtz goodies. I love the combination of pink and black, it’s one of my favorites. Below is a short tutorial on how I put it all together. Enjoy!

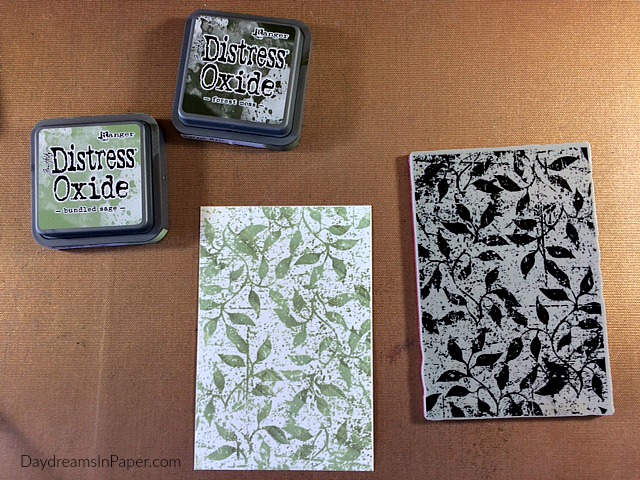
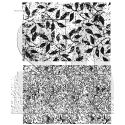
Top begin, cut a piece of Neenah Solar White cardstock. Using a stamp platform, ink the Tim Holtz Botanical background stamp with Bundled Sage Distress Oxide ink and clean the ink off the stamp. Next, add Forest Moss Distress Oxide ink to the tips and sides of the leaves and stamp the image again. Allow to completely dry.

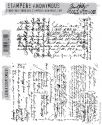
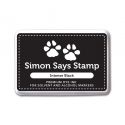
Now that the ink is dry, stamp on the Tim Holtz Ledger Script background stamp on top of the botanical image with Simon Says Stamp Intense Black ink.
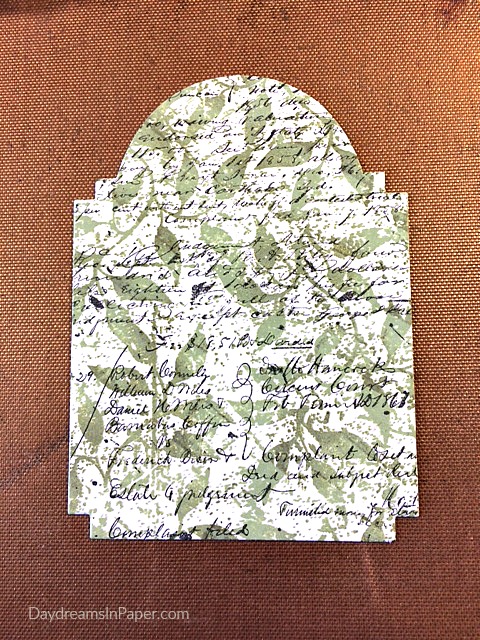
Using the Tim Holtz Stacked Archway die set, cut the largest archway from the stamped cardstock.
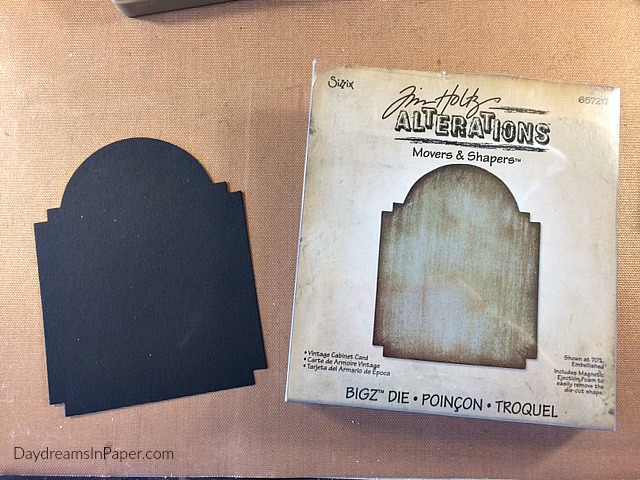
For the base, cut the Tim Holtz Vintage Cabinet Card from Simon Says Stamp Black cardstock.
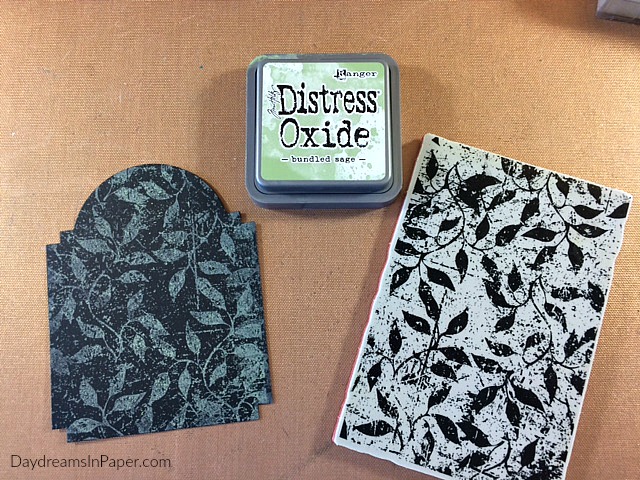
Stamp the cabinet card with the Tim Holtz Botanical background stamp in Bundled Sage Distress Oxide Ink. Allow to completely dry.
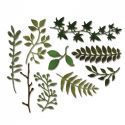
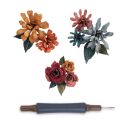
Adhere the two backgrounds together and use the Tim Holtz Tiny Tattered Florals die set to create small flowers. Cut the flowers from foamiran foam. I use white foam and color it with Distress Oxide inks to match my project. These flowers are colored with Worn Lipstick and Antique Linen Distress Oxide. The others are left white. The leaves are from the Tim Holtz Garden Greens die set that I colored with Bundled Sage and Forest Moss Distress Inks.
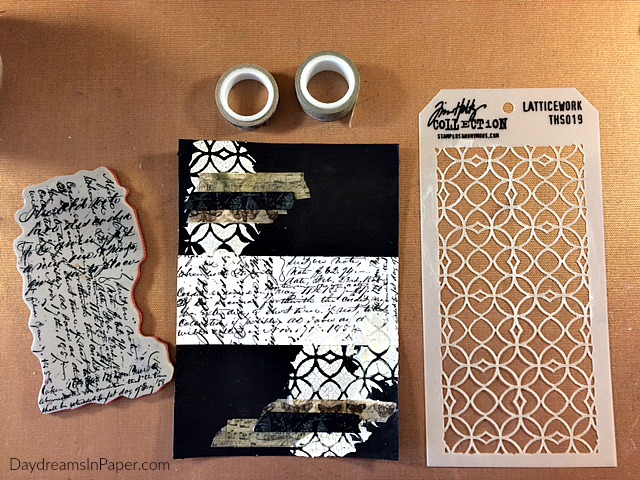
To create the background for the card, cut a 5″ x 7″ piece of Simon Says Stamp Black cardstock and stencil on the Tim Holtz Latticework stencil with Ranger Crackle Texture Paste. Add some strips of design tape and some strips of black cardstock stamped with the Botanical background stamp. Next, add a wide strip of white cardstock that has been stamped with the Ledger Script background stamp to the center of the panel.
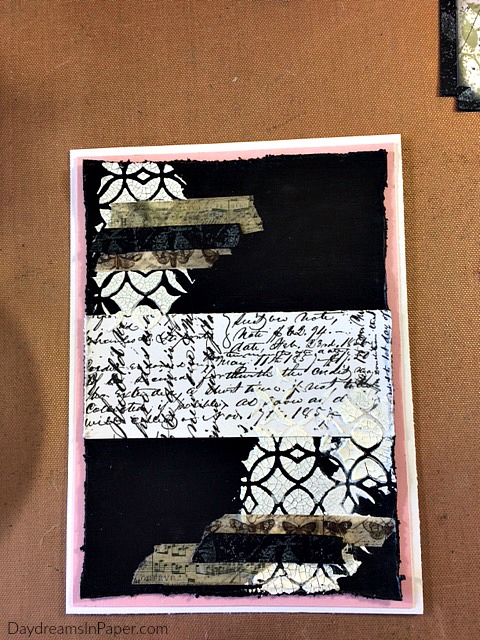
Using the Tim Holtz Distress Paper Distresser Tool, distress the edges of the black cardstock and then adhere that panel onto a 5-1/4″ x 7-1/4″ piece of pink cardstock. The base panel is a 5-1/2″ x 7-1/2″ piece of Neenah Solar White cardstock.
To complete the card, adhere a strip of burlap to the center of the card allowing the edges to hang over the side. Adhere the main focal point over the top of the burlap and add a Tim Holtz Key Adornment colored with Black Soot and Picket Fence Distress Paint. An addition of a small Tim Holtz Quote Chip inked with Bundled Sage Distress Oxide Ink provides the perfect final touch to this beautiful vintage card.
I hope you enjoyed seeing how I put this card together and that I’ve inspired you to create something that’s in you heart. Have a lovely week!


 |
 |
 |
 |
 |
 |
 |
 |
 |
 |
 |


