
Hi Friends! I’ve been busy making Valentine’s the last few days but not your typical Valentine’s Day cards. I didn’t use any red or pink colors or put any hearts on the cards. I send Valentine’s Day cards to my friends and family because it’s one of my favorite holidays and believe it or not, some of them do not like the typical red and pink Valentine’s with hearts. The first card is very feminine with a delicate style and the second is more of a grungy style. Either way, I think they are both so pretty and yes, so easy to put together. Join me below and I’ll explain how I created each one. Enjoy!

Let’s begin with the first card.
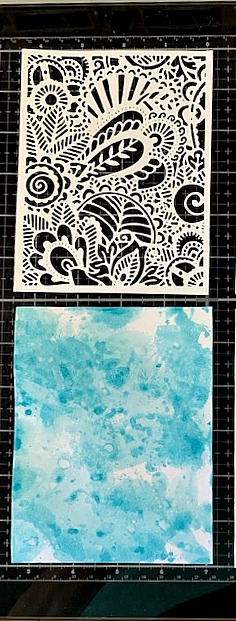
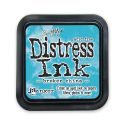
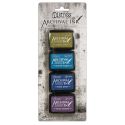
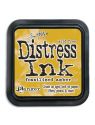
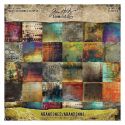
Cut the Tim Holtz Doodle Art die out of white cardstock and set that aside. Cut a piece of mixed media paper the same size as the Doodle Art piece and color it with Broken China Distress Oxide and let that dry. Next, add Broken China Distress Ink as another layer to give it depth.
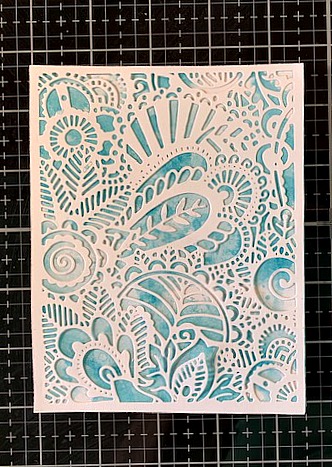
Attach the Doodle Art die cut piece over the inked mixed media paper and set that aside.
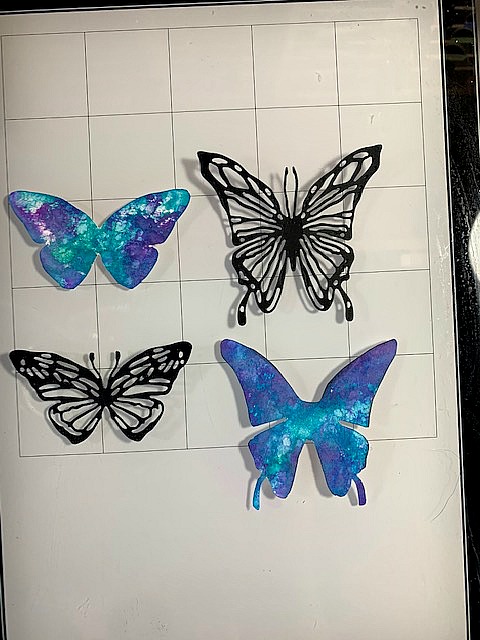
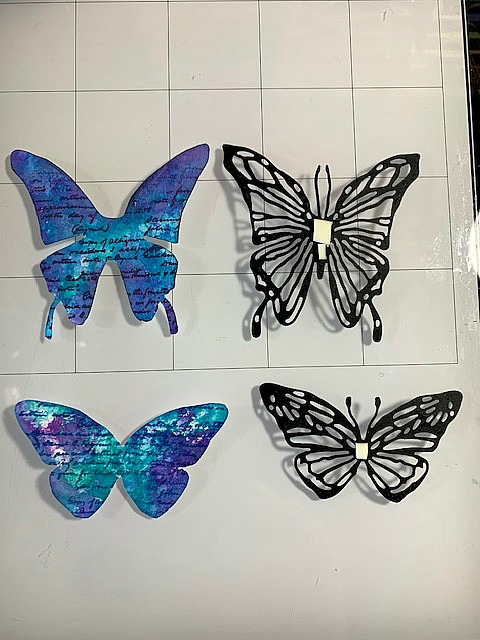
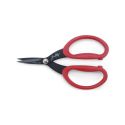
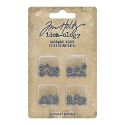
To create the butterflies, cut two of the Tim Holtz Scribbly Butterflies out of black cardstock. Next, place the actual metal die piece for each of the two butterflies selected onto a piece of mixed media paper that have been colored with Distress Ink and Oxides. Trace around the dies and then cut them out with scissors.
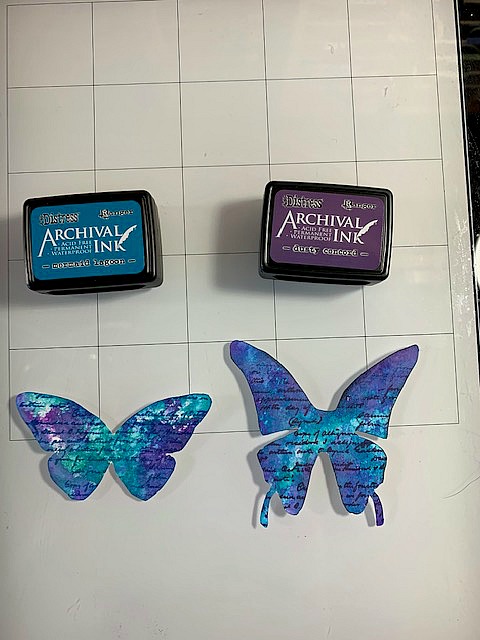
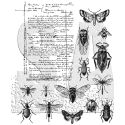
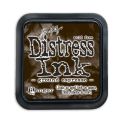
Ink the script stamp from the Tim Holtz Entomology stamp set onto each butterfly.
Before placing the outlined butterfly piece onto the solid butterfly, add a small piece of 3D foam tape to each butterfly as shown above.

Next, attach the two butterflies together.
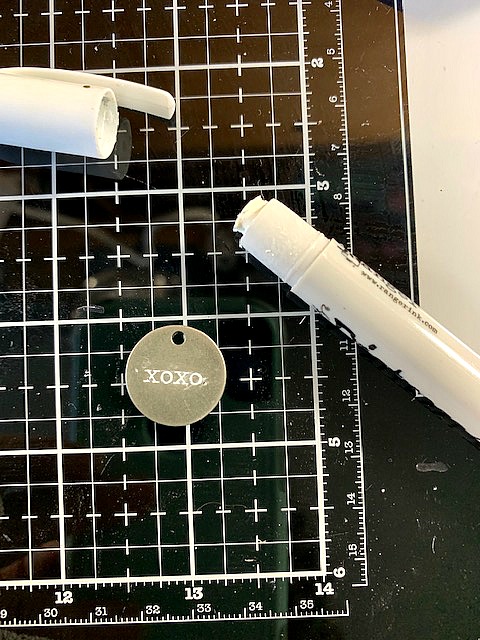
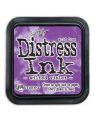
For the metal piece, rub Picket Fence Distress Crayon pigment over the top of the piece to accentuate the message. Wipe the excess away from the edges with a cloth. The pigment will remain in the indented message.
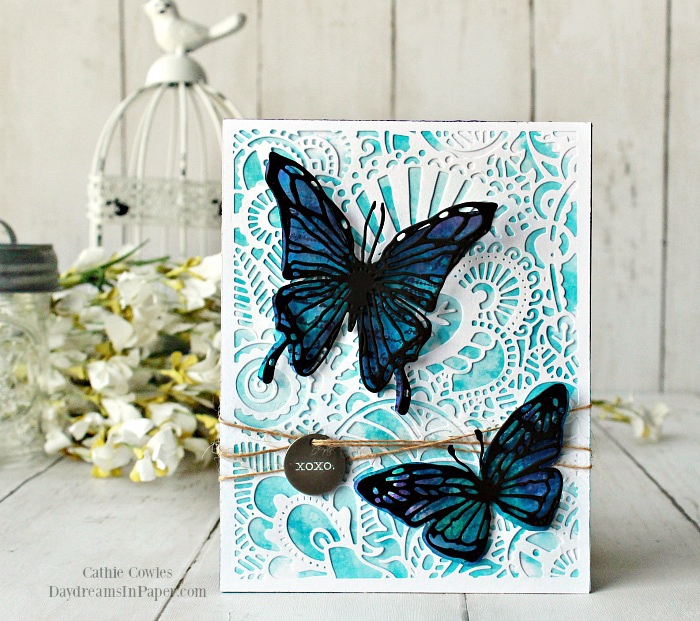
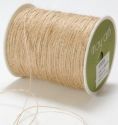
To finish the card, attach the metal piece onto some burlap twine and wrap it around the card. Mount the die cut piece onto a card base and adhere the butterflies to the card. Easy, right, and so pretty!
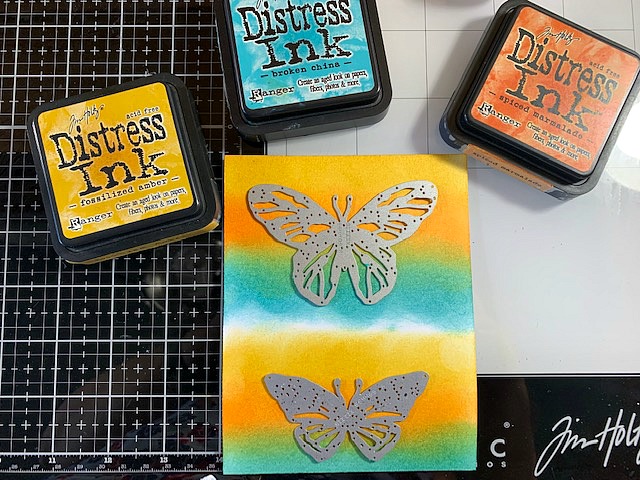
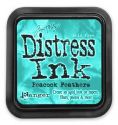
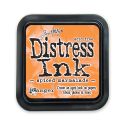
To create the butterflies on the second card, use the same process as above. Ink Fossilized Amber, Broken China and Spiced Marmalade Distress Inks onto a piece of mixed media paper with an ink blending tool. Lay the metal die butterflies on the paper after the ink has dried and trace around the edges. Cut them out with scissors.
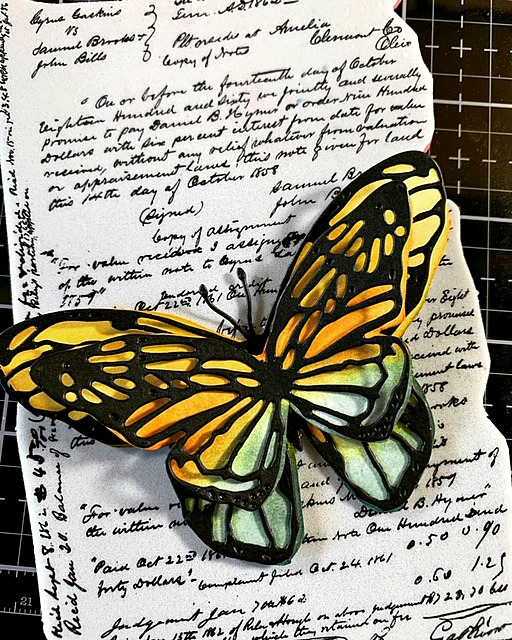
Cut out the Scribbly Butterflies with their coordinating die out of black cardstock. Cut the antennas off of the smaller butterfly and adhere both die cuts to their coordinating solid butterfly pieces. Add a piece of 3D foam tape to the center of the smaller butterfly and adhere it on top of the larger butterfly for a different look. This butterfly has beautiful layers and is quite dimensional.

I hope you enjoyed seeing how I created these two Valentine’s Day cards and that you give a non traditional Valentine a try. Thanks so much for stopping by and have a great day!


 |
 |
 |
 |
 |
 |
 |
 |
 |
 |
 |
 |
 |
 |
 |
 |
 |
 |


