
Hi Everyone! I hope your summer is going well and that you’re finding time to rest and relax. Today I’m sharing a cute card I created using some of my favorite colors. It’s the first time I’ve used the Tim Holtz paper dolls. I know, I know, I’m a little late to the party but I’m finally going through a stack of things I purchased long ago but haven’t used. I hope you join me below to see how I put my card together and thanks so much for stopping by. Enjoy!
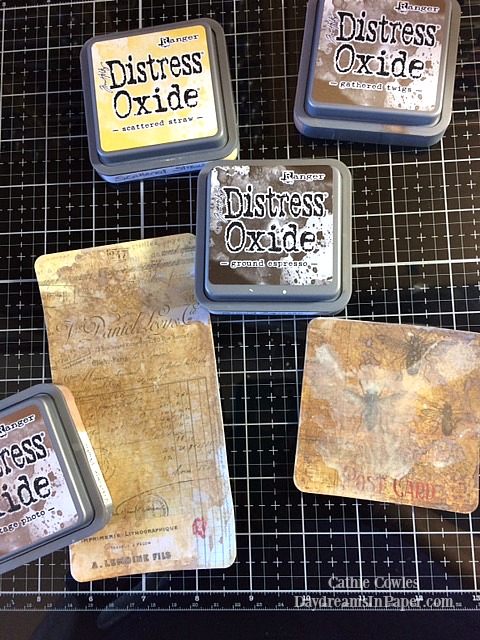
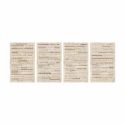
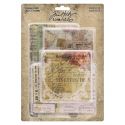
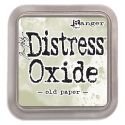
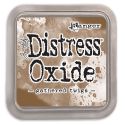
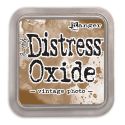
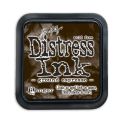
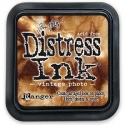
To begin, I chose a couple of Tim Holtz Journal Cards. I create a mixture of colors using Gathered Twigs, Ground Espresso and Vintage Photo Distress Oxides and smoosh them onto a mixed media mat and spritz with water. I lightly spritz the journal cards with water and run them through the oxide and water mixture on the media mat. Do this a couple of times until you’re happy with the outcome but make sure to completely dry each layer before moving onto the next one. This will ensure the colors don’t get muddy. Clean off the mat and smoosh Scattered Straw Distress Oxide onto the mat, spritz with water and run the journal cards through until you’re happy with the outcome. Again, make sure to completely dry each layer before moving onto the next.
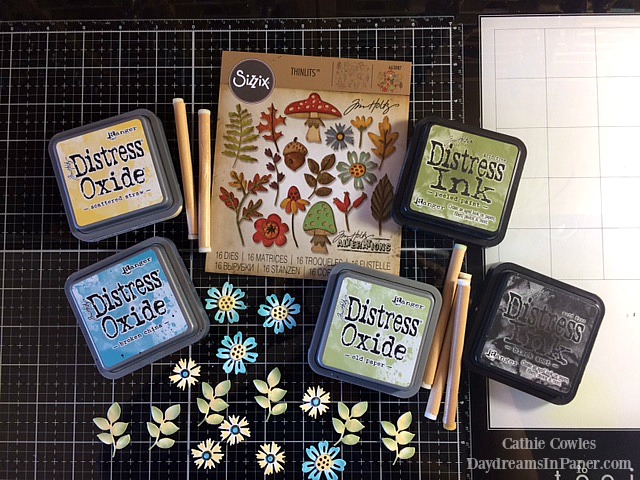
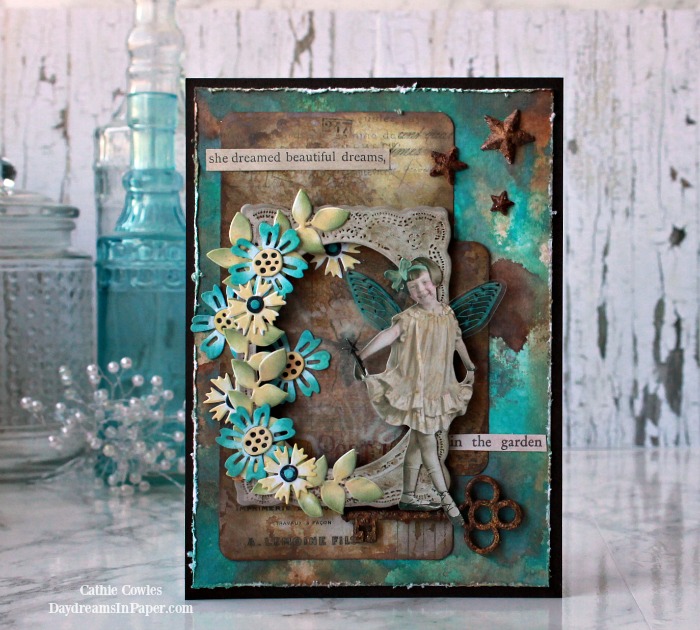
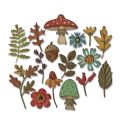
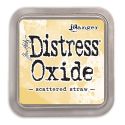
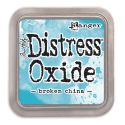
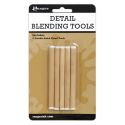
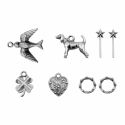
I cut several flowers from the Funky Foliage die set and color the petals of the larger flower with Broken China and later decide to add Evergreen Bough. The centers of the flowers are colored with Black Soot Distress Ink and the small yellow flowers are colored with Scattered Straw Distress Oxide. To color the small flower petals, I use a Ranger Detail Blending tool which makes coloring small items a breeze. I was able to add several colors to the leaves with this tool and I love how they turned out.
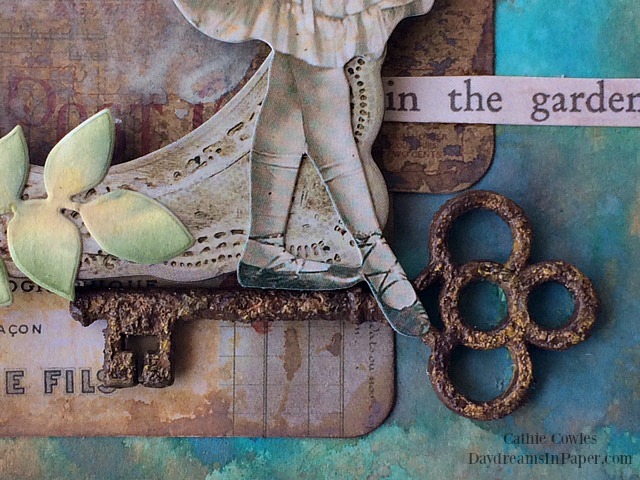
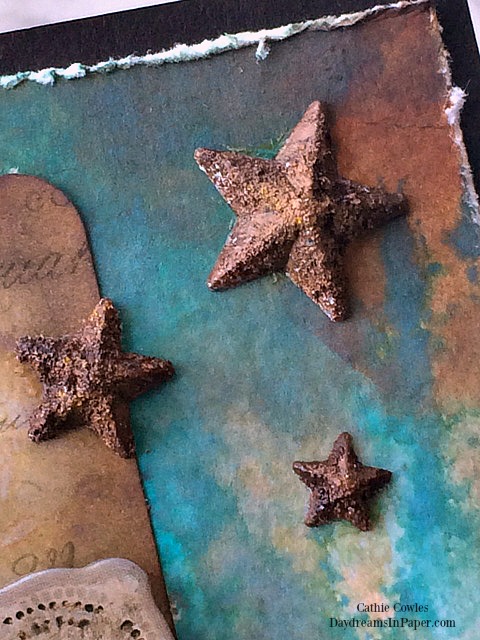
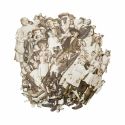
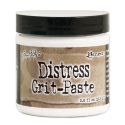
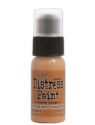
To create the rusty metal pieces, I cover each piece with grit paste and allow it to completely dry. When the paste is dry, I paint the pieces with Ground Espresso Distress Paint and and allow it to dry. I then go over each piece with Rusty Hinge and Mustard Seed Distress Paint until they take on a rusty effect look. After adding the last two paints I go over some of the areas to tone down the brightness with the Ground Espresso paint. I continue to do this process until I’m pleased with the way they turned out.
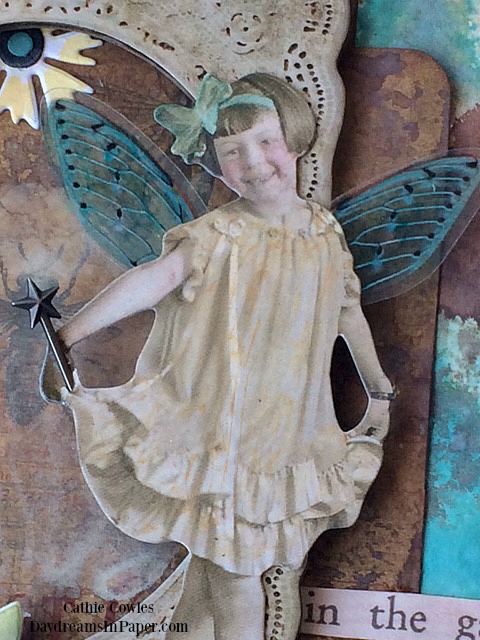
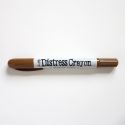
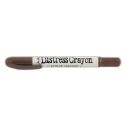
To color the little girl, I use Distress Crayons. Smoosh a bit of the crayon onto a media mat and spritz with water. I use mini applicators to pick up the pigment. They’re perfect for getting into the tiny spaces. You can purchase them here. I have one applicator for every color. Her headband is colored with Evergreen Bough and her dress is Scattered Straw. Her cheeks are colored with Worn Lipstick and her skin is colored with Tattered Rose. Her wings are one of the Tim Holtz Transparent Wings that I colored with Pool Alcohol Ink.
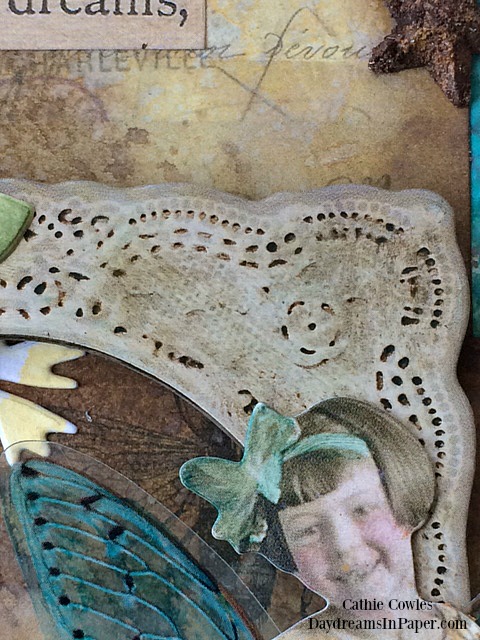
To color the lace baseboard frame, I use Vintage Photo and Ground Espresso Distress crayons. First rub the Vintage Photo Distress Crayon pigment all over the frame and wipe with a paper towel. The pigment will stay in the recessed areas. I go over the piece again with Ground Espresso to get a little variation of browns.
My background piece is a 5″ x 7″ piece of mixed media paper that has been colored with Broken China, Evergreen Bough and Vintage Photo Distress Oxides. I used the same process to color this piece as I did with the journal cards and after all the ink was dry, I distressed the edges with a distress tool.
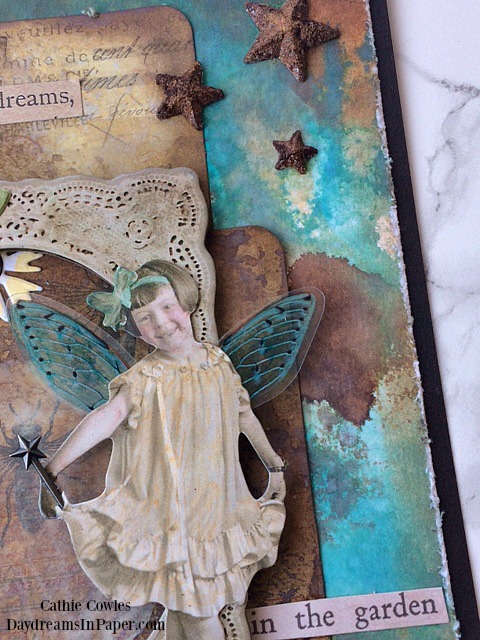
I adhered the journal cards to the background piece and layered the flowers along the lace baseboard frame. I added the rusty metal pieces, the little girl with wings and a couple of clippings stickers to bring the whole theme together.
I hope you enjoyed seeing how I put my project together. Thanks so much for sticking with me to the end. You can find all the supplies listed below and available at Simon Says Stamp.

 |
 |
 |
 |
 |
 |
 |
 |
 |
 |
 |
 |
 |
 |
 |
 |
 |
 |
 |
 |
 |
 |
 |
 |
 |
 |
 |
 |
 |
 |
 |
 |
 |


