
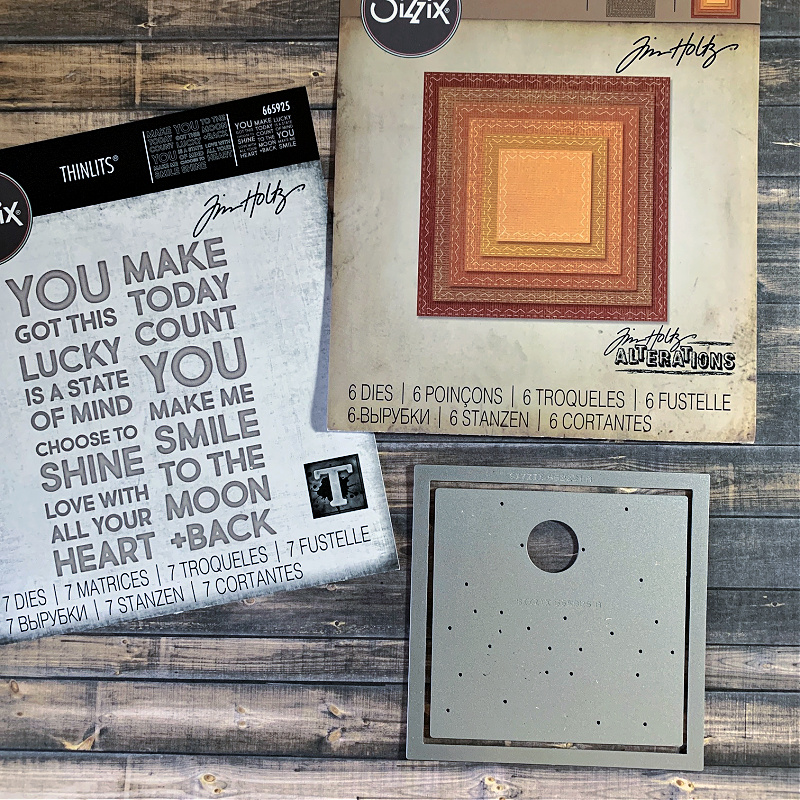
Hi friends! Today I’m sharing the way I framed the new Bold Text dies from Tim Holtz. The Bold Text sentiments are so fun because you can use them in whole or part. In this tutorial I’ll show you how to use the whole sentiment with framed die sets you may have on hand. There are several ways to frame the Bold Text dies so let’s get started. Enjoy!
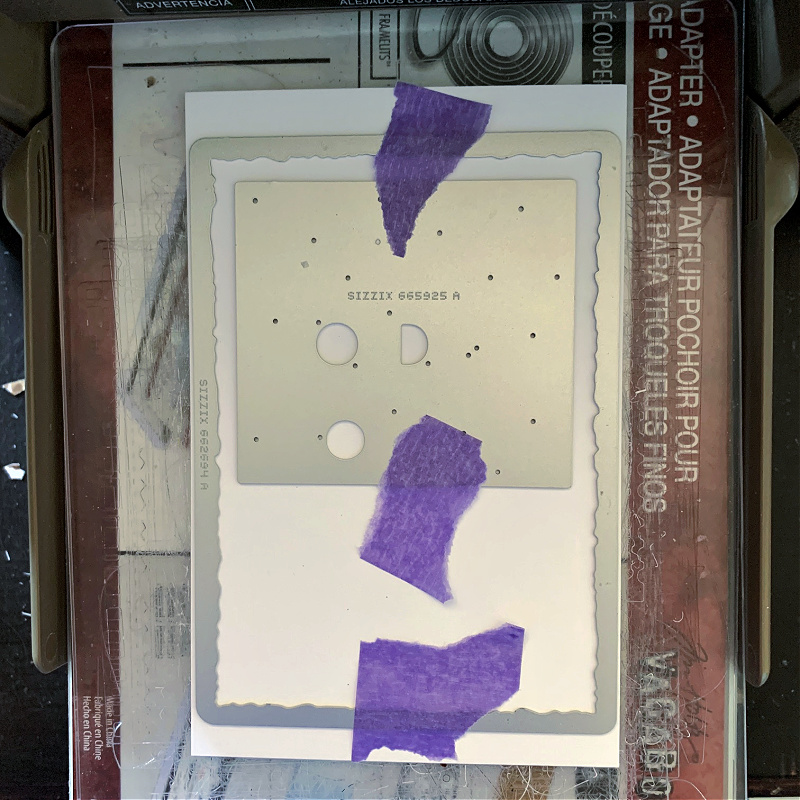
Choose the frame you wish to use for your project and place the bold text die where you want it to appear in the frame. Tape the dies down so they don’t slide when you run it through your die cutting machine. I’m using white cardstock for my example but if you want to use inked cardstock, make sure to do that first becaue the residue from the tape will create a resist to your inks.
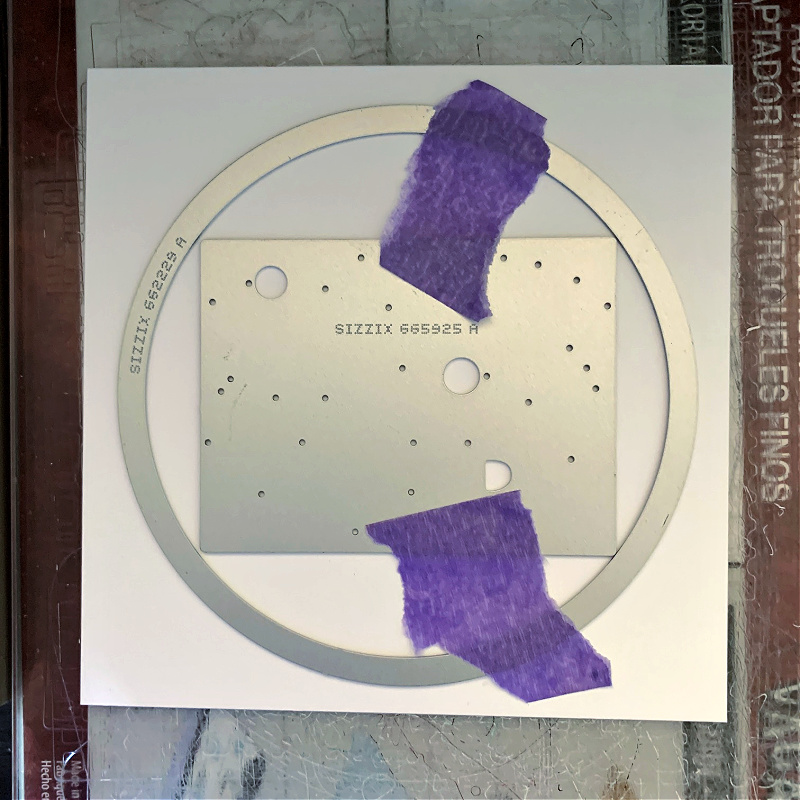
Below are some examples of die placement within the frame:
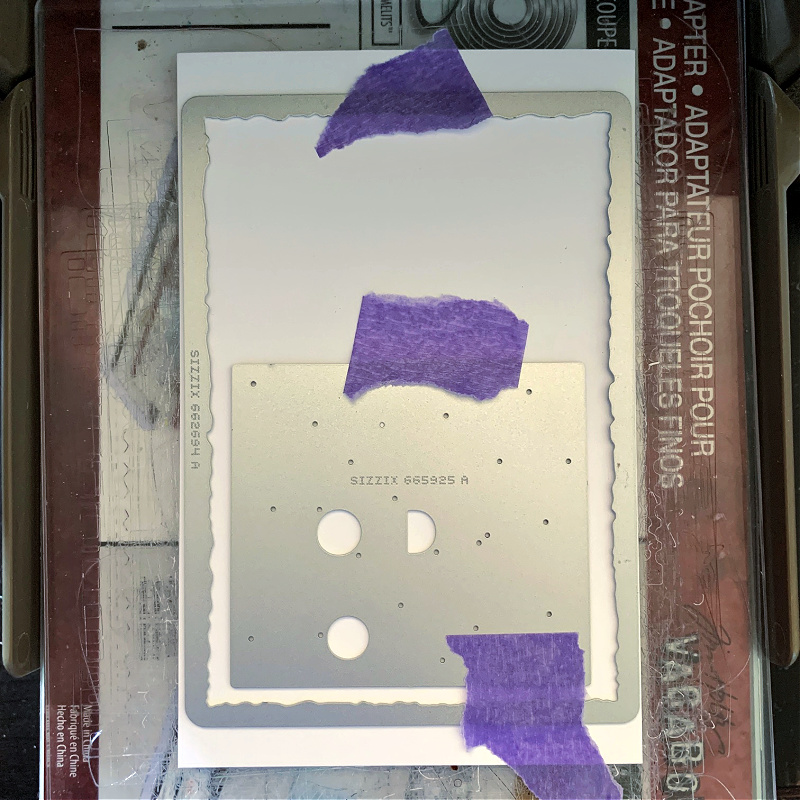
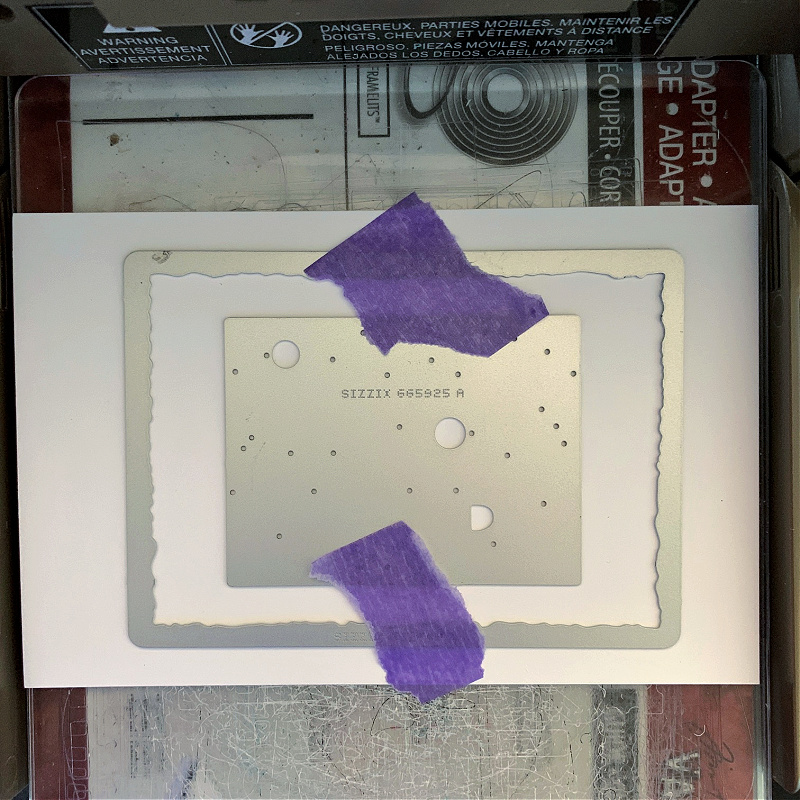
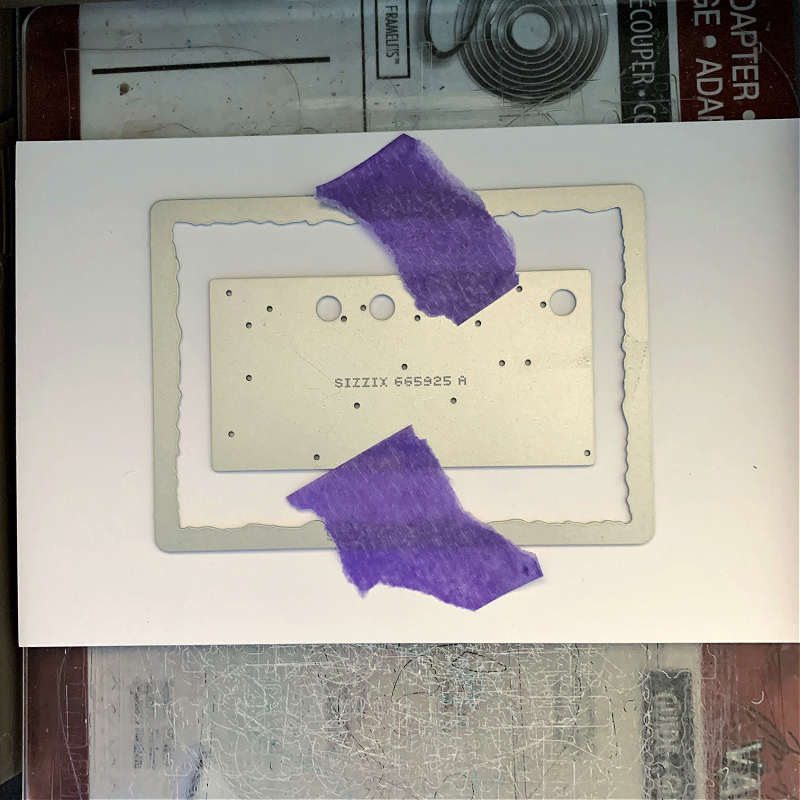
In the example below where the bold text die fits in the frame very snuggly, be careful to make sure the bold text die and the frame die are not overlapping. This will damage either or both of the dies so make sure the edges of each die do not overlap each other and be sure to tape them down so they don’t shift when you run them through your die cut machine.
Below are some examples of framing the bold text sentiments.
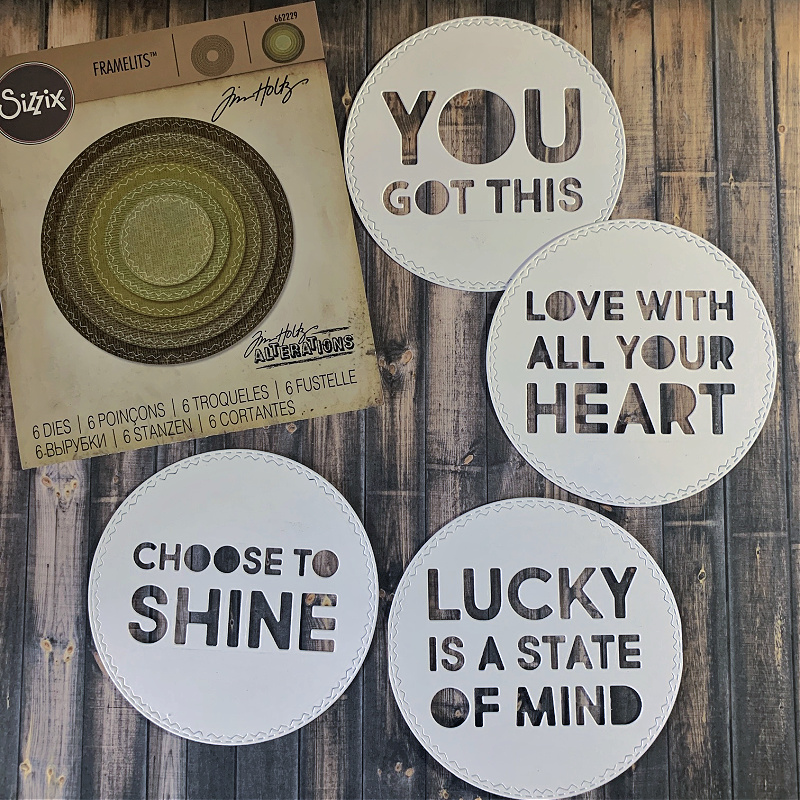
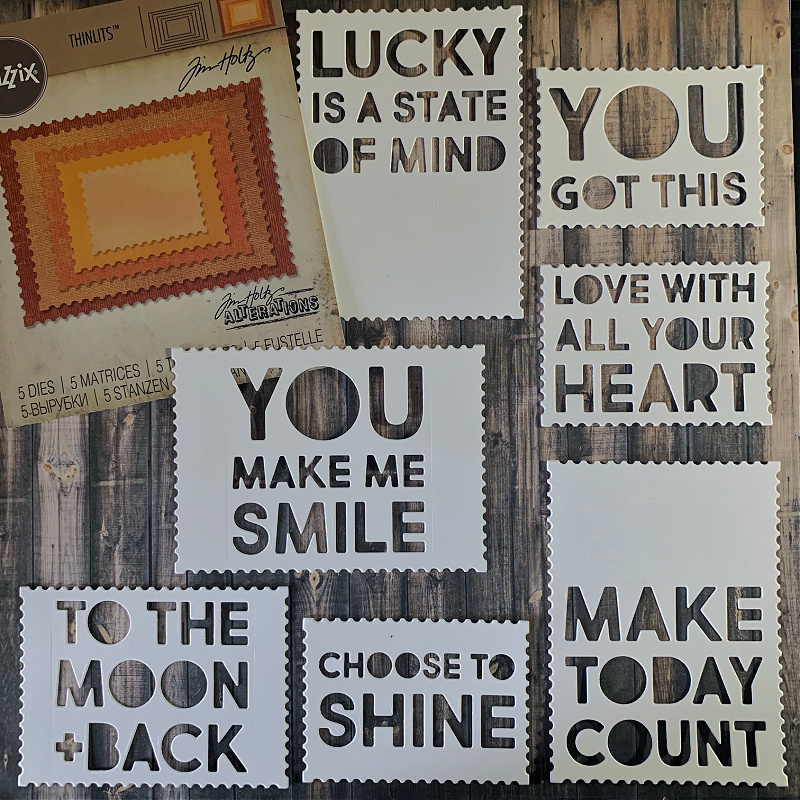
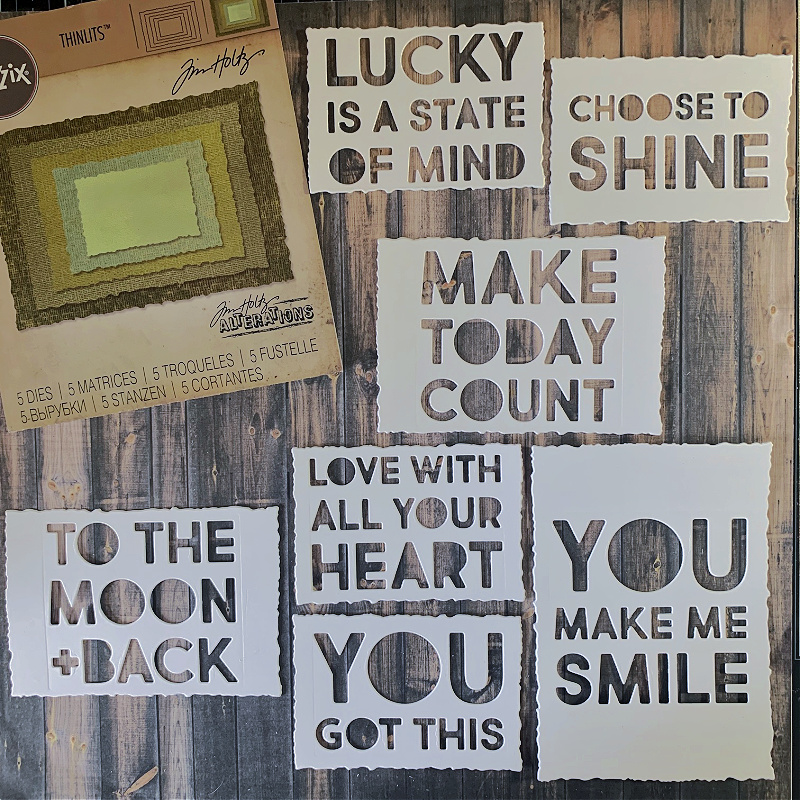
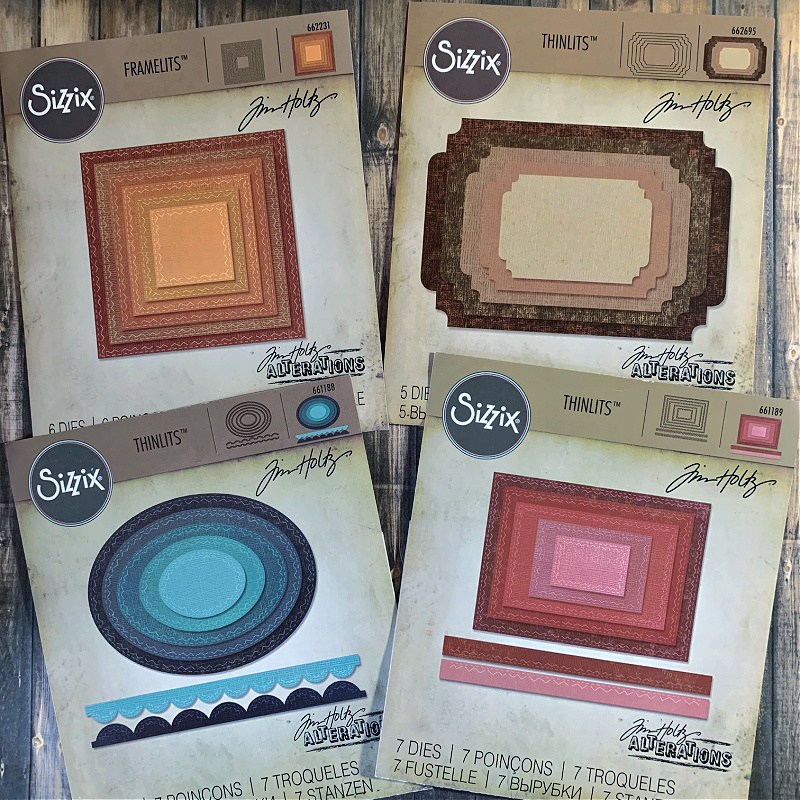
There are many other frames to choose from and they all work wonderfully with the Bold Text 1 & 2 dies. All the dies from Tim Holtz in this tutorial have been retired but I know most of you have these in your stash and that is why I chose to use them. If not, no worries, you can use any frames that you have on hand.
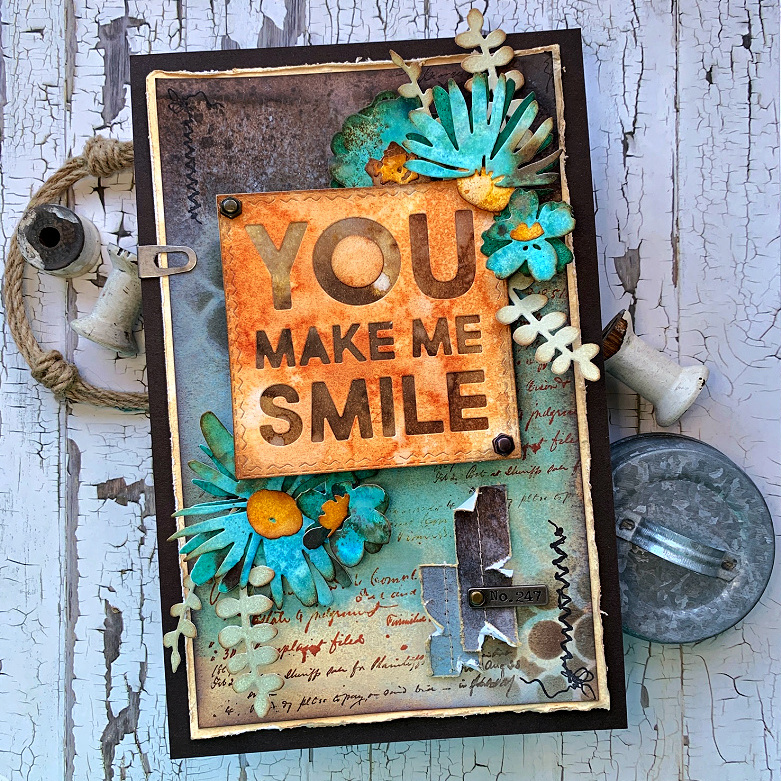
Now on to my card:
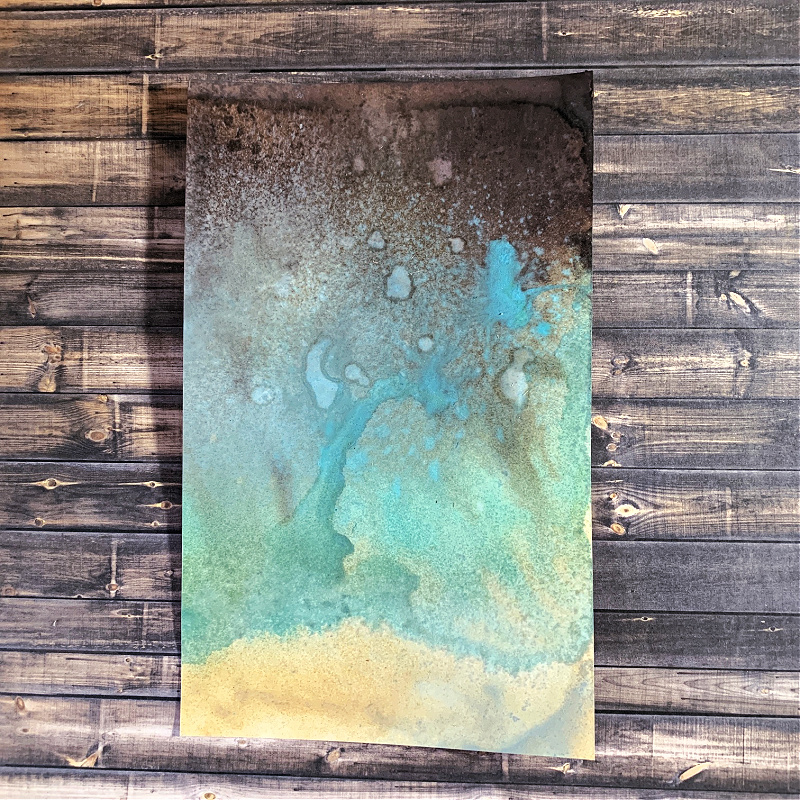
I begin by creating the front card panel by spraying Distress Heavy Stock cardstock with a bit of water so the colors will move freely. I then spray the panel with Evergreen Bough, Gathered Twigs and Antique Linen. To get the colors to move around, I spritz a bit more water in areas where I want the ink to move. I continue this process alternating between spritzing and drying with a heat tool until I’m happy with the outcome and then I dry the panel completely with a heat tool.
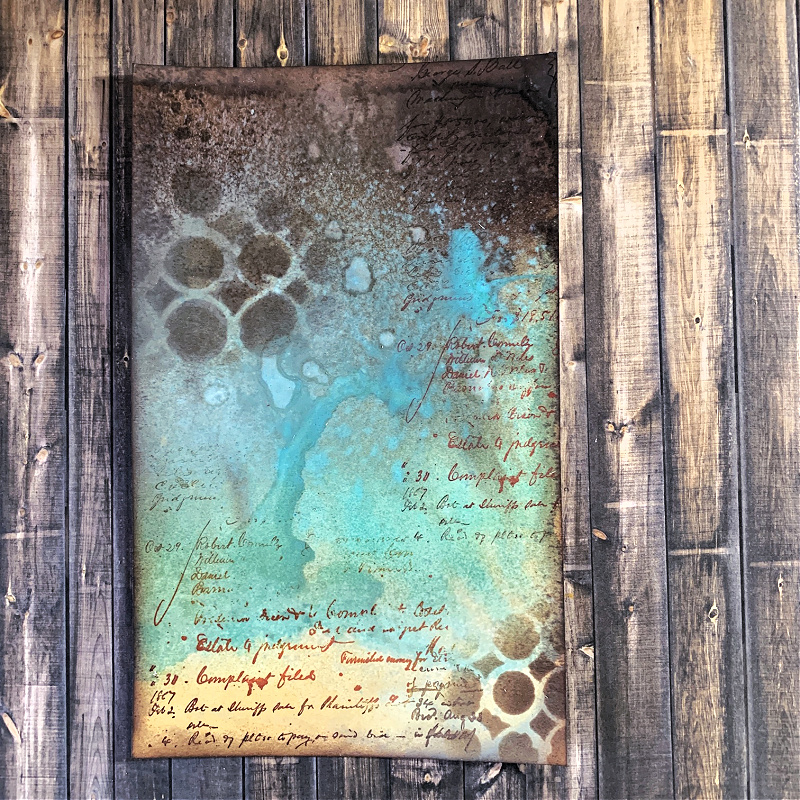
To add a bit of interest to my background, I add some stenciling and stamping. I set this aside while I create my framed sentiment using the new Bold Text 2 die set.
I created my sentiment using the Stitched Squares die set and centered the sentiment inside the die to make sure it fit.
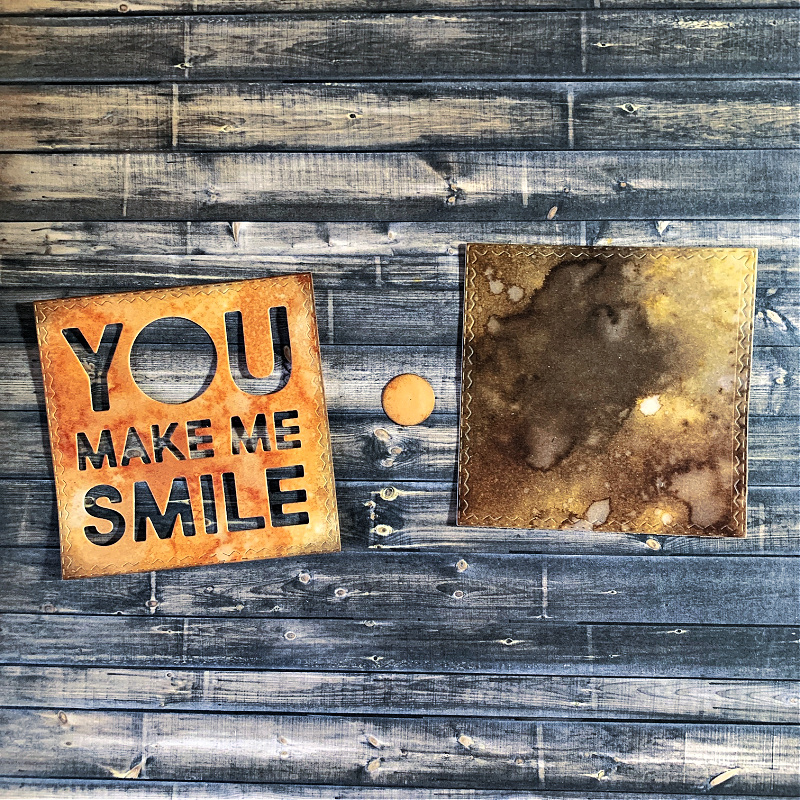
First, I cut out the background from a piece of cardstock that has been inked with Gathered Twigs, Ground Espresso and Vintage Photo and set that aside. Using the same size Stitched Square die that I used to create the backgound piece, I use a piece of cardstock that has been inked with Wild Honey, Spiced Marmalade and Rusty Hinge. I place the sentiment in the center and cut it out with my die cut machine.
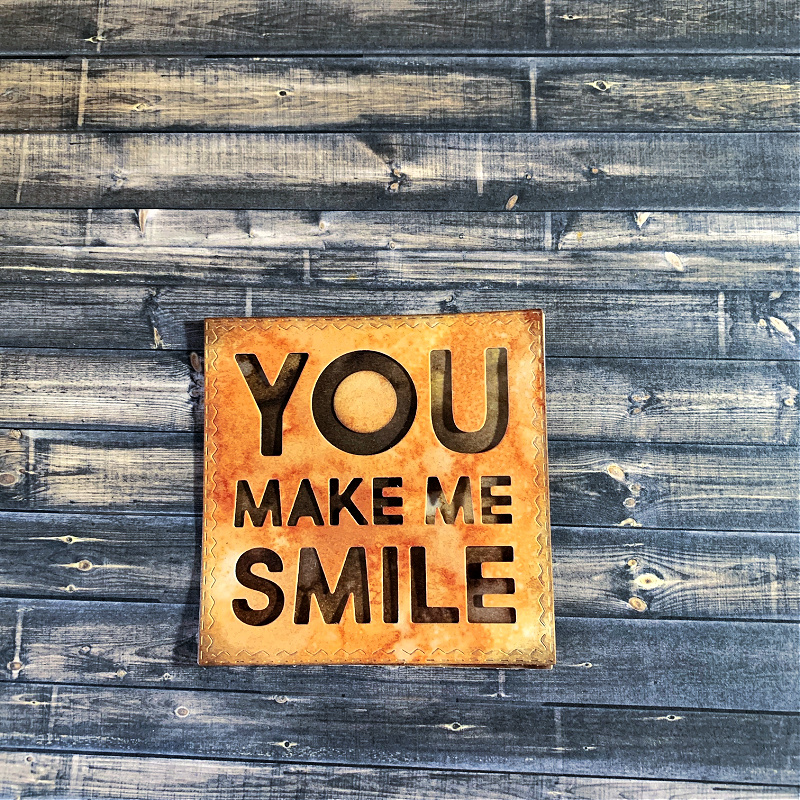
I adhere everything together and it’s ready to add to the card front.
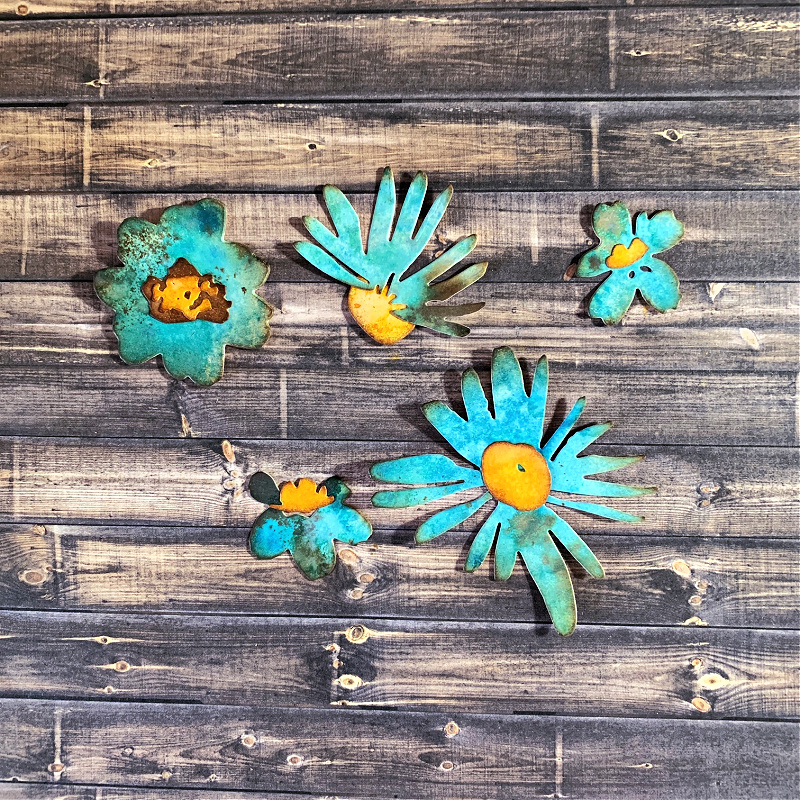
I chose some coordinating colors of inked cardstock from my stash and cut out a few flowers using the new Modern Floristry die set.
Putting it all together:
I adhere the sentiment to the top center of the card panel using 3d foam tape and tuck the flowers underneath the sentiment. I add a bit of greenery from the Modern Floristry die set cut out of inked cardstock. I stamp on a couple stitched images from the Tim Holtz Stampers Anonymous Stitches stamp set and add a couple pieces of torn inked cardstock in the corner. I add a Tim Holtz Story Stick with a brad on top of the torn cardstock pieces and a couple of hex fasteners to the sentiment piece. I create a background piece that is slightly bigger than my main card panel inked with Antique Linen Distress Ink and then I distress the edges of that piece. I adhere the main card panel to that and then the entire card to a piece of Simon Says Stamp Dark Chocolate cardstock.
I hope you enjoyed seeing how I put this card together and how you can use the Bold Text dies with any frame dies you have on hand. Thanks so much for sticking with me to the end and have an awesome rest of your week!

Tim Holtz Sizzix Bold Text 2 Thinlits Dies
Tim Holtz Sizzix Modern Floristry Thinlits Dies
Tim Holtz Stampers Anonymous Ledger Script Stamp Set
Tim Holtz Stampers Anonymous Stitches Stamp Set
Tim Holtz Stampers Anonymous Ringer Stencil
Tim Holtz Ranger Distress White Heavy Stock Cardstock
Simon Says Stamp Dark Chocolate Cardstock
Distress Inks and Sprays :
Evergreen Bough, Gathered Twigs, Antique Linen, Vintage Photo, Ground Espresso, Wild Honey, Spiced Marmalade, Rusty Hinge
Tim Holtz Ranger Distress Ground Espresso Archival Ink
Tim Holtz Idea-ology Story Sticks
Tim Holtz Idea-ology Hex Fasteners
Tools:
Tim Holt Ranger Domed Ink Blending Pad
Tim Holtz Ranger Ink Blending Tool
Tim Holtz Tonic Maxi Guillotine Comfort Paper Trimmer


Gorgeous! I will certainly be using some of your color combos and die cutting ideas.