
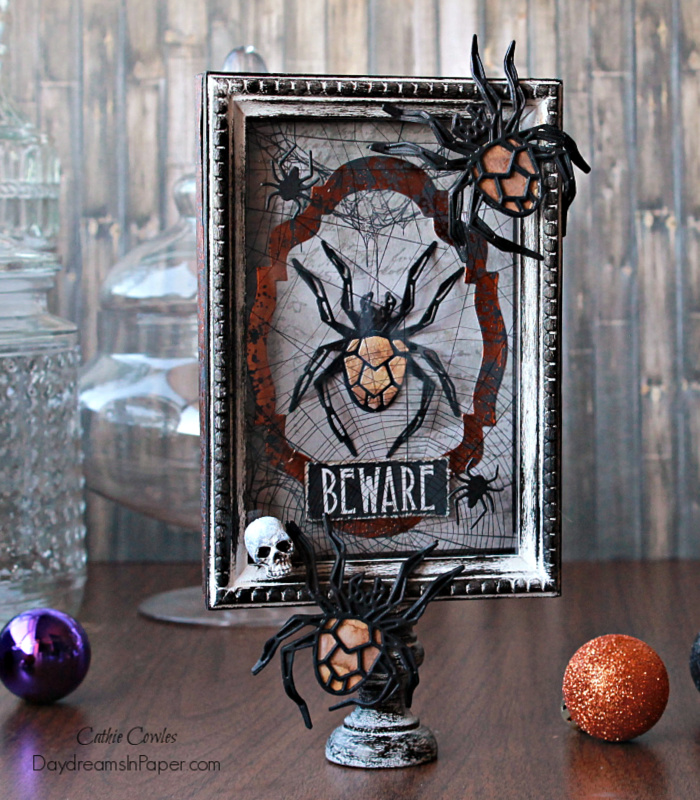
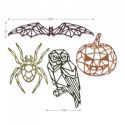
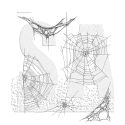
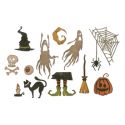
Hi Friends! I’m back again today with another tutorial showcasing the Geo Halloween dies from the Tim Holtz Sizzix Chapter 3 release. This set comes with a spider, jack-o-lantern, owl and a bat. My project will focus on the spider and how to create him in 3D form but you can do this to any of the shapes in the set. I hope you’ll join me below to see how I created this spooky spider. Enjoy!
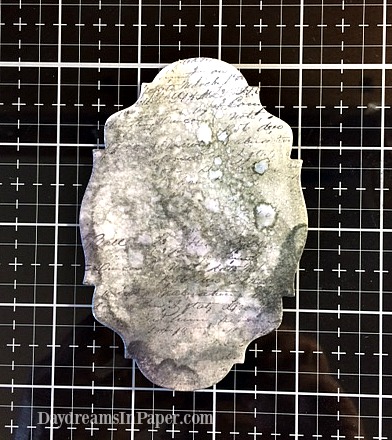
First, create the background for your spider. It can be any size, shape and color that you want. For my project, I created a background of Hickory Smoke and Pumice Stone Distress Inks on watercolor paper. Just smudge the inks onto a glass craft mat and spritz with water. Spritz the watercolor paper with water and drag it through the ink and water mixture to pick up the color. Dry the first layer with a heat tool and continue this process until you are happy with the results. Remember to dry each layer completely before moving onto another layer.
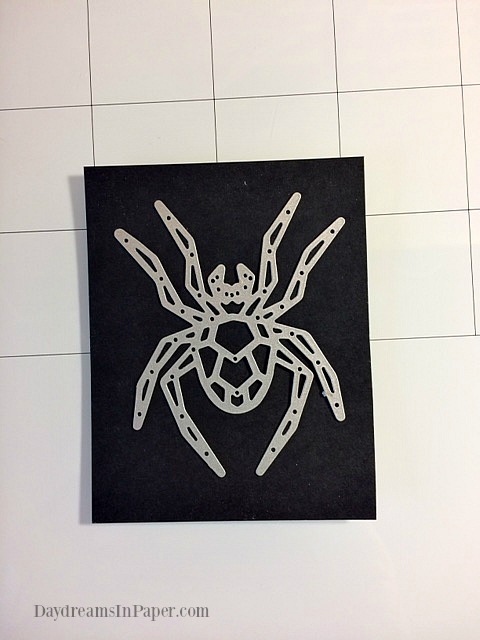
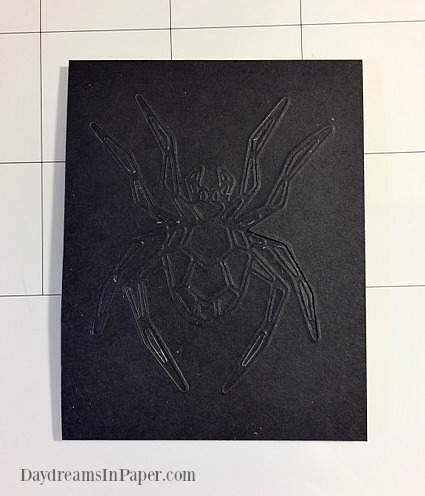
To create the 3D spider, cut out the spider on heavy black cardstock, Run the die through your die cutting machine a couple of times to make sure you get a clean cut. When you are finished running it through the machine, DO NOT remove the die from the paper.
Carefully turn the die cut piece over with the metal die still attached.
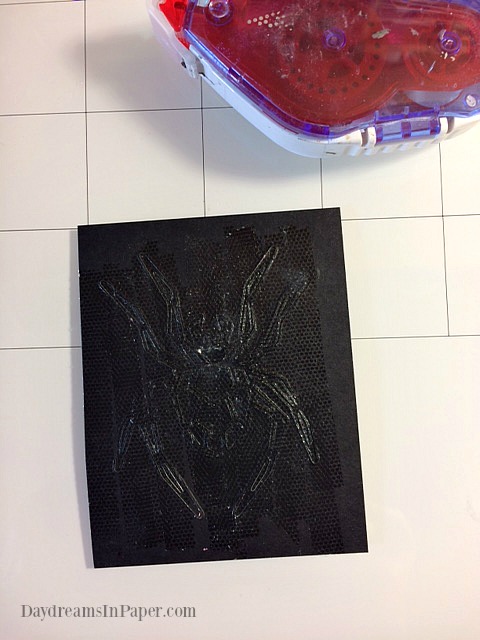
Run an adhesive dot roller over the entire die cut piece. I’m using a Scotch Adhesive Dot Roller, but any kind will do.
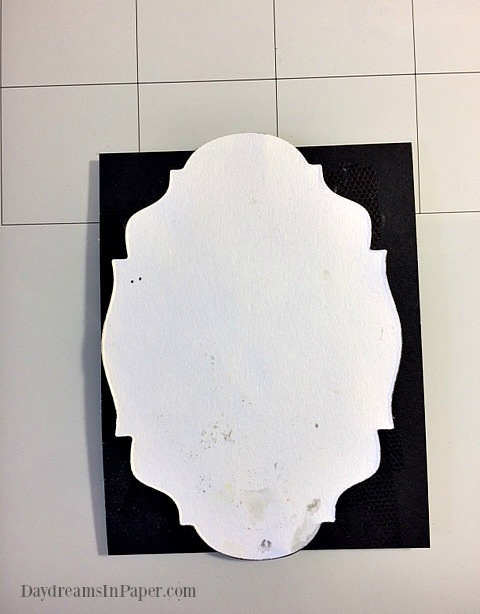
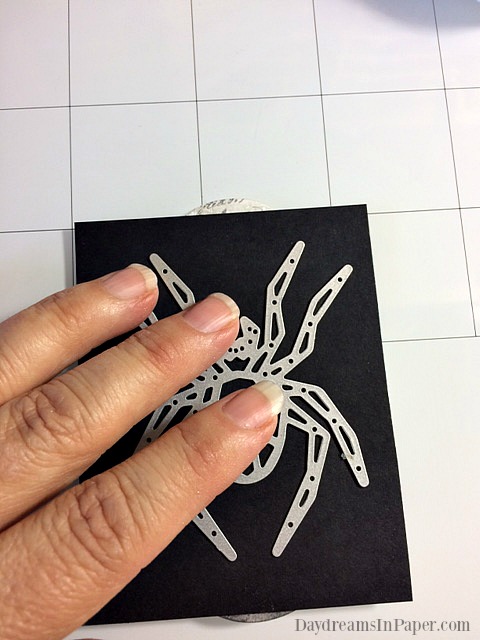
Next, place your background piece over the spider cutout.
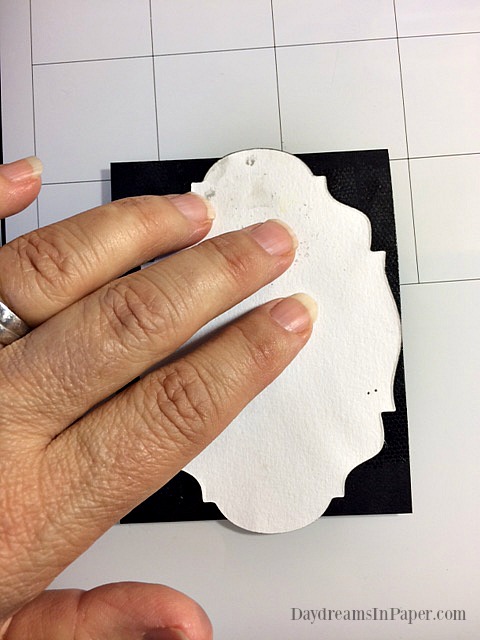
Rub the entire background piece, firmly, with your finger tips so the pieces of the spider will adhere to it.
Turn the entire piece over with the background piece still attached.
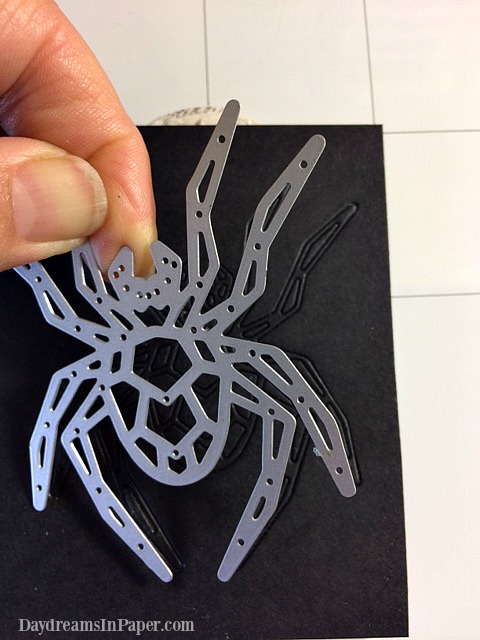
Gently, and very slowly, remove the metal die piece. Don’t worry if any of the pieces come off, just put them back where they belong and press them down back into place.
After removing the metal die piece, this is what you should have so far. The background piece is still attached underneath, and the spider with all its inner leg pieces are still in place.
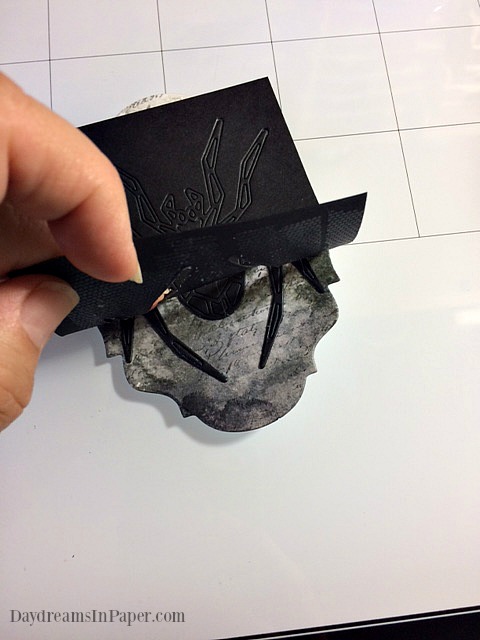
Now, carefully and slowly, lift the black cardstock making sure the spider with all its inner pieces stay attached to the background piece.
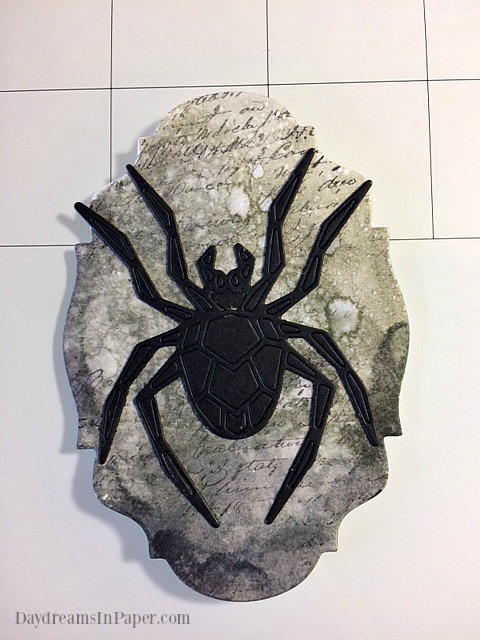
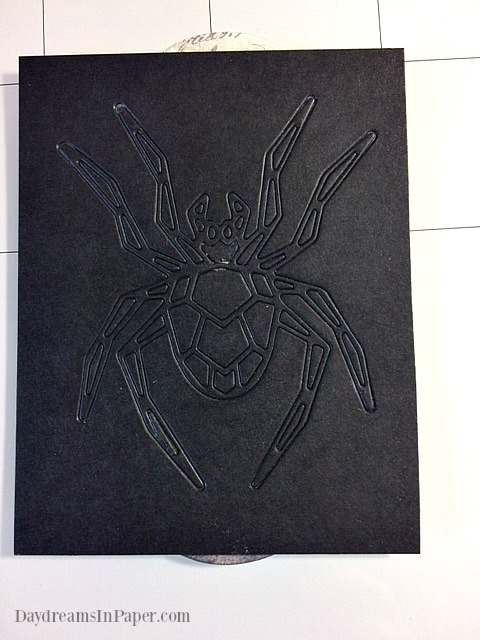
After removing the outer black cardstock around the spider, this is how your piece should look.
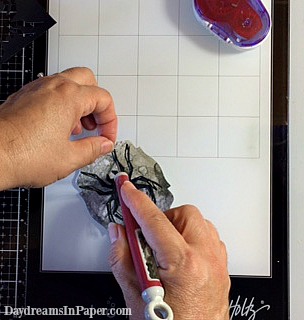
Next, carefully lift the legs of the spider upward. Use a craft pick to keep the inner pieces of the leg attached to the background piece.
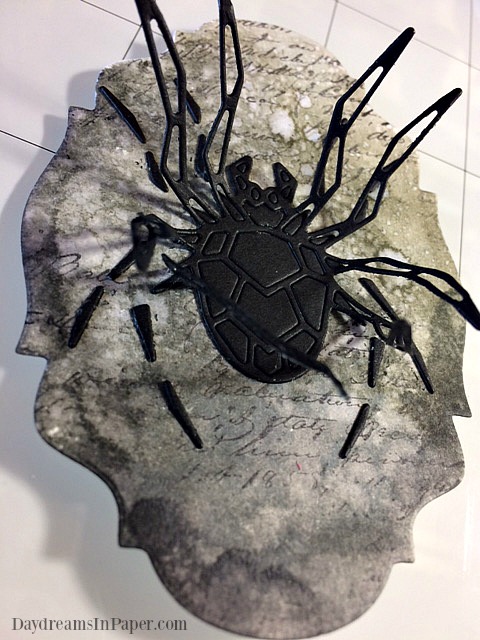
Here is what it will look like after you have lifted all of the spiders legs.
To form each leg, bend or curl the leg toward the spider’s body and curl the very ends of the legs upward as shown above.
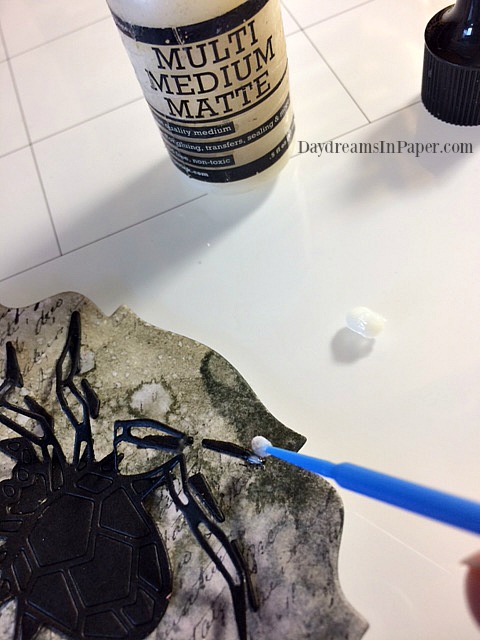
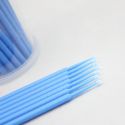
Each leg has two inner pieces. Using a mini applicator, apply a bit of multi matte medium onto the tip of the furthest inner leg piece as shown above. Next, take the leg that is attached to the spiders body that goes with that inner piece and attach the tip of the leg where you put the glue. (Remember, the tip of the leg was bent upward so that when you attach it to the glue, that part of the leg will sit flat onto the background.) Complete this process for each leg.
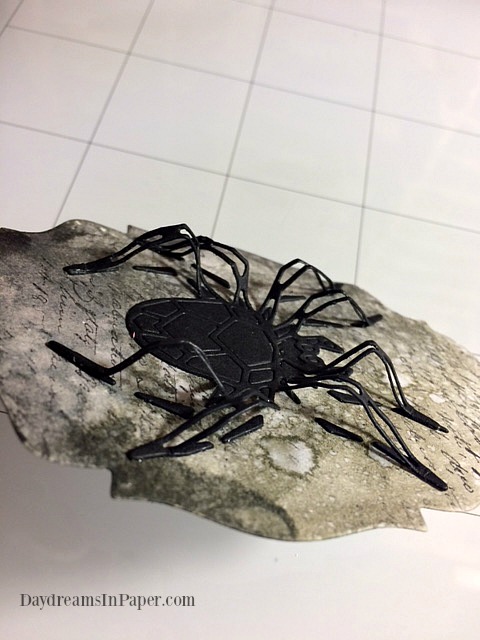
This is what your spider should look like after all the legs are attached.
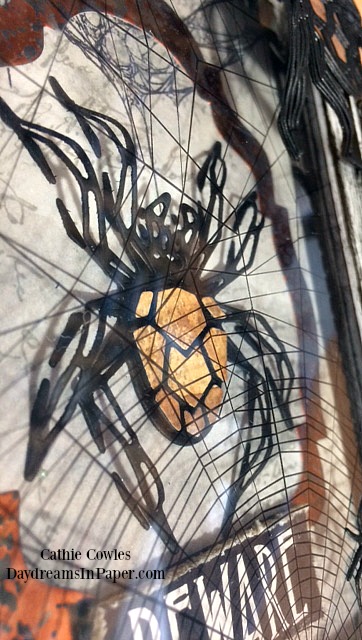
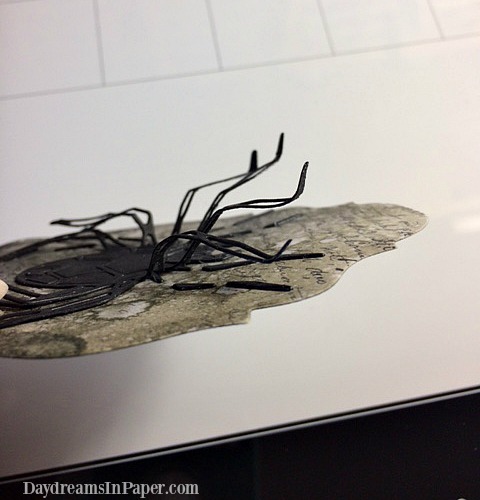
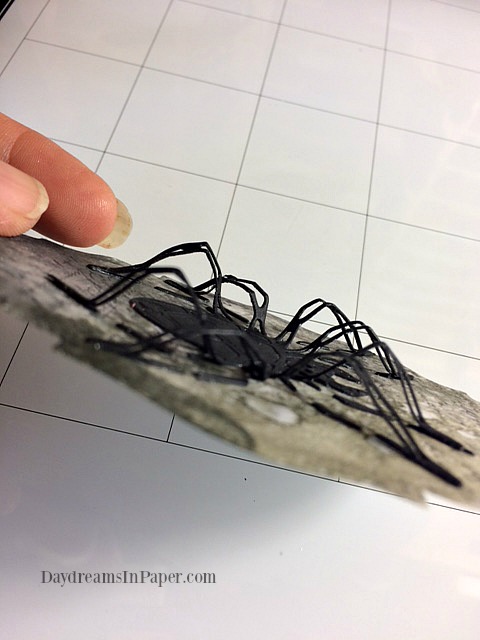
Here’s another view of the 3D spider.
Here is a view of the 3D spider from above.

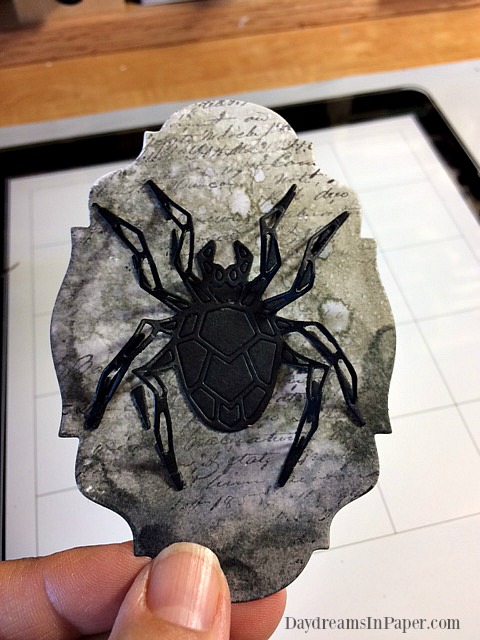
To create the brown body for my spider, I color a piece of watercolor paper with Vintage Photo, Gathered Twigs and Ground Espresso Distress Ink and spritzed it with water. Dry it with a heat tool and then cut out the center portion of the spider using that piece. Next, I adhere the brown body pieces to the black body pieces on the spider where they belong. The pieces will be raised up which adds even more dimension to your spider.
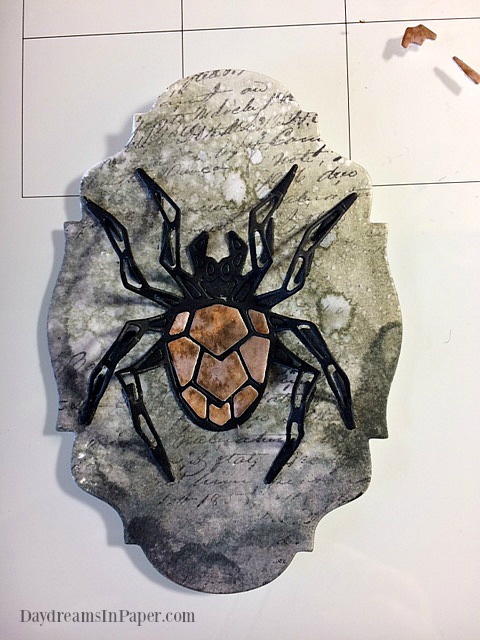
Here is my completed 3D spider.
I hope you enjoyed seeing how I created the 3D spiders for my spooky Halloween Decor and that you’ll give it a try on your next Halloween project. It looks awesome on Halloween cards too! I did my best to try and explain the process but if you have any questions, please don’t hesitate to contact me. Have a great week!

 |
 |
 |
 |
 |
 |
 |
 |
 |
 |
 |
 |
 |
 |
 |
 |
 |
 |
 |
 |
 |
 |


