
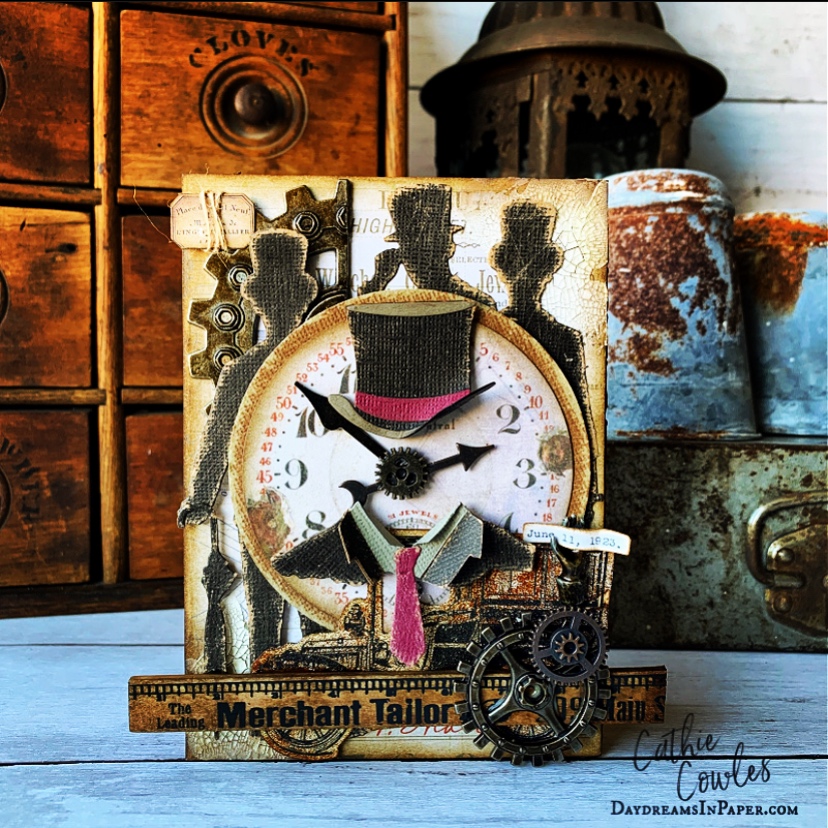
Hi friends! jToday I’m sharing a steampunk inspired make using the Tim Holtz Everyday line from Sizzix. Combining the Gentlemen and Tailored die sets were perfect for what I had envisioned. Below is a full tutorial on how I put it all together. Enjoy!
Preparing the Vignette Box
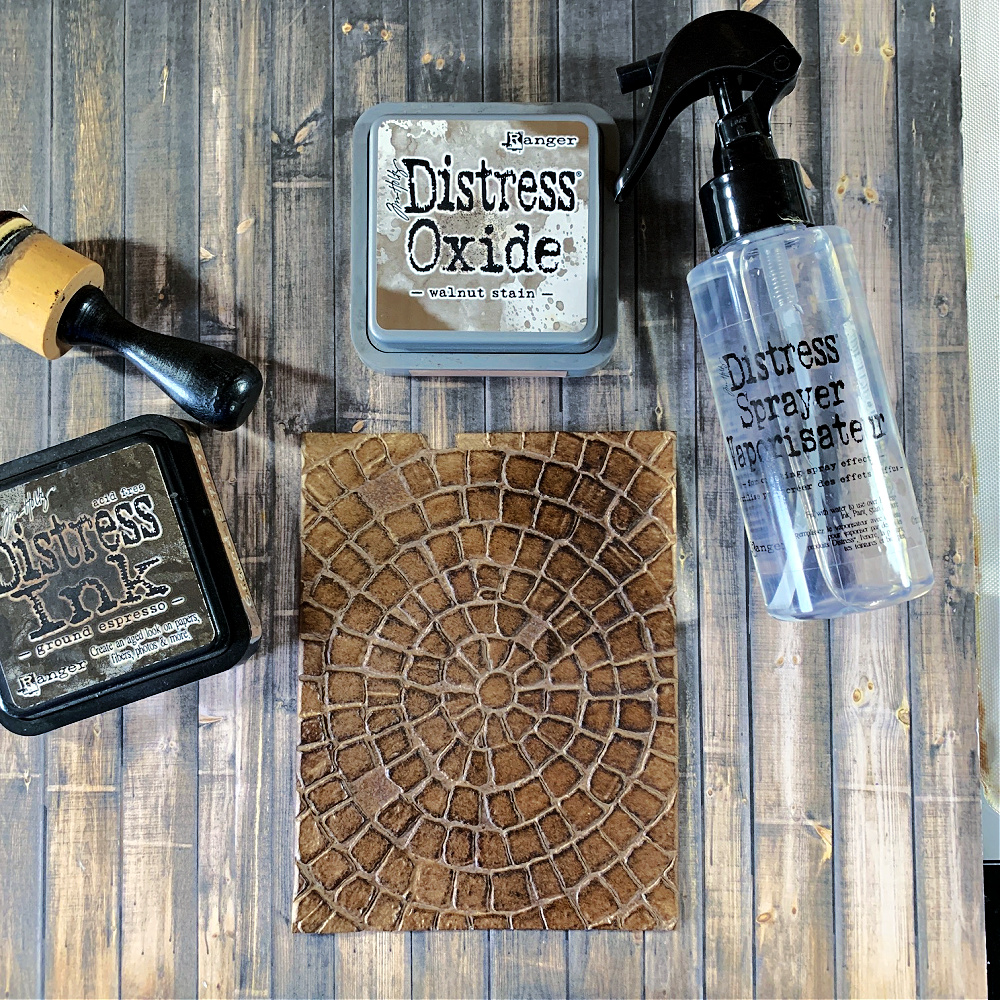
On the top and sides of the vignette box I decide to use the Mosaic 3D Embossing Folder. To create this look, smoosh Walnut Stain Oxide Ink onto a craft mat and spritz it with a bit of water. Next, spritz a piece of Distress Mixed Media Heavystock and run it through the oxixe and water mixture. Dry this completely with a heat tool. When the cardstock is completely dry, emboss it with the Mosaic 3D embossing folder. Using an ink blending tool lights go over the raised surface of the design with Ground Espresso Distress Ink.
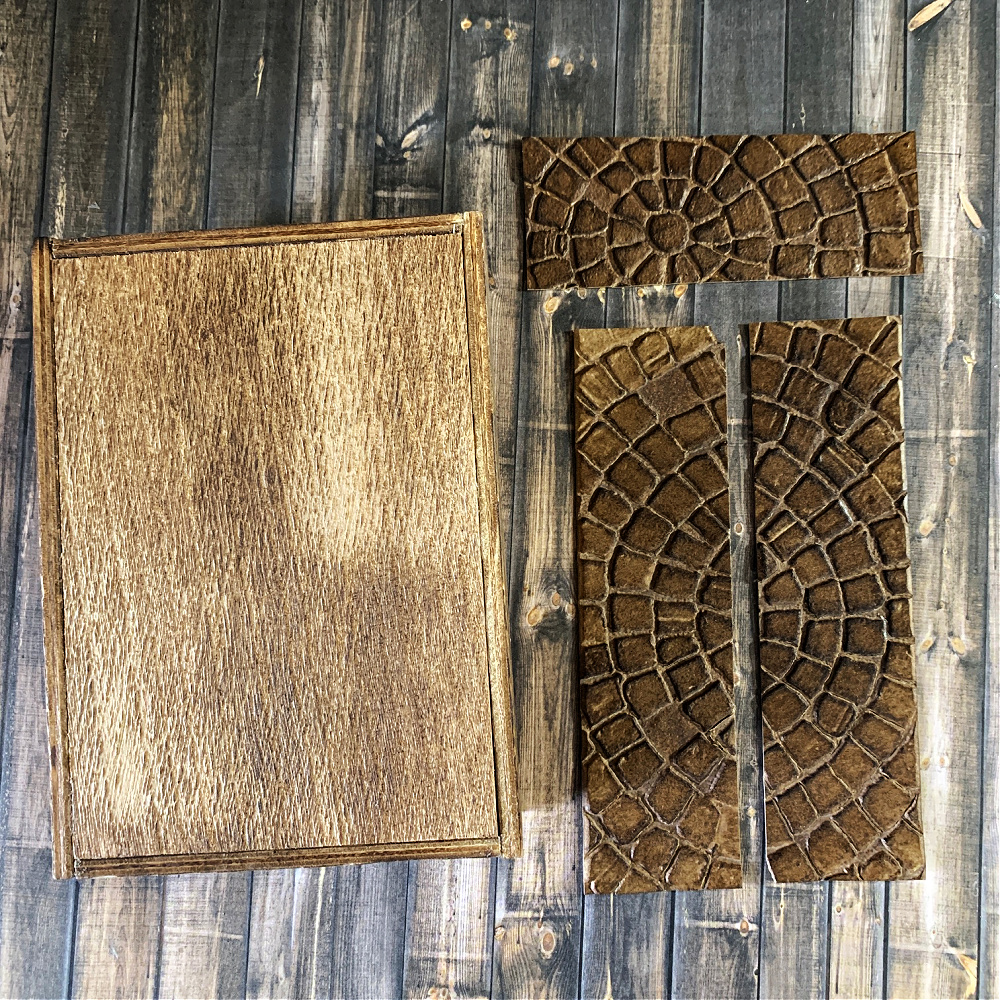
Measure the top and sides of the vignette box and cut the mosiac embossed cardstock accordingly. Apply to the vignette box using Distress Collage Medium.
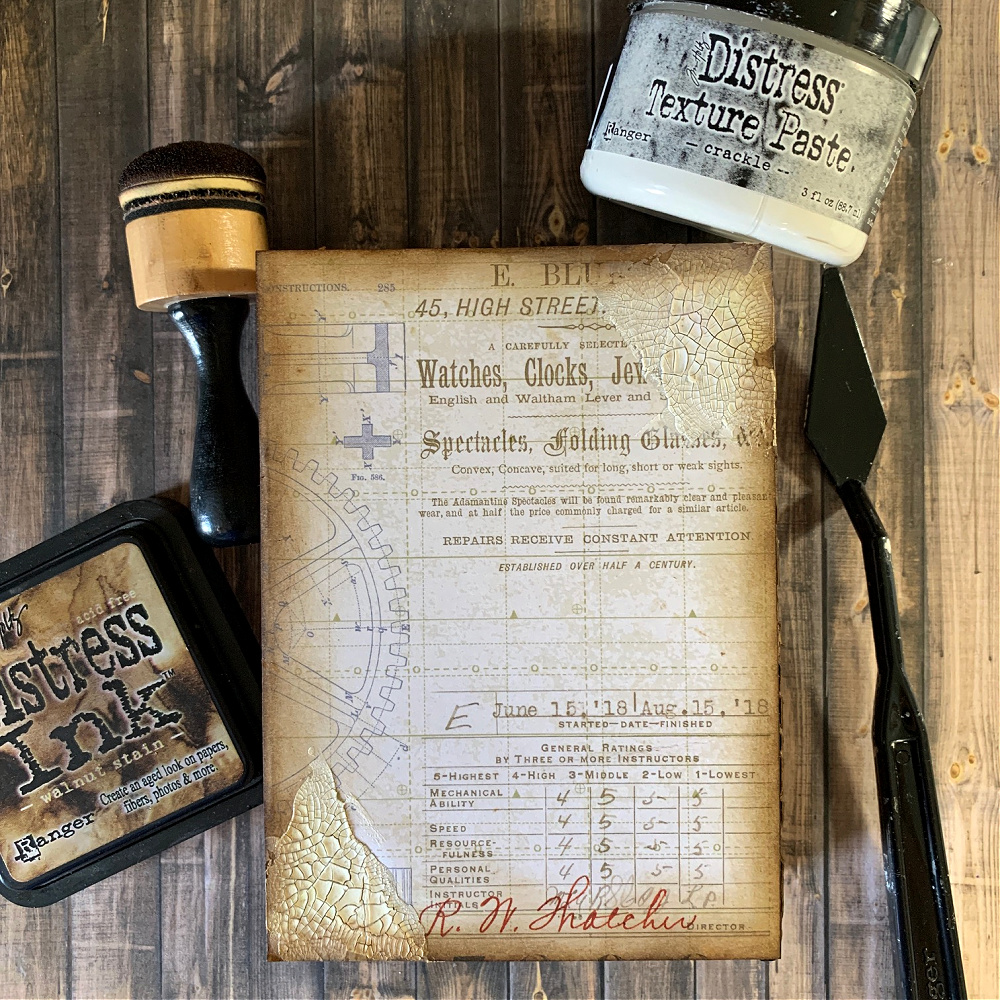
For this particular project I’m using the back of the box for the front, so I will refer to the front as such throughout the tutorial. This is where I will adhere dies, ephemera and idea-ology pieces. Measure the front of the box and cut a piece of printed cardstock or create one yourself with stamps. It’s up to you. I used one of Tim’s Idea-ology 12×12 paper stash cardstocks called Memoranda (TH93550).
Apply Distress Crackle Texture Paste in random areas of the cardstock piece and allow to completely dry. When the crackle paste is dry, ink the edges with Walnut Stain Distress Ink using an ink blending tool. To make the crackle paste areas pop, you can add a bit of Walnut Stain Distress Crayon. Set this piece aside to completely dry.
Creating the Gentlemen
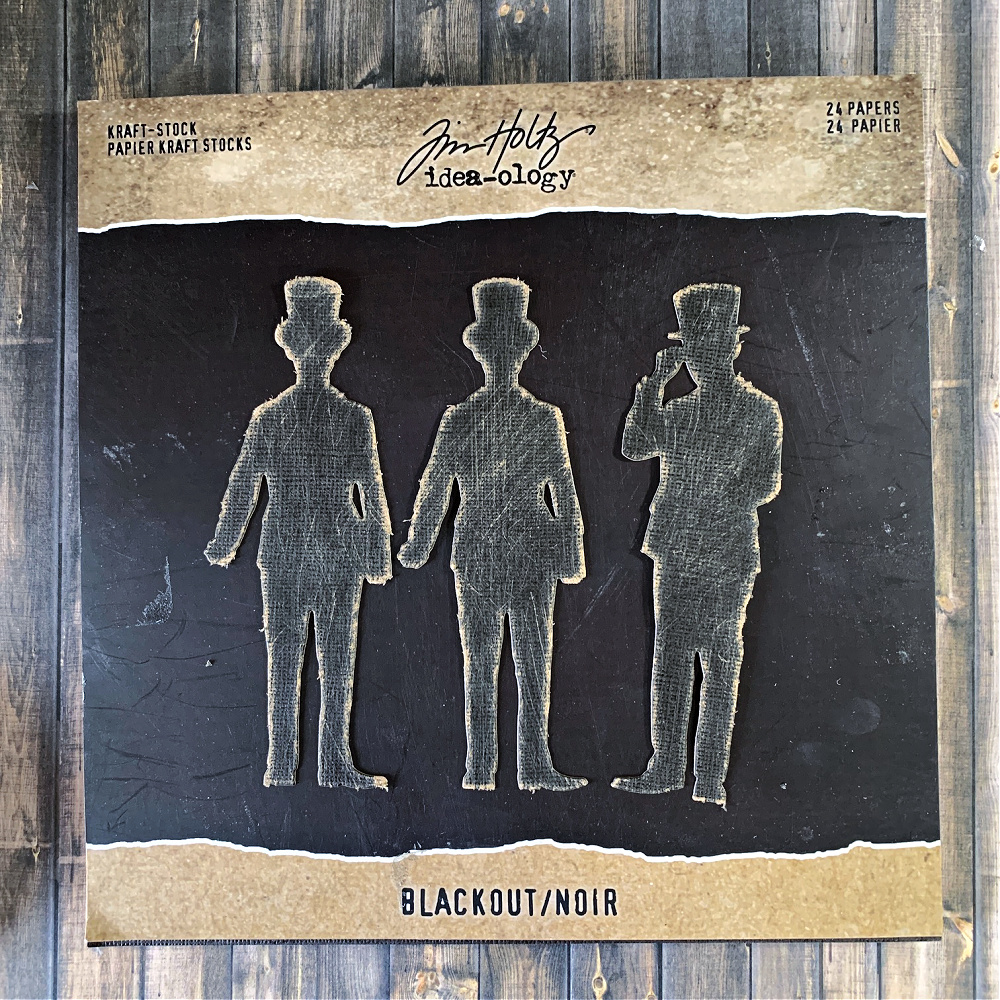
Using a piece of Blackout cardstock cut out each of the gentlemen and sand the edges and bodies with a Distress Sanding Disk and then ink the edges with Walnut Stain Distress Ink.
Chosing Pieces for the Vignette Box

I chose some Idea-ology metal pieces that I inked with Mushroom alcohol ink, some ephemera and a wooden ruler that was inked with Walnut Stain Distress Ink. I coated the vintage car with Distress Frosted Crystals so the ink applied to the edges would stick. Since this is a glossy piece, ink will just rub off unless you first prep it with Frosted Crystals or some type of clear embossing powder. I cut the hat from the Tim Holtz Taloried die set and curled the brim of the top hat a bit on the right side to add a bit of character to the piece. I created a couple of background pieces also, one oval and one circle.
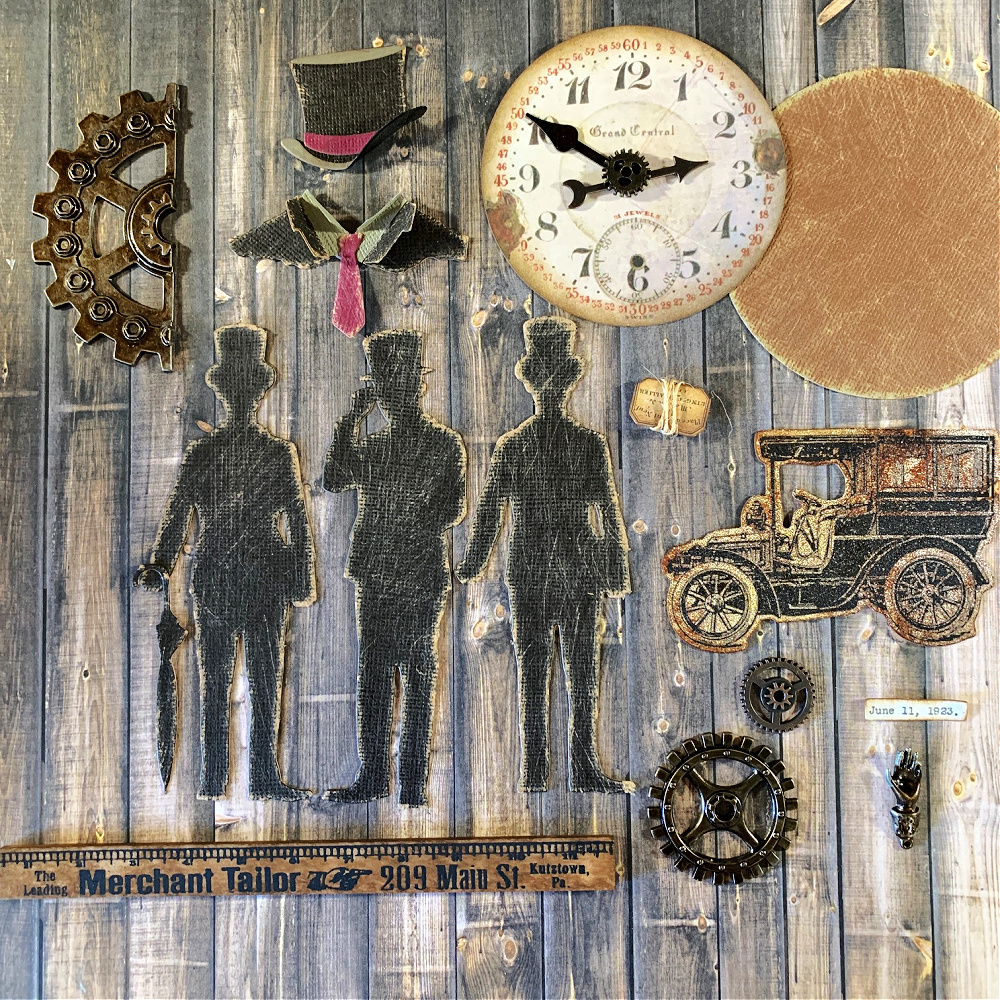
I did chose a few more ephemera pieces and metal pieces for the front of the vignette box and prepared them using the same process as above. I didn’t use the large oval piece because it covered too much of the background on the front of the vignette box.
Arranging the Pieces
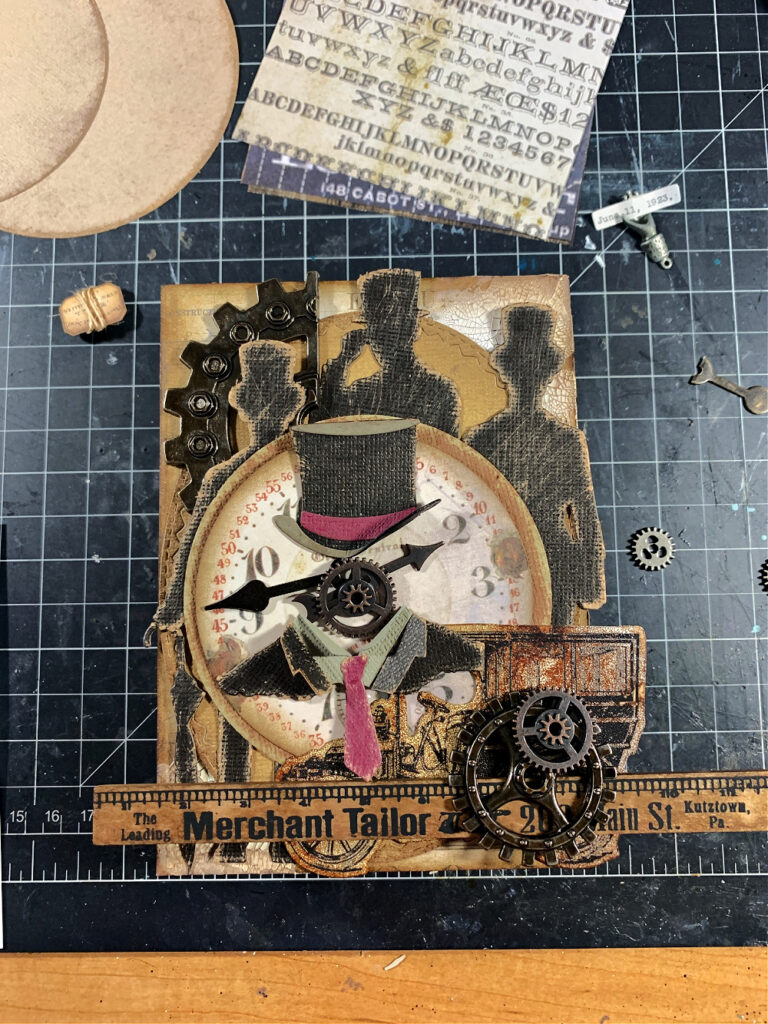
I don’t usually show this step but recently I’ve had so many crafters tell me they just don’t know how to arrange pieces on their project. This is the funnest part of the process for me. My advice is to do what looks good to your eye because it’s YOUR vision and YOUR design. Don’t worry about what everyone else is doing and how they style their makes. Place things down on your project, move them around, elimiate some pieces if you like, or add pieces. When you like what you see STOP and adhere everything down. It will be difficult at first but just keep creating and you will find your style.
Here is the final result. As you can see I did add some pieces and took some away. It’s all about having fun and enjoying the process.
Thank you so much for sticking with me to the end. I really appreciate the time you spend here with me!

Supplies Used:
Tim Holtz Sizzix Gentlemen Thinlits Dies
Tim Holtz Sizzix Tailored Thinlets Dies
Tim Holtz Sizzix Mosaic 3D Emobossing Folder
Tim Holtz Ranger 8.5 x 11 Distress Mixed Media Heavystock
Tim Holtz Idea-ology 8×8 Paper Stash Black Kraft Stock
Tim Holtz Idea-ology 12×12 Paper Stash Memoranda
Tim Holtz Idea-ology Ruler Pieces Findings
Tim Holtz Idea-ology Mini Gears Sprockets
Tim Holtz Idea-ology Metal Game Spinners with Brads
Tim Holtz Idea-ology Industrial Gears Embellishments
Tim Holtz Idea-ology Snippets Ephemera
Tim Holtz Idea-ology Engraving Layers
Tim Holtz Idea-ology Ephemera Pack Expedition
Tim Holtz Idea-ology Milagros Adornments
Tim Holtz Ranger Walnut Stain Distress Ink
Tim Holtz Ground Espresso Distress Ink
Tim Holtz Mushroom Alcohol Ink
May Arts Natural Burlap String
Tim Holtz Ranger Ink Blending Tool
Tim Holtz Ranger Mini Domed Ink Blending Foam
Tim Holtz Ranger Distress Sanding Disks
Tim Holtz Distress Collage Medium


