
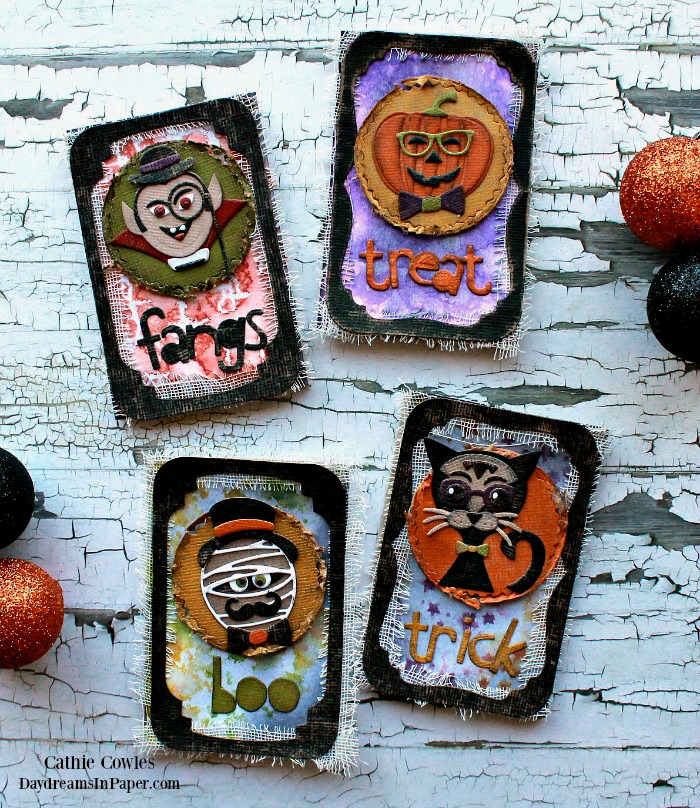
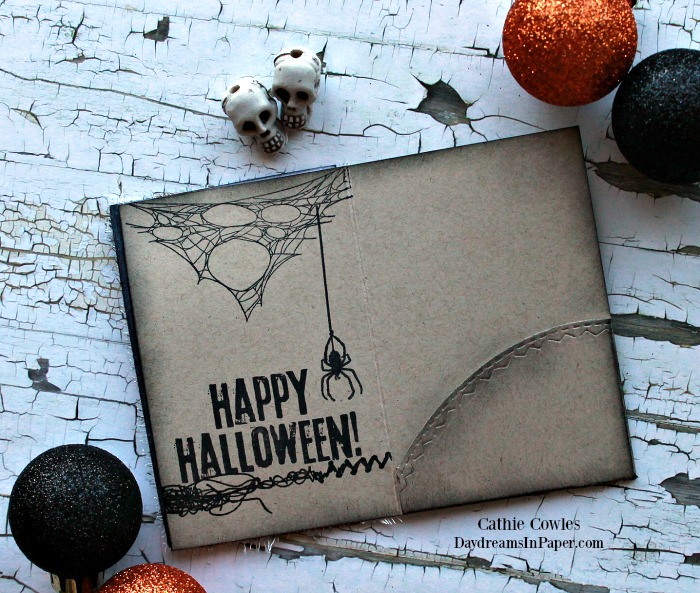
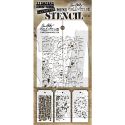
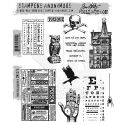
Hi Friends! Halloween is fast approaching and I wanted to put together some gift card holders before it’s too late. I used the amazing Tim Holtz Hip Haunts die set to decorate the covers of the card holders, but you could decorate them however you wish. My tutorial today is how to create the gift card holders. They’re super easy and fun to put together. Enjoy!
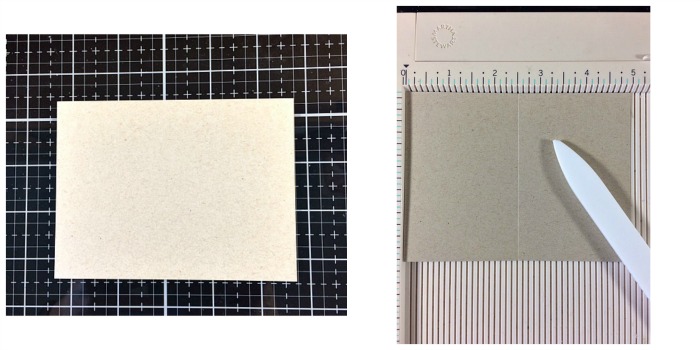
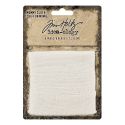
- Cut a 3-3/4″ x 5″ piece of craft cardstock.
- Score at 2-1/2″ and set aside.
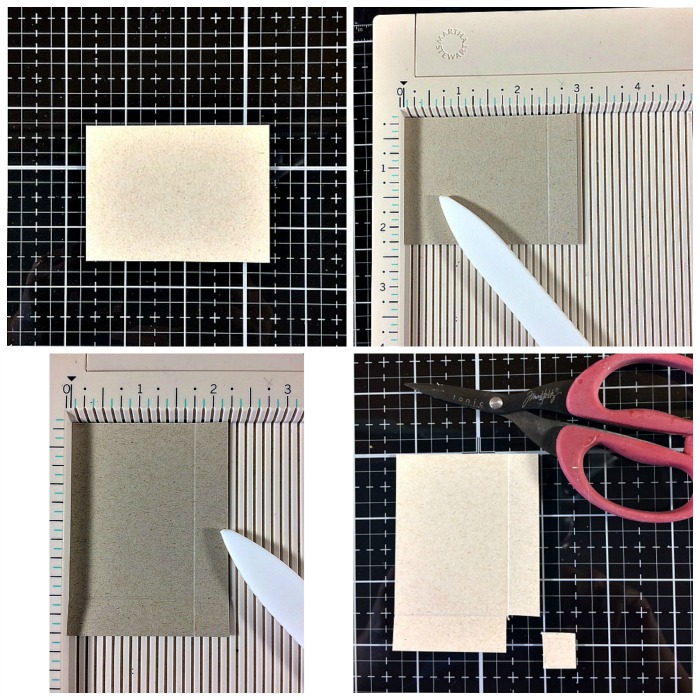
- Cut a 2-1/2″ x 3″ piece of craft cardstock.
- Score the 3″ side at 2-1/2″.
- Score the 2-1/2″ side at 1-3/4″.
- Cut out the small square corner with a pair of scissors.
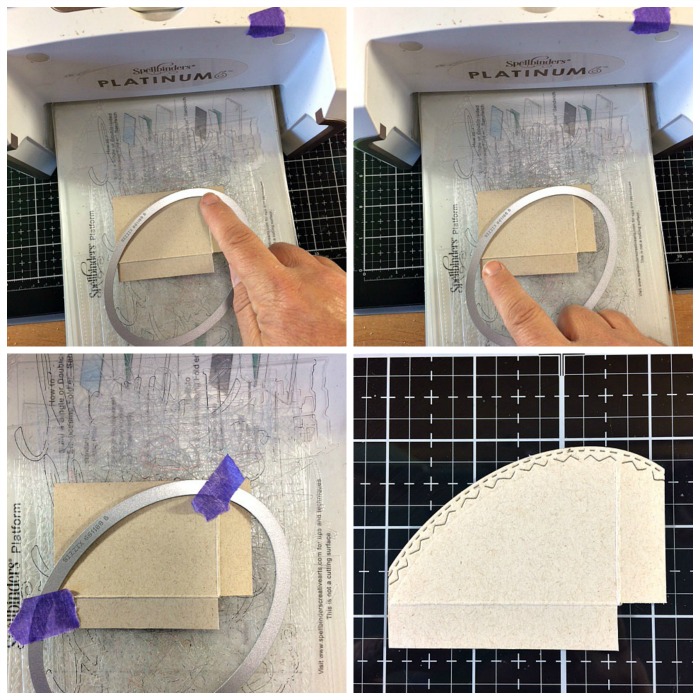
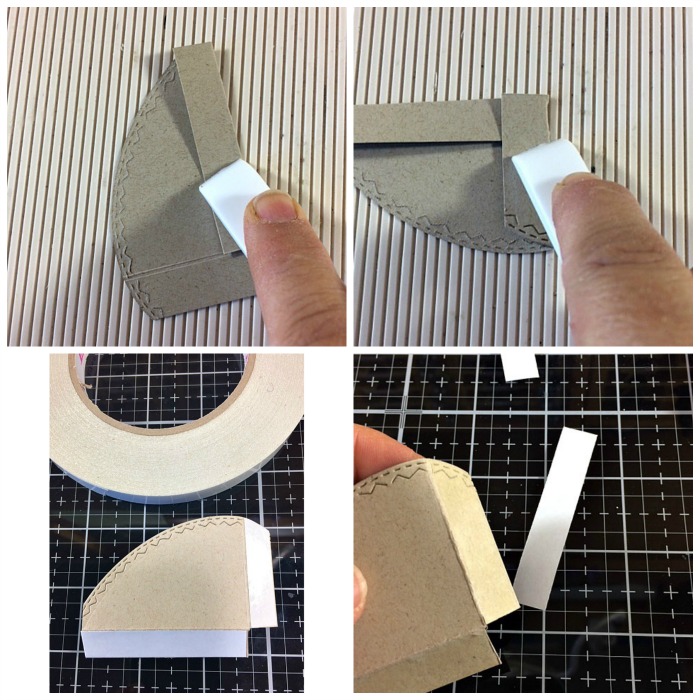
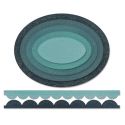
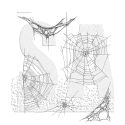
- Using one of the Tim Holtz Stitched Ovals dies, place the die at the top corner just below the inside edge as shown above.
- Tilt the die toward the bottom corner and make sure it sits just to the outside of the left corner as shown above.
- Tape the oval die down with removable tape before cutting.
- This is what your piece should look like after cutting.
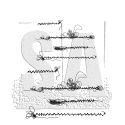
- Turn the holder piece over to the wrong side, fold the flap inward and crease at score line using a bone folder.
- Do the same with the other flap as shown above.
- Turn the holder piece over to the right side and adhere double sided tape to the flaps.
- Peel off the white backing from the double sided tape.
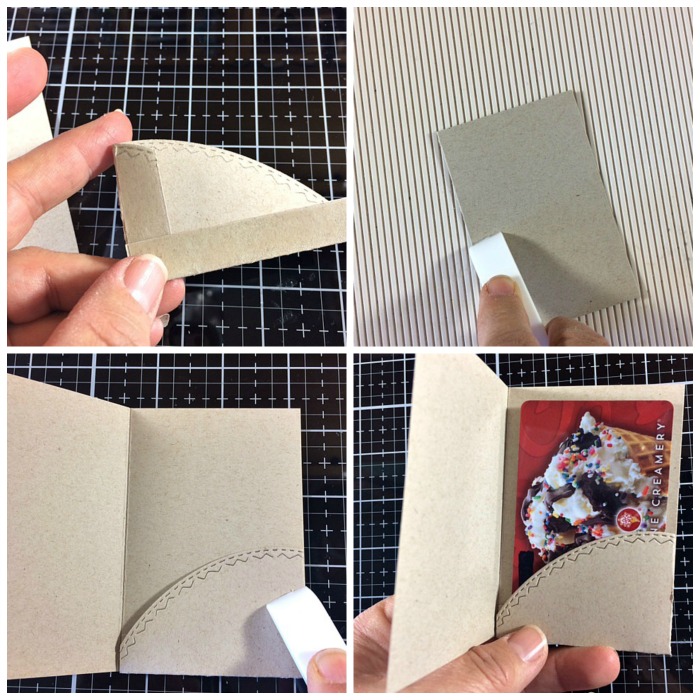
- Turn the holder piece to the wrong side and fold the short flap inward, then fold the long flap over the top of the short flap as shown above. Set aside.
- Retrieve the 3-3/4″ x 5″ piece of craft cardstock you made in step 1 and fold on the score line with a bone folder.
- Adhere the holder piece to the bottom left side of the holder case and you’re done.
- This is what your gift card holder should look like when you are all finished.
Decorate the inside of the gift card holder any way you like.
I hope you enjoyed seeing how I put these gift card holders together and that you’ll give it a try. While putting the gift card holder together is fun, the best part is decorating the cover!
Thanks for stopping by!

 |
 |
 |
 |
 |
 |
 |
 |
 |
 |
 |
 |
 |
 |
 |
 |
 |
 |
 |
 |
 |
 |
 |
 |


