
Hi Friends! I’m back with my last Halloween card of the season. I had to just sneak one more in because they really are my favorite cards to create. I love everything about them, especially the colors. The rich earth tones with their deep browns and golden burnt orange and yellows are among my favorites. It’s a time here in Arizona when the weather is finally getting cooler and we can enjoy the beautiful weather for months to come. It’s the perfect way to start the holiday season.

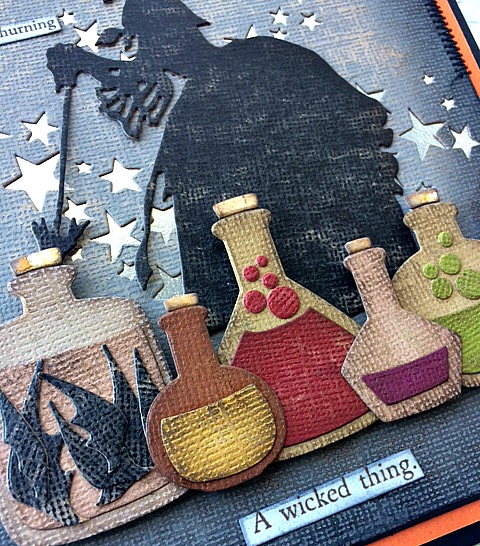
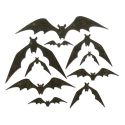
I made the bottles using the Tim Holtz Laboratory die set and cut the images out of Classic Kraft Stock Paperie. I chose various colors that I sanded before cutting. I also made sure to ink the edges of each piece with Ground Espresso Distress Ink before constructing the pieces together. The largest bottle contains bat wings that I made using the Tim Holtz Bat Crazy die set. I adhered the large bottles to the card with double-sided foam tape for dimension and adhered the smaller bottles onto the front of the larger bottles.
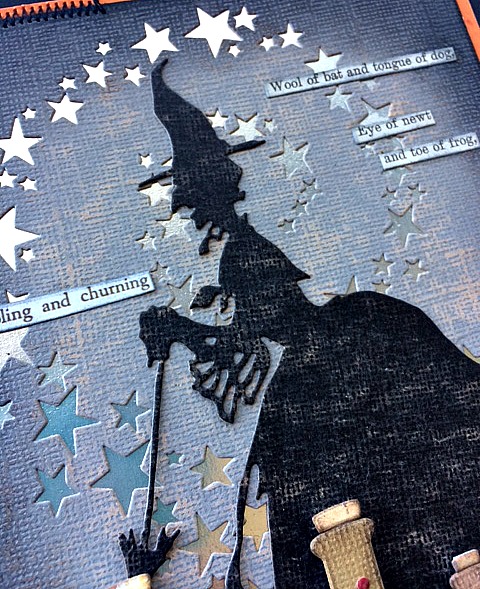
I made the witch using the Tim Holtz Witchcraft die set and kept her simple by cutting her out of black kraft stock paperie. I sanded the paperie before cutting the image and inked the edges with Black Soot Distress Ink. For the background, I cut a piece of gray kraft stock paperie, sanded it and die cut it with the Tim Holtz Swirling Stars. I adhered a piece of silver metallic kraft stock paperie behind the starred panel and then inked the edges of the gray kraft stock with Black Soot Distress Ink.
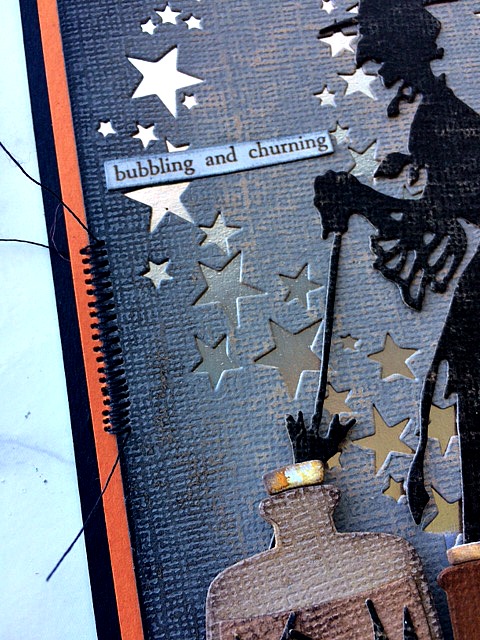
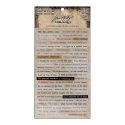
I adhered the gray starred panel onto a piece of burnt orange cardstock and then zig zag stitched in random areas around the edges. I left the strings long for a kind of creepy effect. I chose a few clippings from the Tim Holtz Halloween Clipping Stickers, inked the edges with Black Soot Distress Ink and adhered them to the front panel of the card. Next, I adhered the entire panel to a piece of black cardstock to finish the card off.
I hope you enjoyed seeing how I put this card together. Thank you so much for stopping by and I hope to see you again soon!

 |
 |
 |
 |
 |
 |
 |
 |
 |
 |
 |
 |
 |
 |
 |
 |
 |
 |
 |
 |


