
Hi Friends. I’m here today to share a project I created using Mr. Snowman for the FB Live Tim Holtz Sizziz event a couple of months ago. Everyone who knows me knows how much I love snowmen and I’ve used a lot of snowmen stamps and dies over the years but this one is, by far, my favorite. I’m so in love with the new Colorize dies Tim introduced this year because of how the character comes alive as you’re building it. Yes, there are a lot of pieces, but they are much easier than you might think to put together. The fun part for me is that as you are building them they take on a personality all there own and seem to come alive. I’m just over the moon excited about them and love working with them. Remember too, that you don’t have to assemble the entire snowman. You can assemble just his face for a truly adorable embellishment to any card or project.
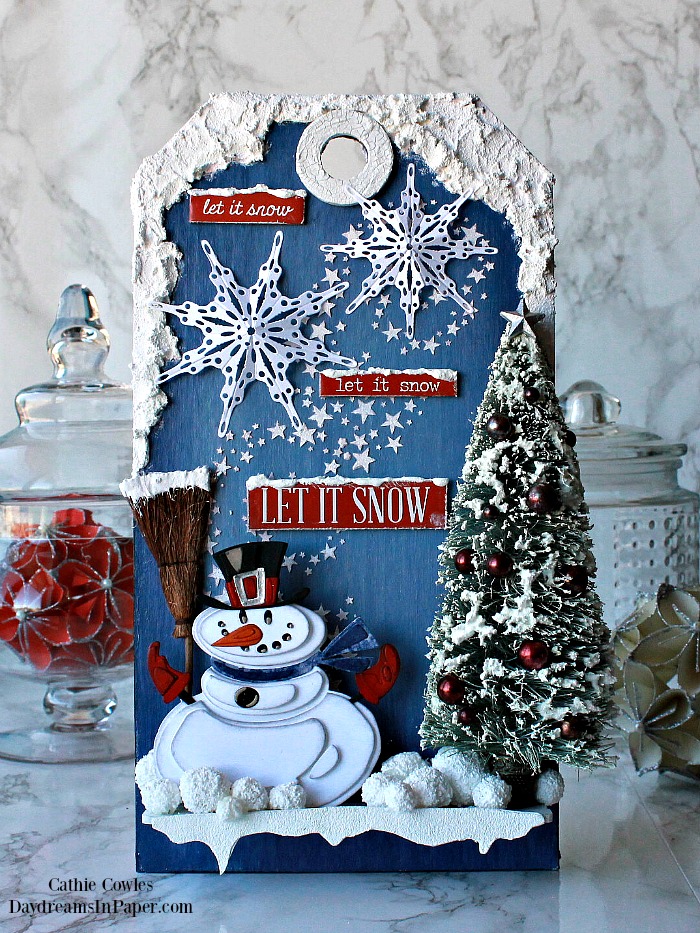
To begin, I applied gesso to one of the largest Stampers Anonymous chipboard tags and allowed it to completely dry. When the gesso was dry, I painted the entire tag with Chipped Sapphire Distress Paint. I allowed that to dry and gently dry brushed the center area, ever so lightly, with Picket Fence Distress Paint. When that was dry, I inked the edges with Faded Jeans Distress Archival Ink. I set the tag aside to completely dry. You can speed up the process by drying it with a heat tool. When the tag is completely dry you want to go over the entire piece with Distress Glaze. This will prevent the paint and ink from bleeding through the texture paste when you stencil the stars on the tag. It will also stop the ink and paint from bleeding through the Distress Grit-Paste around the top edges of the tag.
After allowing the Distress Glaze some time to dry, I apply a design of swirling stars using the Tim Holtz Stampers Anonymous Hocus Pocus layering stencil with texture paste. I create a halo of snow over the top portion of the tag with Distress Grit-Paste. The eyelet of the tag is covered first with gesso, then Distress Crackle Paste. Now I set the tag aside to completely air dry and begin working on putting Mr. Snowman together.
Below are the steps I used to create another Mr. Snowman for another project so you will notice the colors of his hat, scarf and gloves are a little different but this is the same process I used.
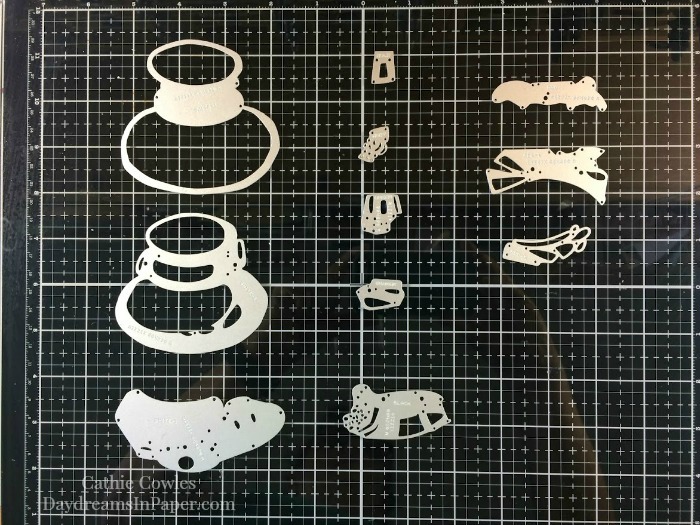
I begin by laying out all the pieces of Mr. Snowman and decide what colors I want to use.
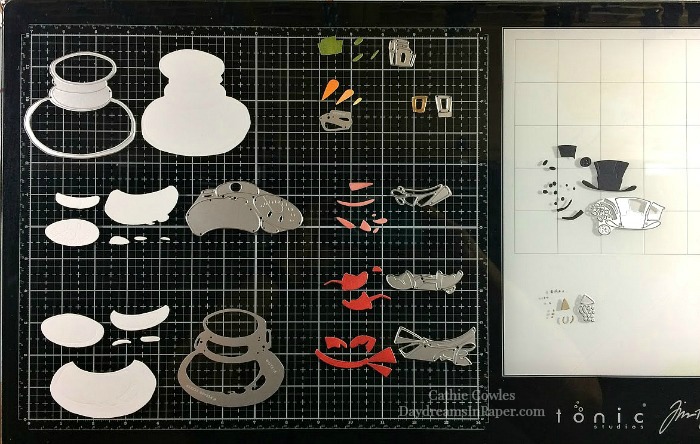
I ink all the pieces and place them next to the die so I can easily see what piece belongs to which die. This makes it easier for me when I begin to assemble him.
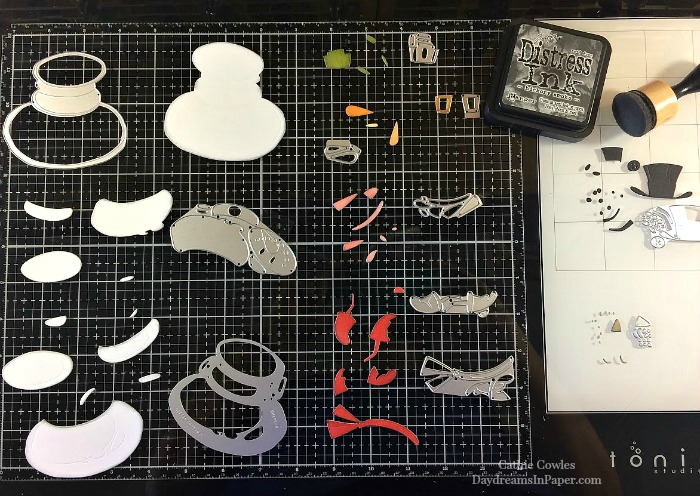
Before assembling the pieces together, I want to be sure to ink the edges of each piece. This gives Mr. Snowman depth when he’s assembled and you need to do this, of course, before you put all the pieces together.
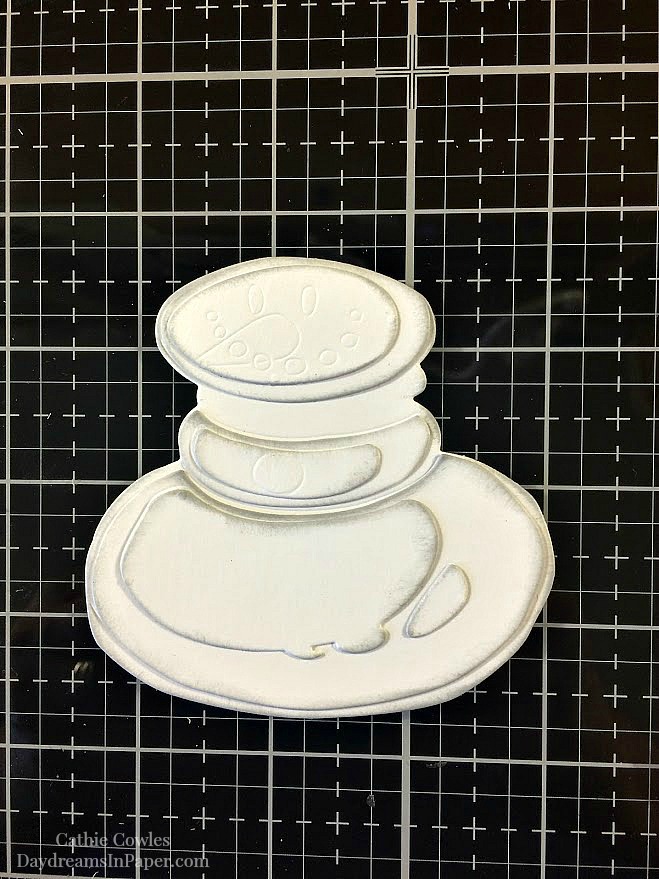
I assemble all the body pieces together first. as shown above.

Next, I add his facial features and button.
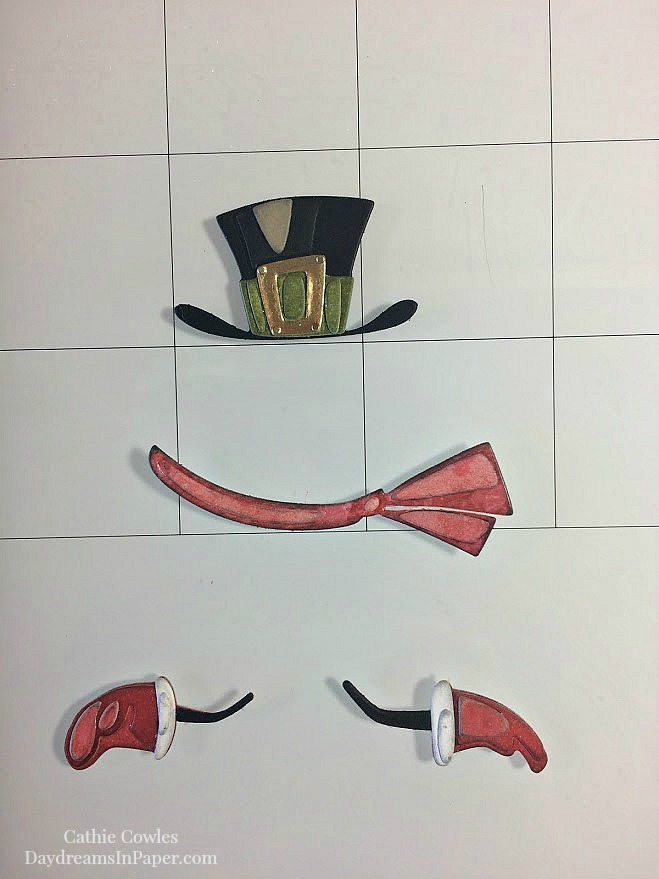
Next, are all of his accessories.
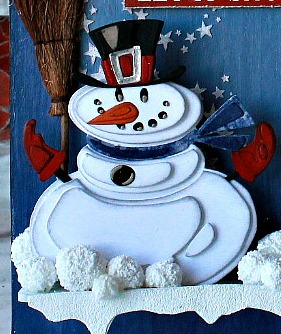
Here you can see him all put together on the final project but like I stated above, the colors of his hat, scarf and gloves are different.
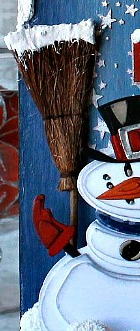
The broom is so simple to create. Just take one of the Idea-ology Broomsticks and dip the end in Distress Grit-Paste. That it! It’s the perfect size for this Mr. Snowman die.

The tree is also easy to create. I used an Idea-ology Woodland Tree and sprayed it with a combination of Peeled Paint and Forest Moss Distress Spray and allowed that to dry. I then covered it with Distress Grit-Paste that I applied with a small spatula. When the paste was dry, I added Idea-ology Baubles in different sizes that were colored with alcohol ink.
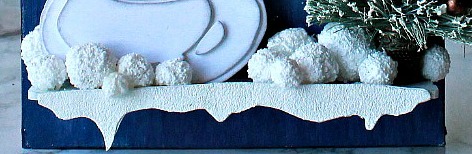
To create the shelf with snow and snowballs. I painted a Stampers Anonymous chipboard trim with Picket Fence Distress Paint and glued it to the tag. I created snow dripping from the trim by stenciling the perfect sized snow cap from the Stampers Anonymous Snowcaps Layering Stencil onto a thick, heavy piece of cardstock with Distress Grit Paste. When the paste was dry, I cut along the edges of the design and glued that to the front of the trim.
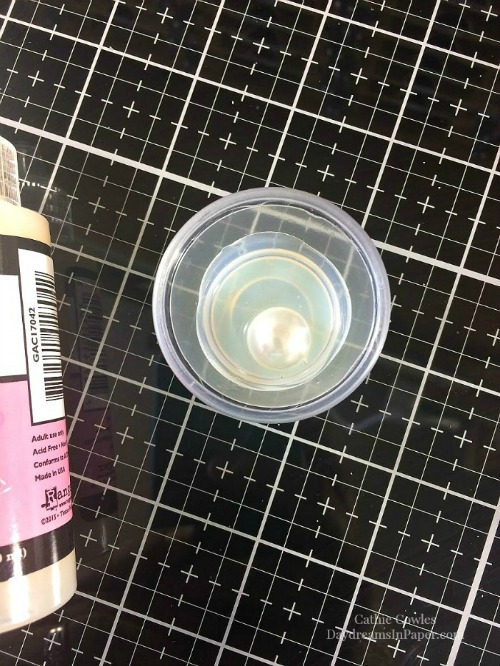
To create the snowballs, place a small amount of Glossy Accents in a small plastic disposable cup. Drop a bauble into the glue and swish it around by moving the cup in a circular motion making sure the bauble is completely covered.
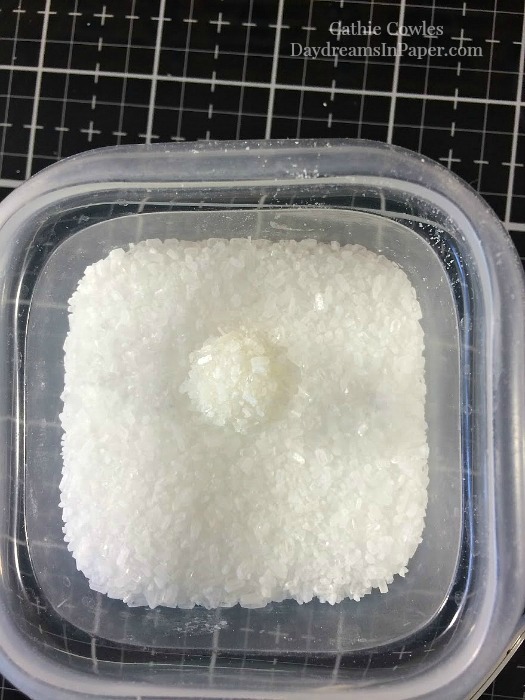
I used Epsom salt to cover the balls. Place some Epsom salt in a small container and carefully remove the glue covered bauble from the cup of glue and drop it into the container with Epsom salt. Swish the bauble around into the salt by moving the container around in a circular motion until the entire bauble is covered.
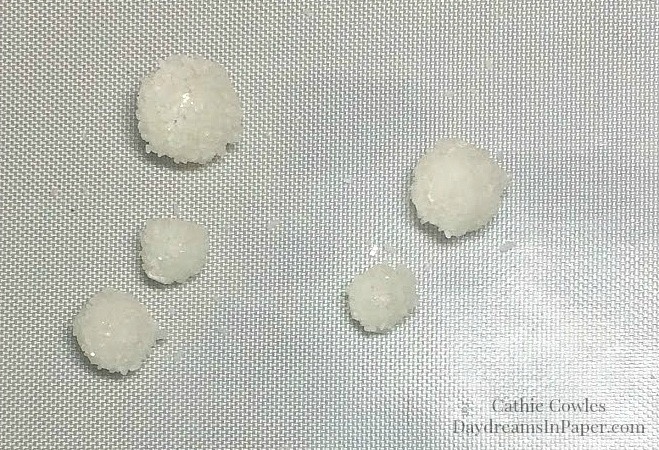
Carefully remove the bauble from the container of salt and dry each bauble on a non stick craft mat until they are completely dry. When they are completely dry, brush them with TCW Clear Matte Gel Medium which will keep the salt from falling off. Allow them to completely dry before adhering them to your project.
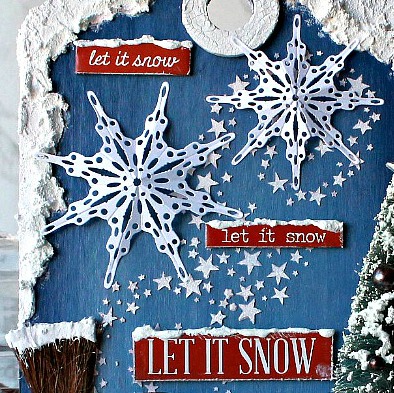
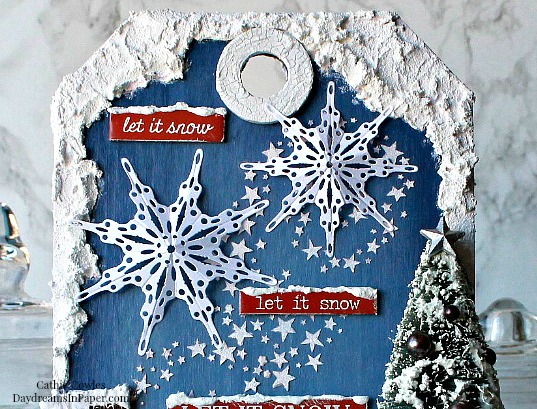
To create the snowflakes, I used the Tim Holtz Fanciful Snowflakes and carefully creased the center of each snowflake branch so they would have some dimension. I adhered the snowflake branch tips to the tag in such a way that the center of the snowflakes were raised up and not touching the tag. This gave them beautiful dimension as opposed to laying flat on the tag. The chipboard “Let It Snow” pieces are from the Tim Holtz Christmas Quotes chipboard set. I added a little Distress Grit-Paste to the tops of each one to look like snow had fallen on them.
This pretty much covers everything on the tag. I hope you enjoyed seeing how I put this tag together and that you are inspired to use some of these techniques on your next project.
Thank you so much for stopping by and sticking with me to the end. I really appreciate it!


