
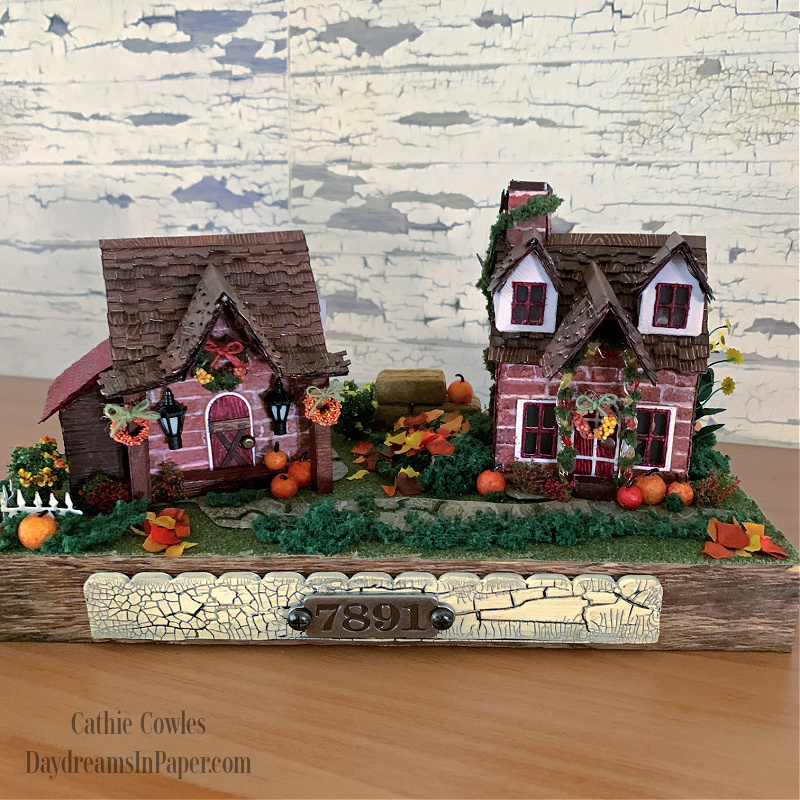
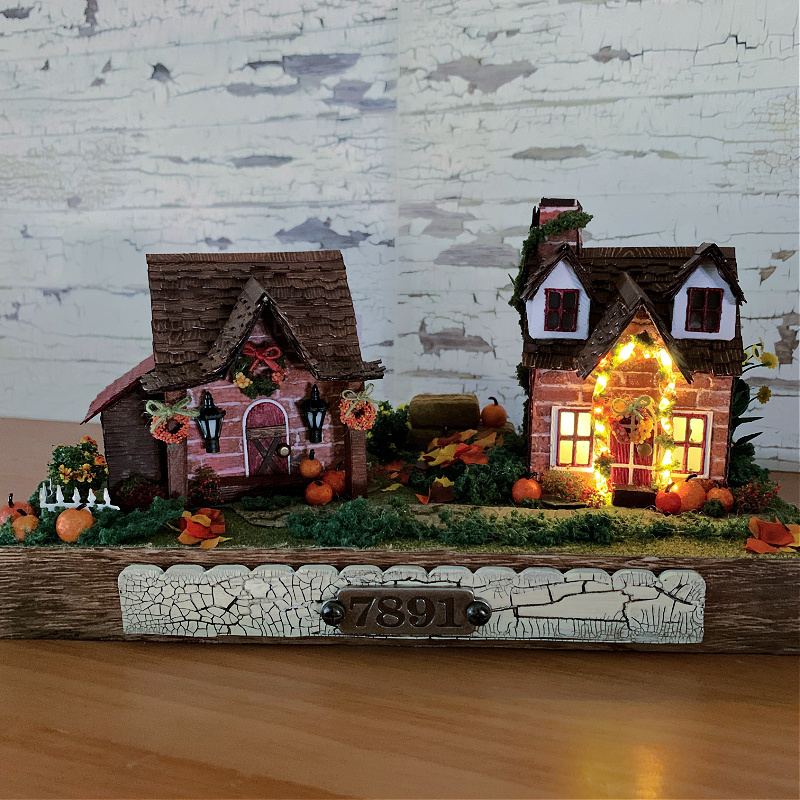
Hi friends! As promised, I put together a tutorial on how I created the mini cobblestone walkway for my village. You may have seen it on the Tim Holtz Sizzix YouTube Live event a couple of weeks ago. I grew up in Wisconsin and my mom would always decorate as soon as the first nip of Autumn was in the air. It was her favorite time of the year and it still is. She’d decorate the outside of our house with pumpkins, cornstalks, fall wreaths and scarecrows. I have such fond memories of those days and I think it’s the reason why fall is my favorite time of year also. The house was a large brick Georgian style home with a large barn type shed next to the garden. The walkway from the front of the house to the shed was paved with cobblestones and that’s the story behind my inspriation for the project. I hope you enjoy the tutorial I’ve put together but most importantly that it makes sense. If you have any questions after going through the tutorial, please don’t hesitate to contact me. Enjoy!
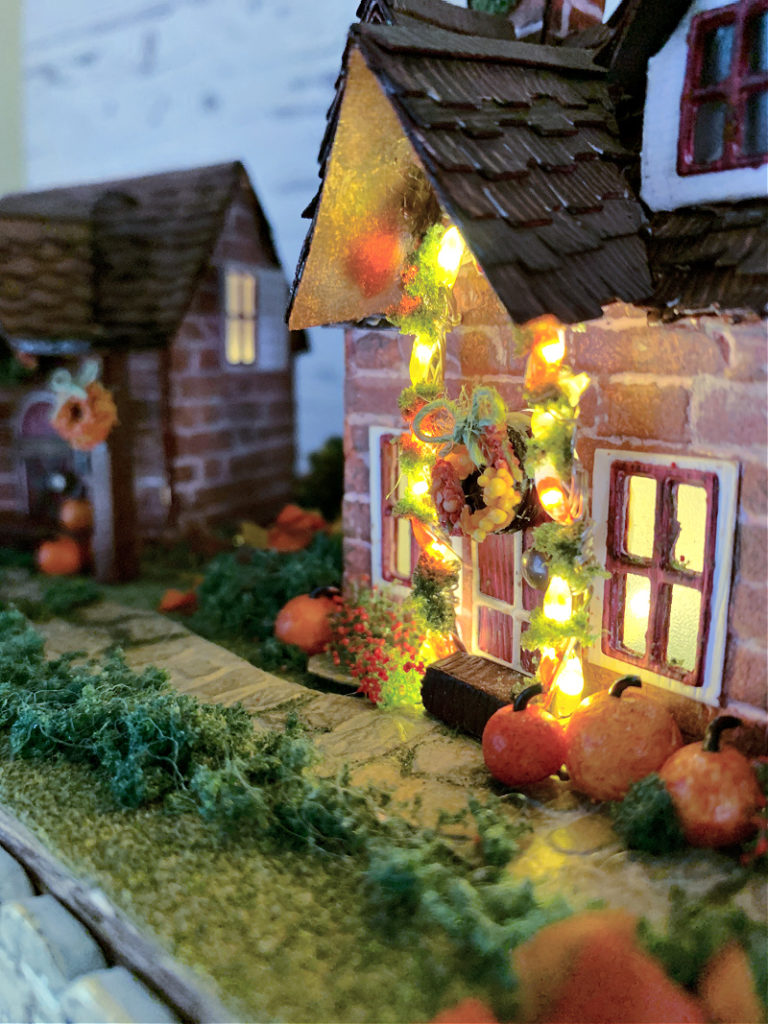
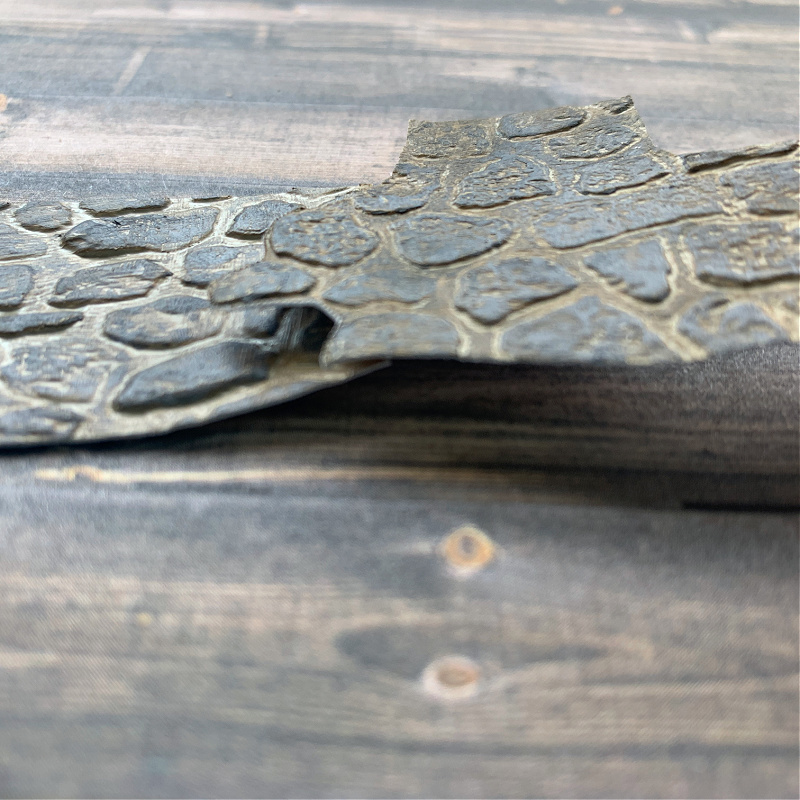
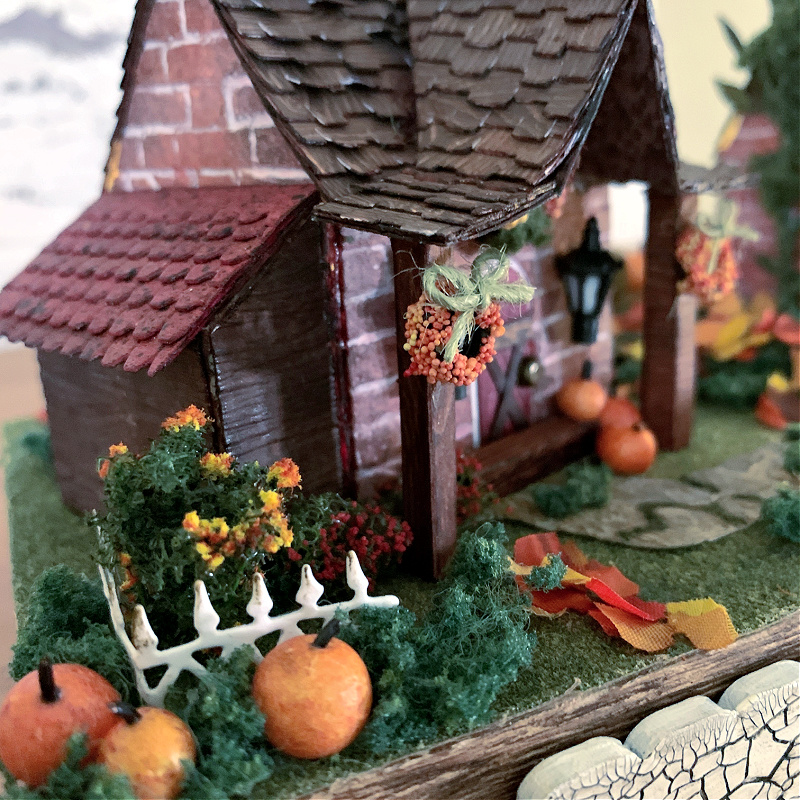
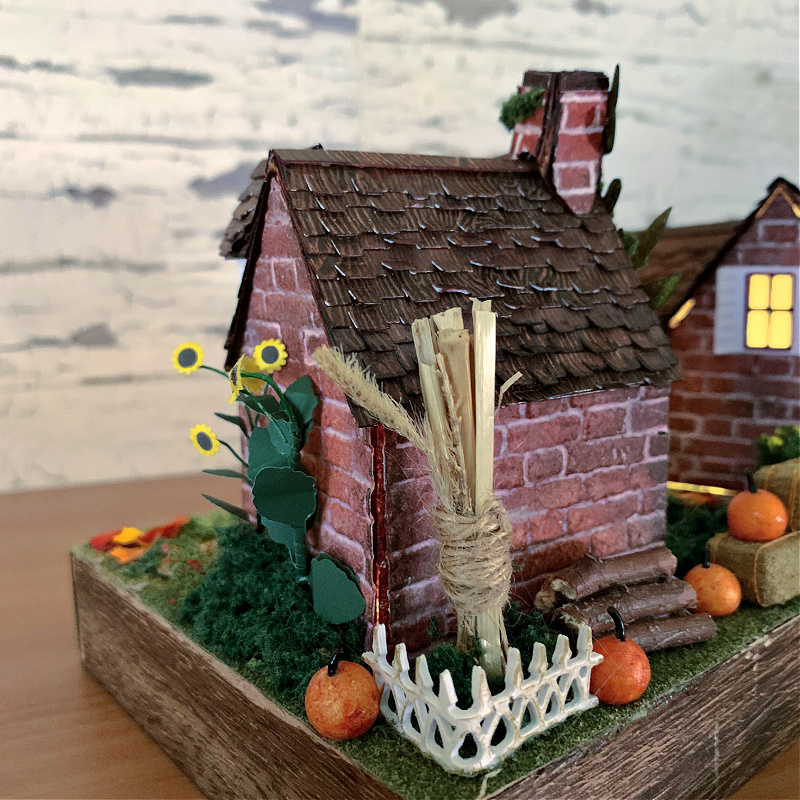
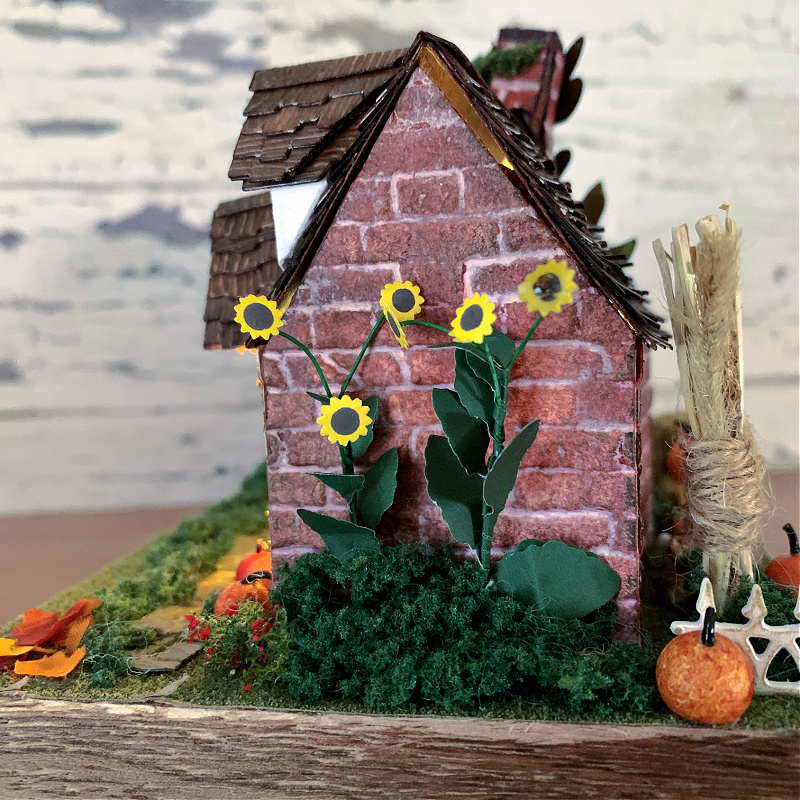
Below are a few close-ups of the cobblestone walkway from my project.
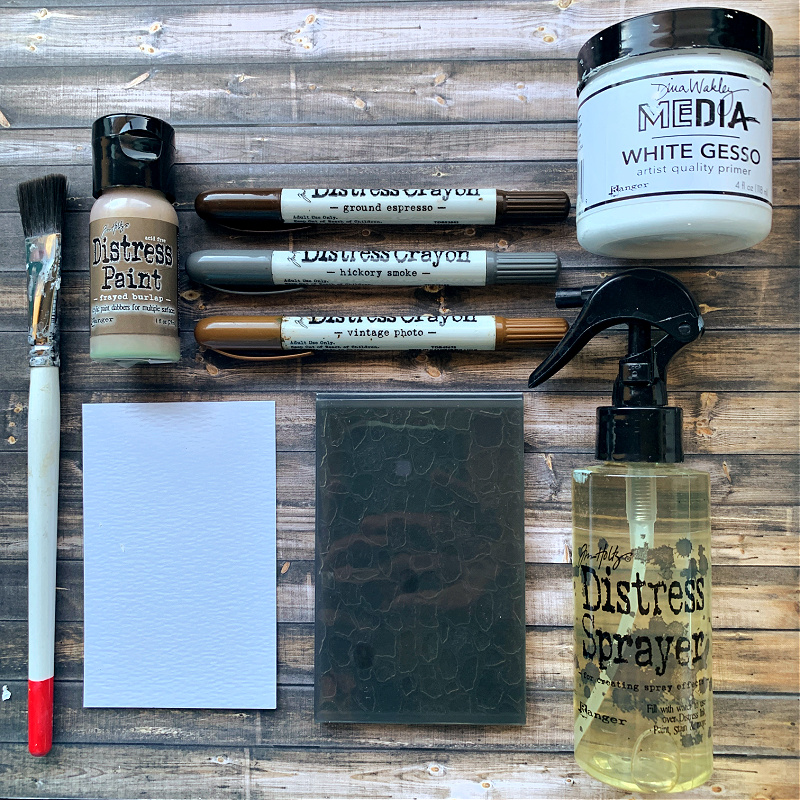
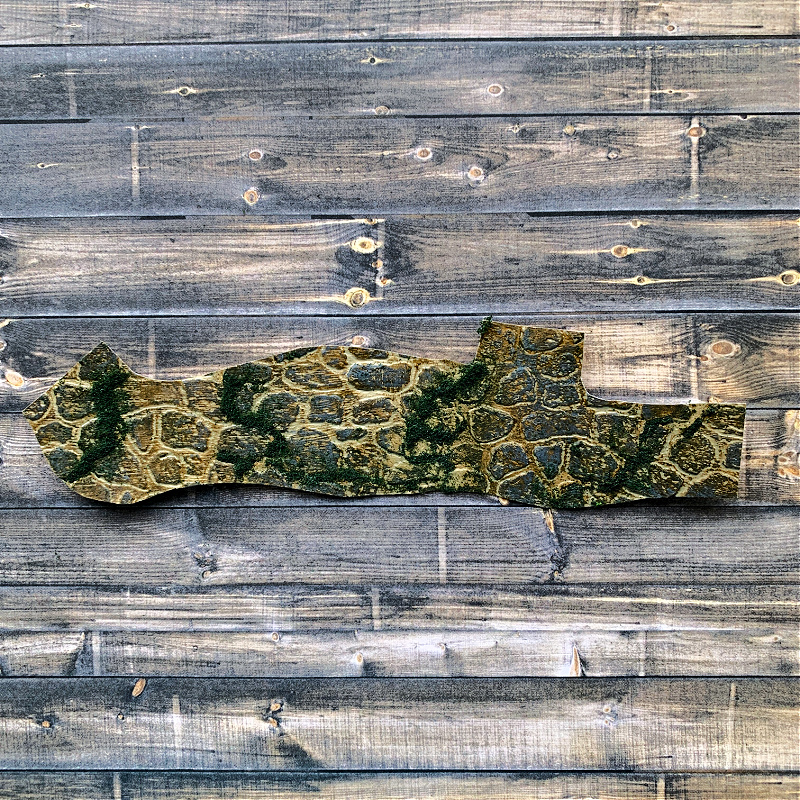
For the cobblestone walkway you will need the Tim Holtz Mini Cobblestone embossing folder, watercolor cardstock, Distress Crayons: Vintage Photo, Ground Espresso and Hickory Smoke, white gesso, Frayed Burlap Distress Paint, a paintbrush and some water.

Emboss several pieces of watercolor cardstock with the mini cobblestone embossing folder so you have enough for your walkway.
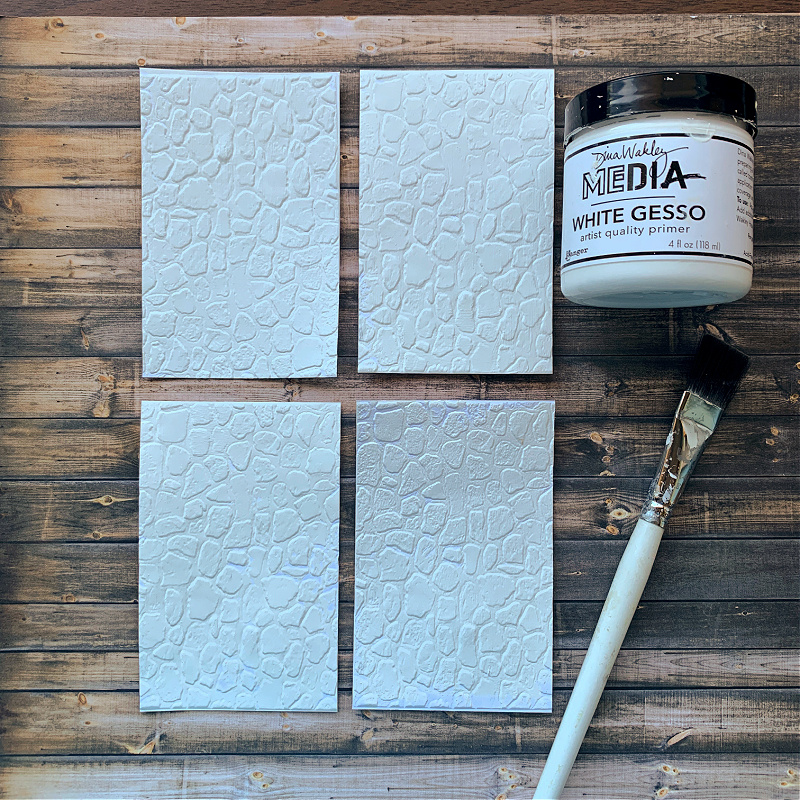
Paint each piece of embossed cardstock with white gesso and dry them with a heat tool until they are completely dry.
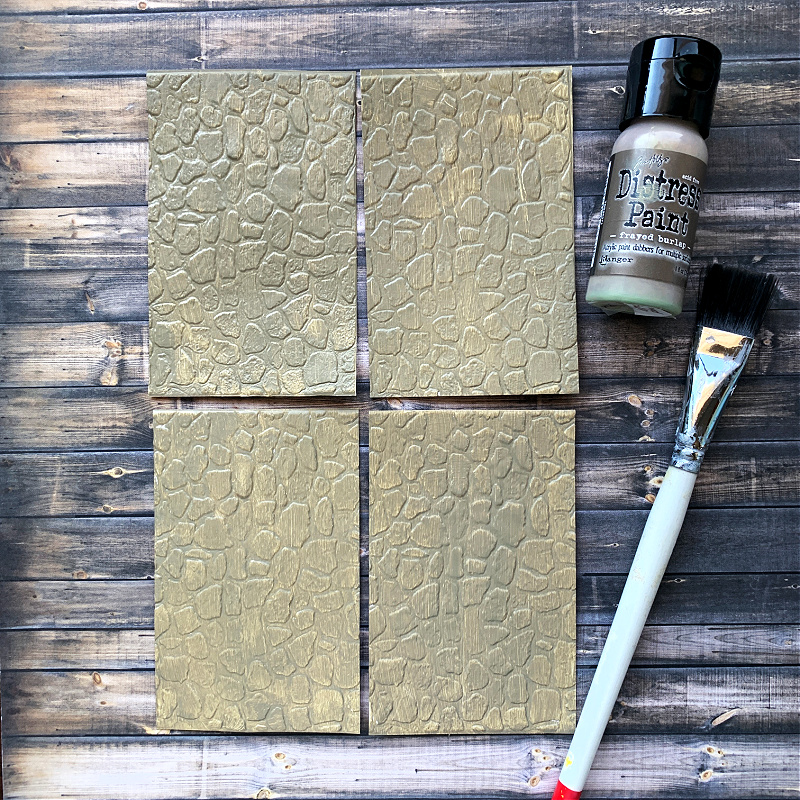
Next, paint each piece with Frayed Burlap Distress paint. Make sure the paint is completely dry before moving on to the next step.
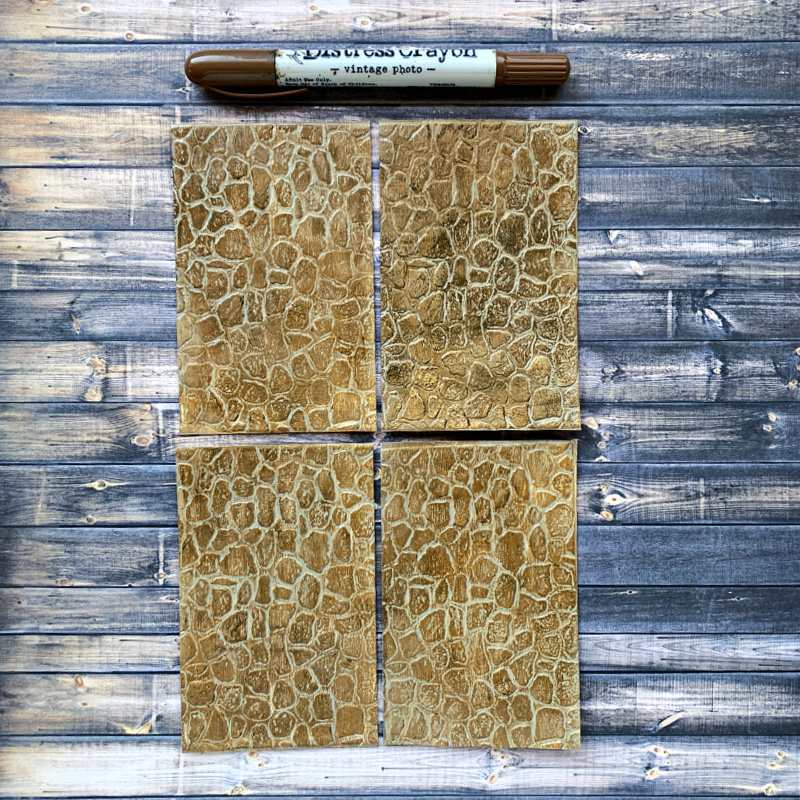
When the paint is completely dry, color on Vintage Photo Distress crayon pigment over the top of the design and gently rub the pigment in with your fingertips. If the pigment is too stiff and doesn’t move around easily, spritz some water onto a craft mat and dip your fingertip into the water and proceed rubbing the pigment over the surface. Dry this layer with a heat tool.
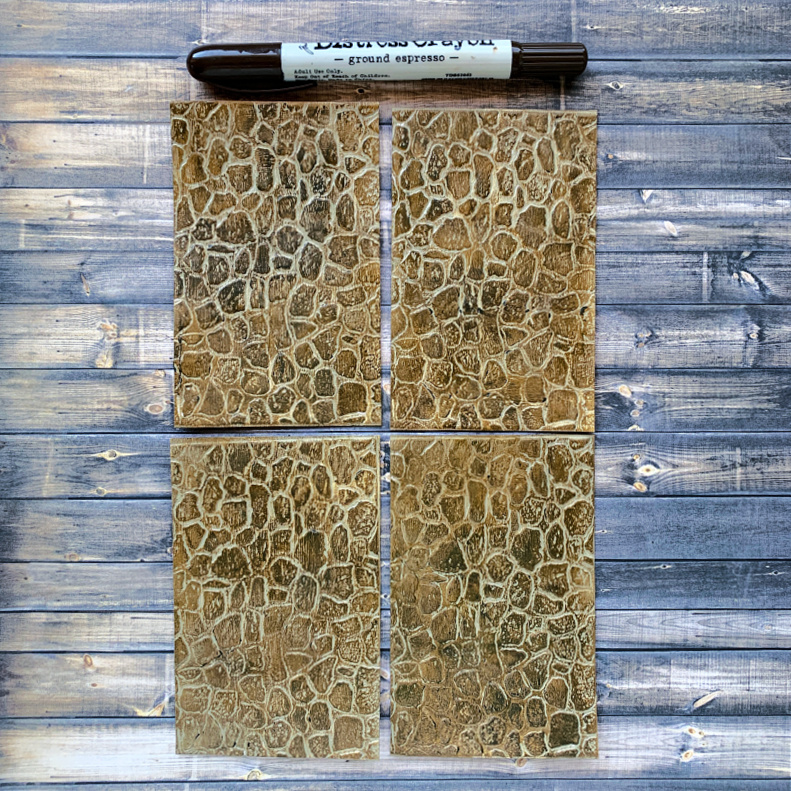
Complete the same process as above except this time use a Ground Espresso Distress crayon and dry completely with a heat tool.
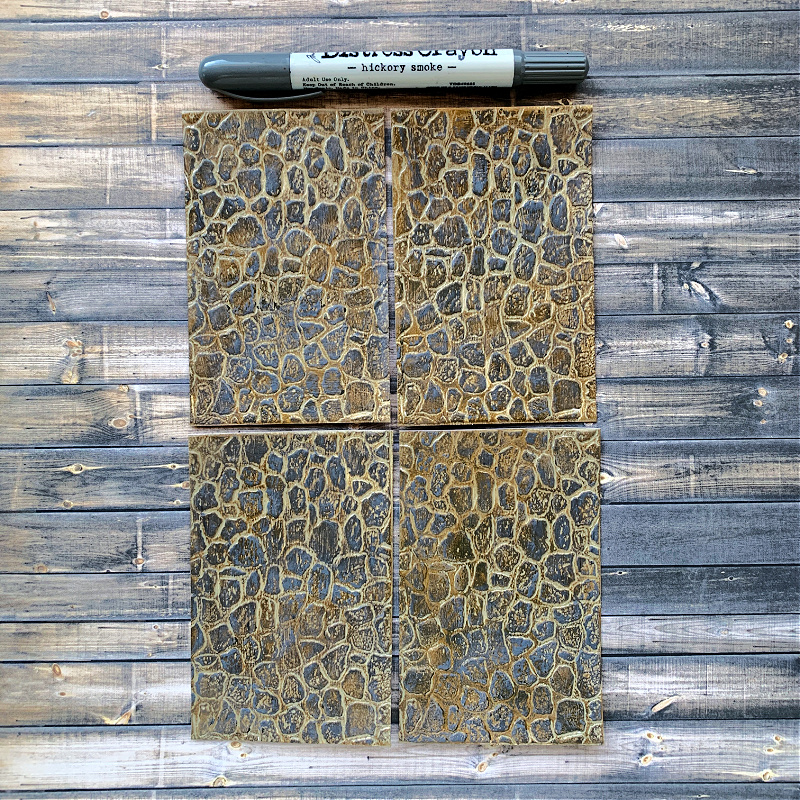
Next, complete the same process again but this time use the Hickory Smoke Distress crayon and dry completely with a heat tool.
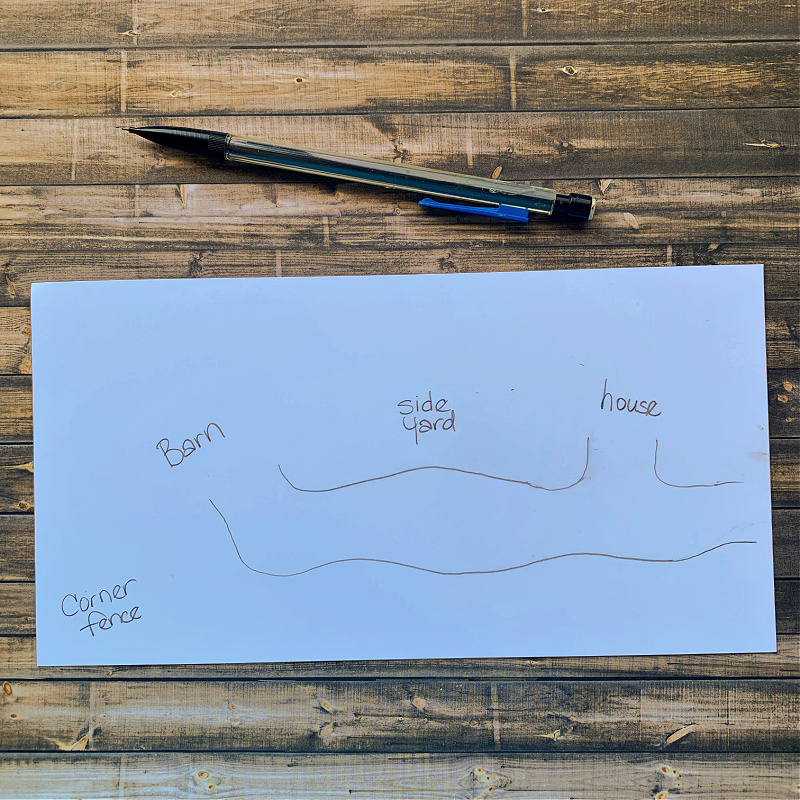
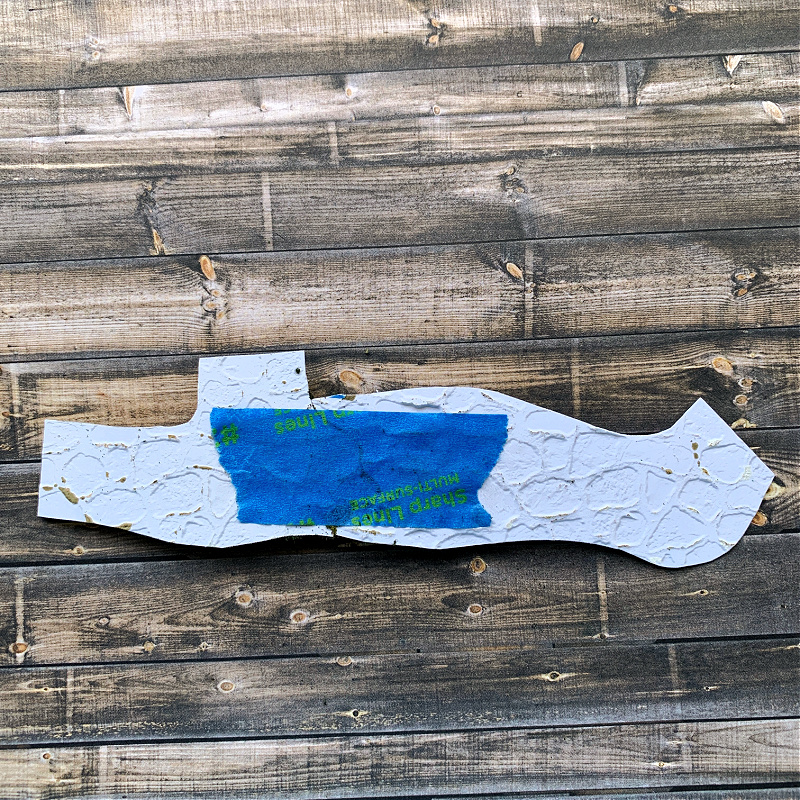
Cut a piece of cardstock the same size as the base you’ll be using for your project. Make a footprint of your design by drawing it on the piece of white cardstock. Draw a basic blueprint where you want your walkway, houses and other elements to be placed.
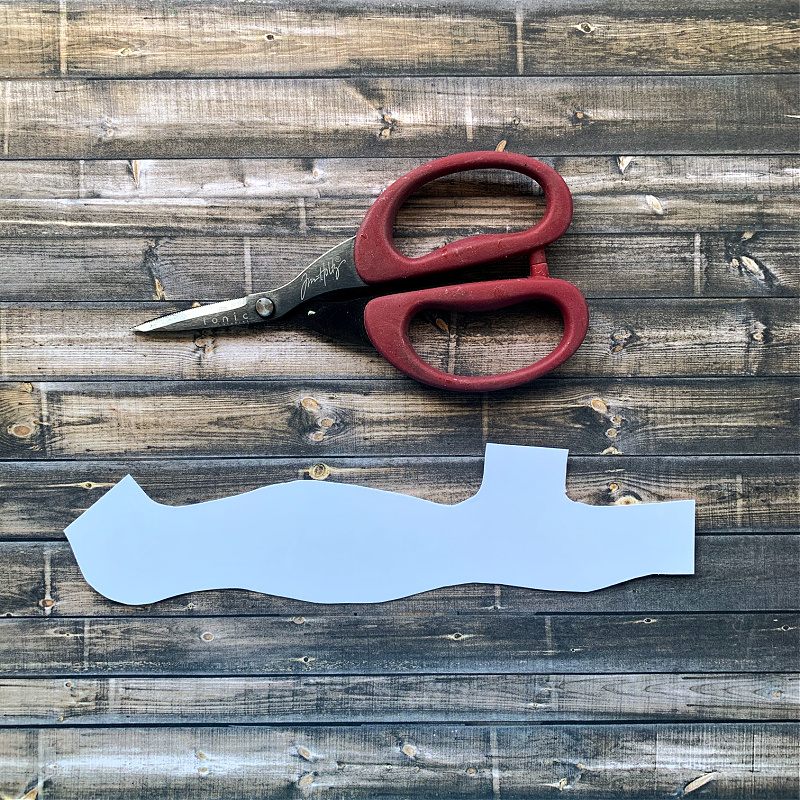
Cut out the walkway area from the blueprint.
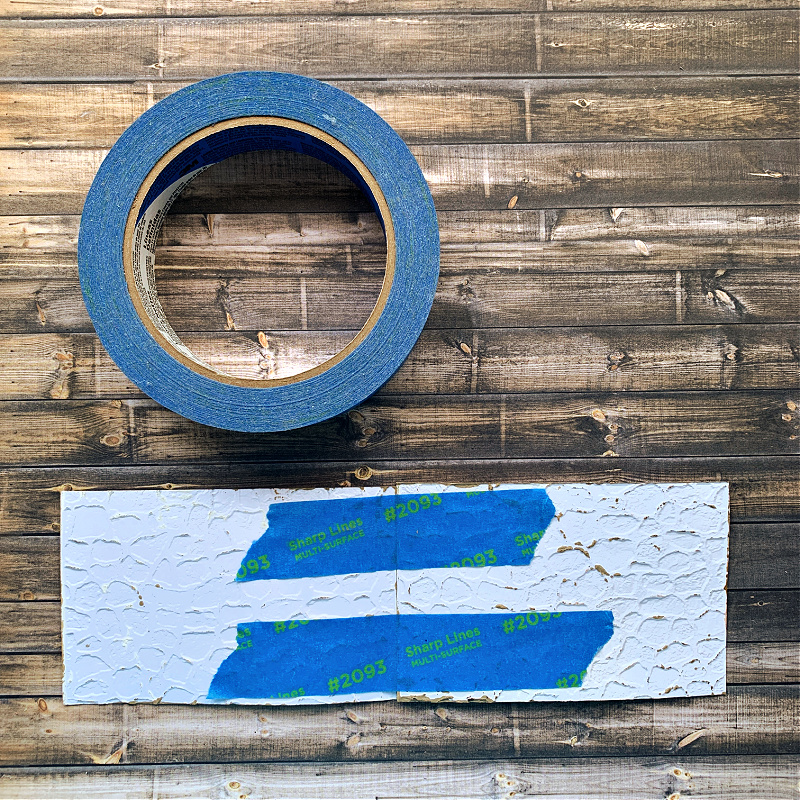
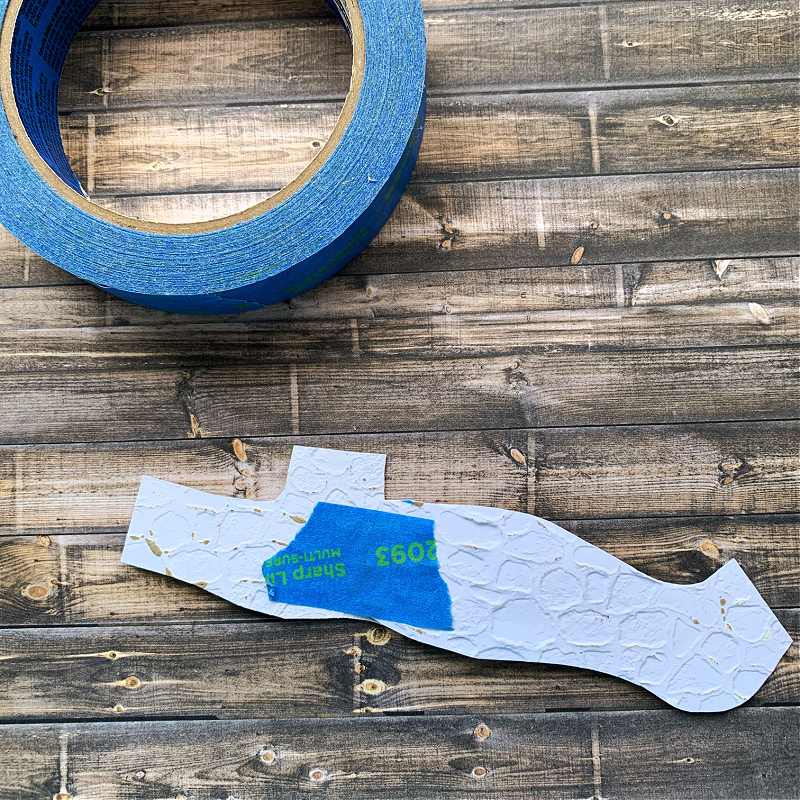
Use as many embossed cobblestone pieces as you need for your walkway and turn them over taping them on the backside. Use a low tack tape for this step. You want the tape to peel away easily without ripping your cardstock when you remove it.
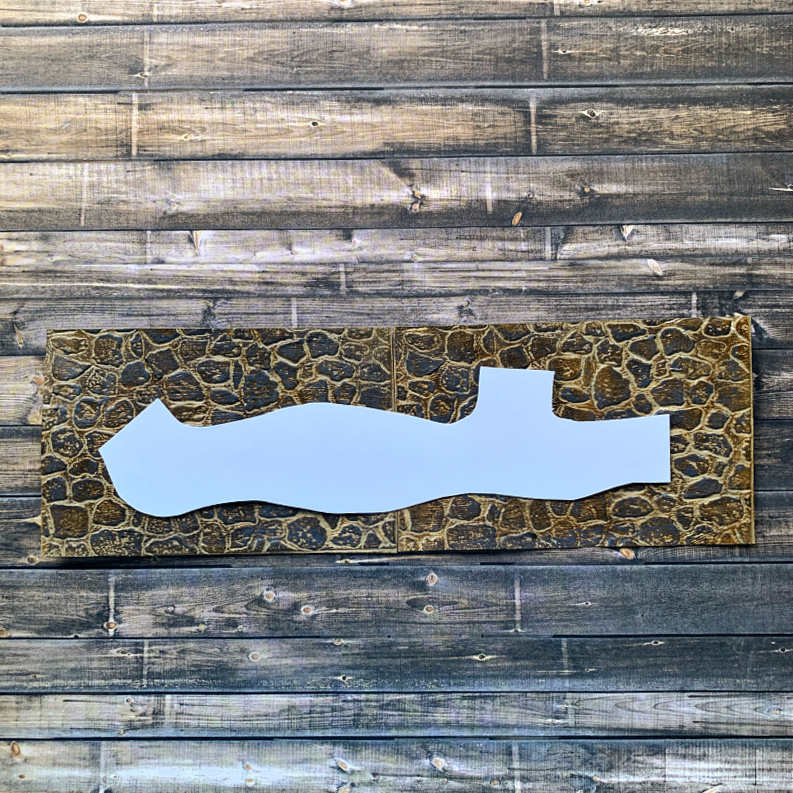
Turn the embossed cobblestone pieces to the right side and place your walkway pattern on top.
Cut out the walkway by cutting along the edges of the walkway pattern you created and placed on top.
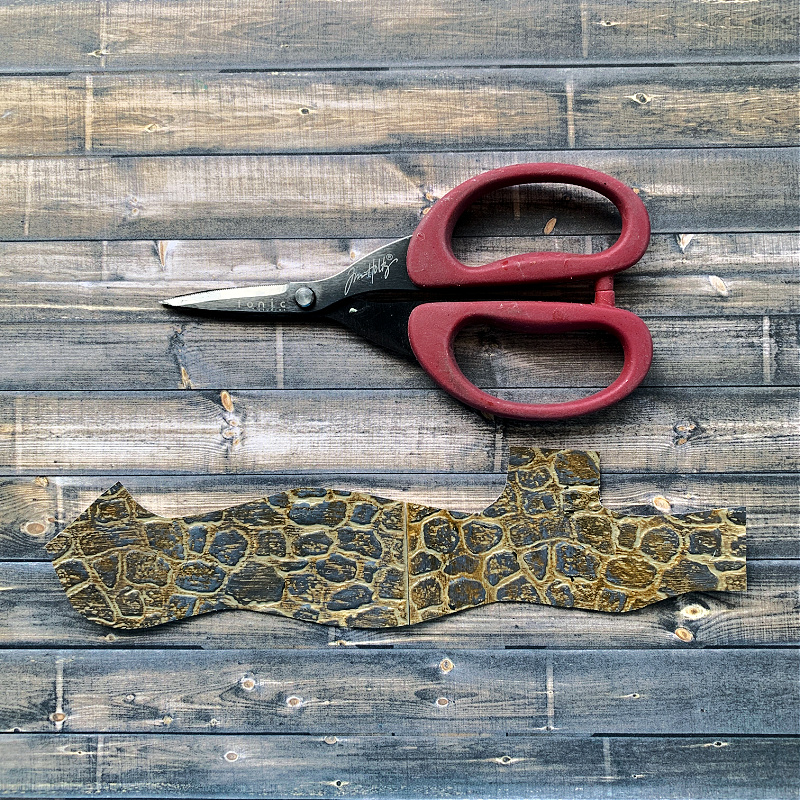
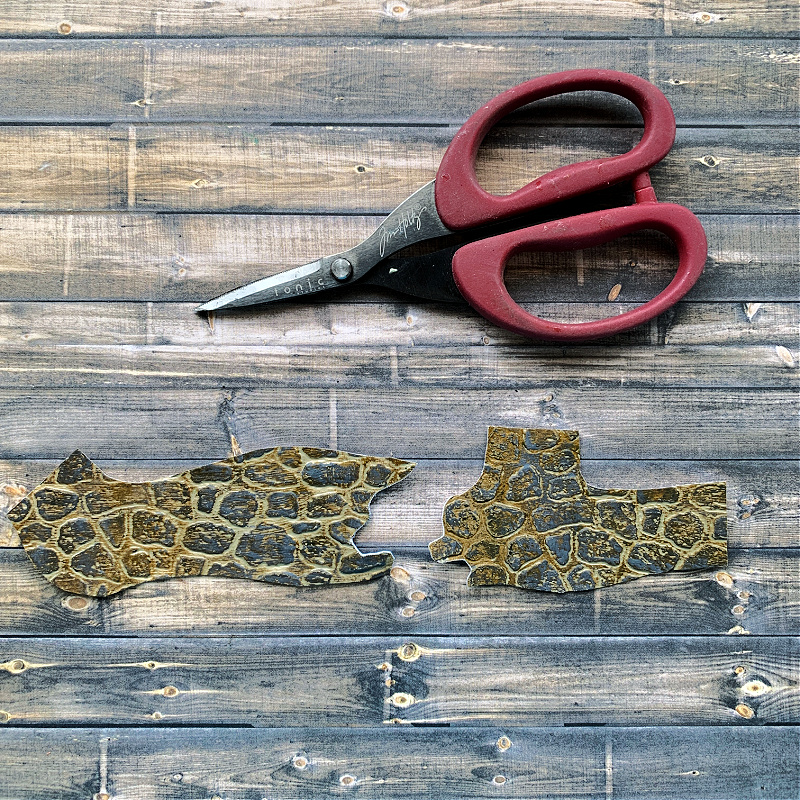
Remove the tape from the back of the pattern. Take one of the pieces and cut along the cobblestone pattern by following the design of the stones as shown in the photo above.

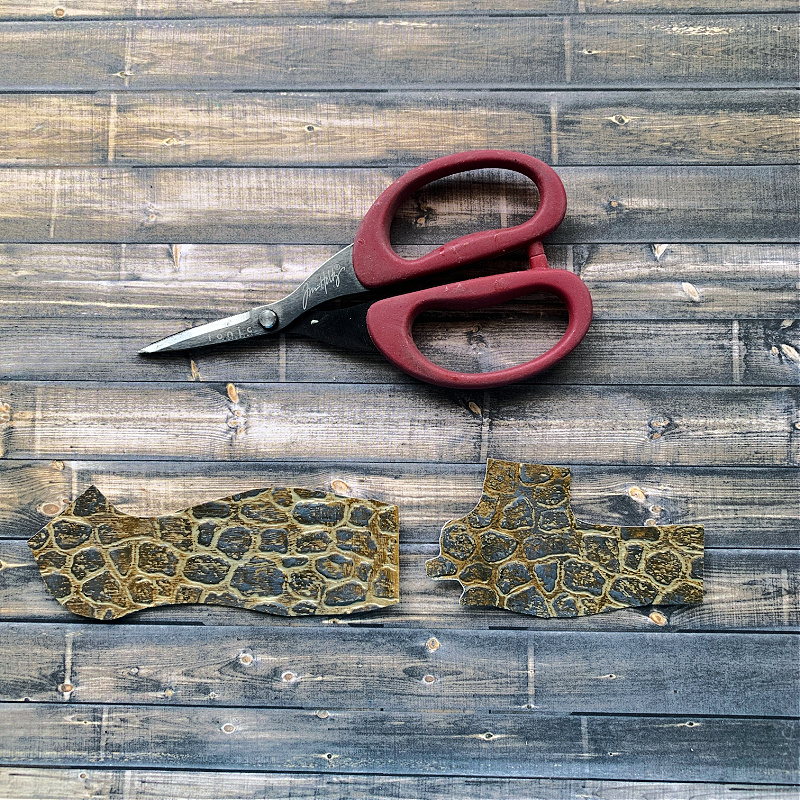
Pick up the cobblestone piece with the jagged cut edge.
Place the jagged cut edge just over the straight edge of the bottom embossed cobblestone piece.
Carefully turn the pieces over and tape the backside of the walkway with low tack tape.
After taping the backside, turn the walkway piece over. Following the jagged edge, cut along those edges to create the inverted pattern on the other embossed cobblestone piece so they will fit together like a puzzle.
Fit the two pieces together like a puzzle and turn it over so you can tape it together on the backside.
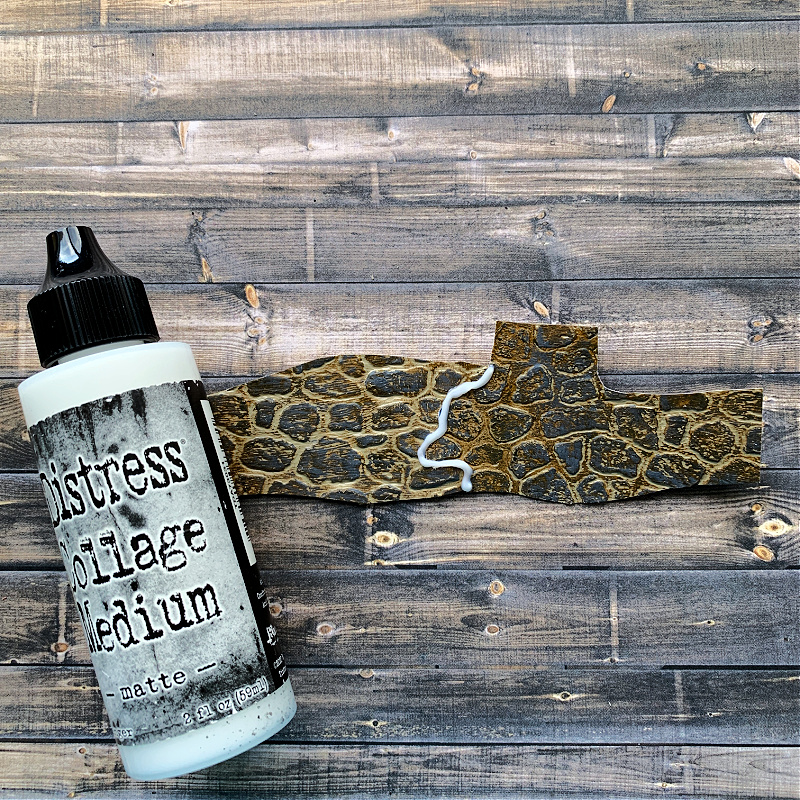
Apply glue along the jagged cut edge.
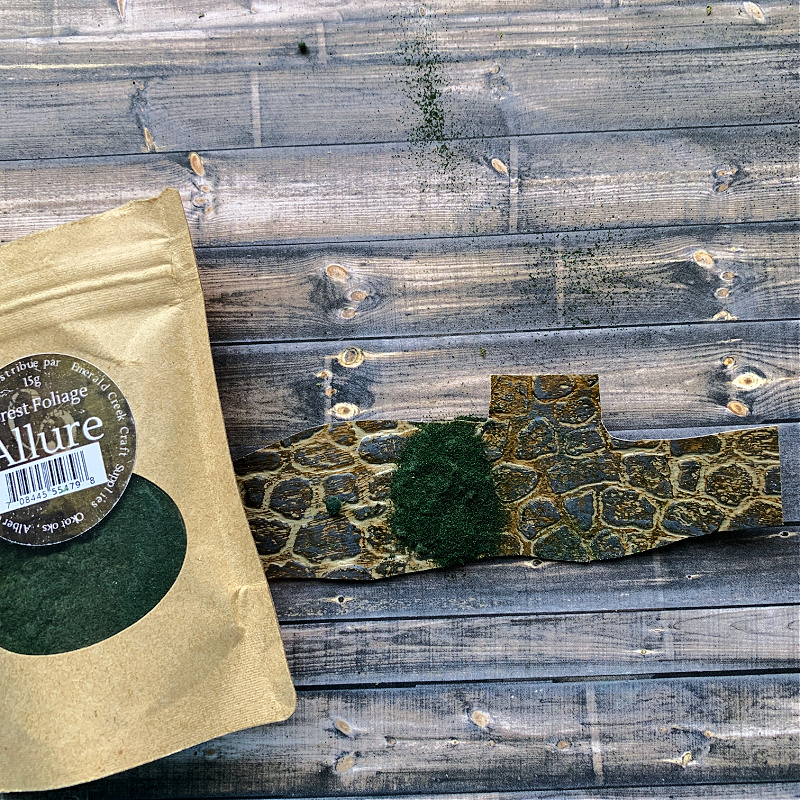
Sprinkle some type of forest foliage over the glued area and very gently pat it down with your fingertip. Don’t smash it, just pat it.
Shake off the excess forest foliage and let it sit for a few minutes so the glue can set and dry.
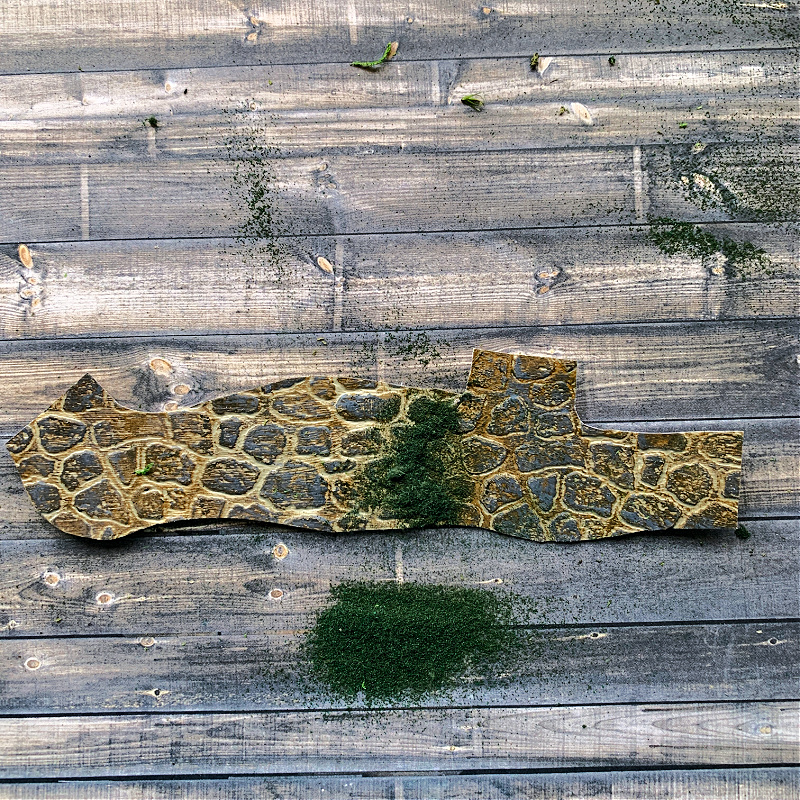
Using a paintbrush with very loose and soft bristles, dust away the excess forest foliage that isn’t attached to the glue.
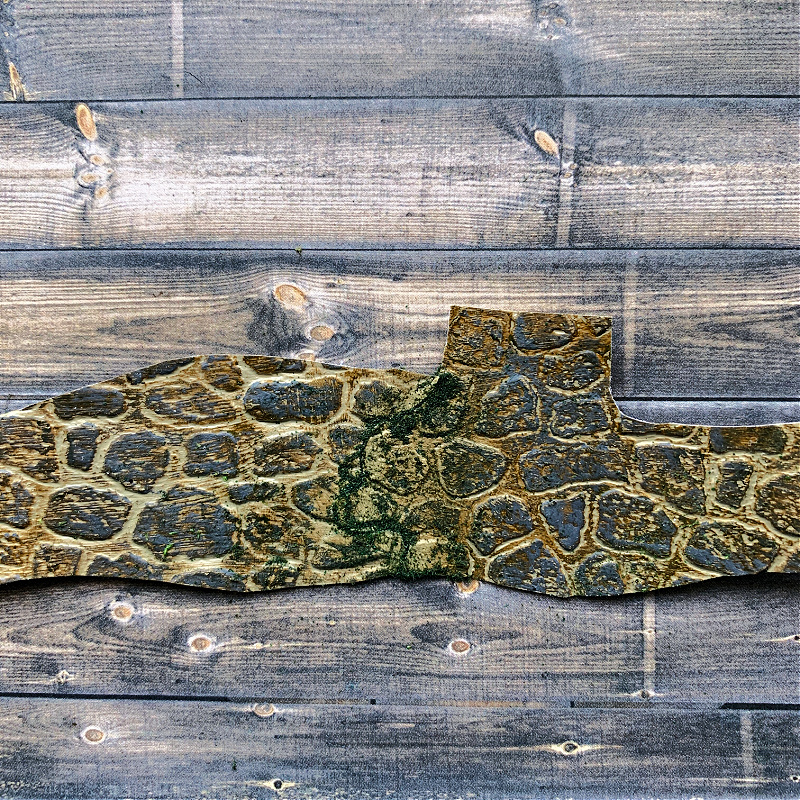
Next add more forest foliage along the walkway by applying glue following the lines around the stones. You can’t tell where you made the cuts to fit the two pieces together because it’s hidden by the foliage. Now your walkway is ready for your project.
I hope you found this tutorial helpful and if you have any questions, please reach out to me and ask away. I would love to hear from you if you need me to clarify anything or if you would like to know how I created any other parts of my project.
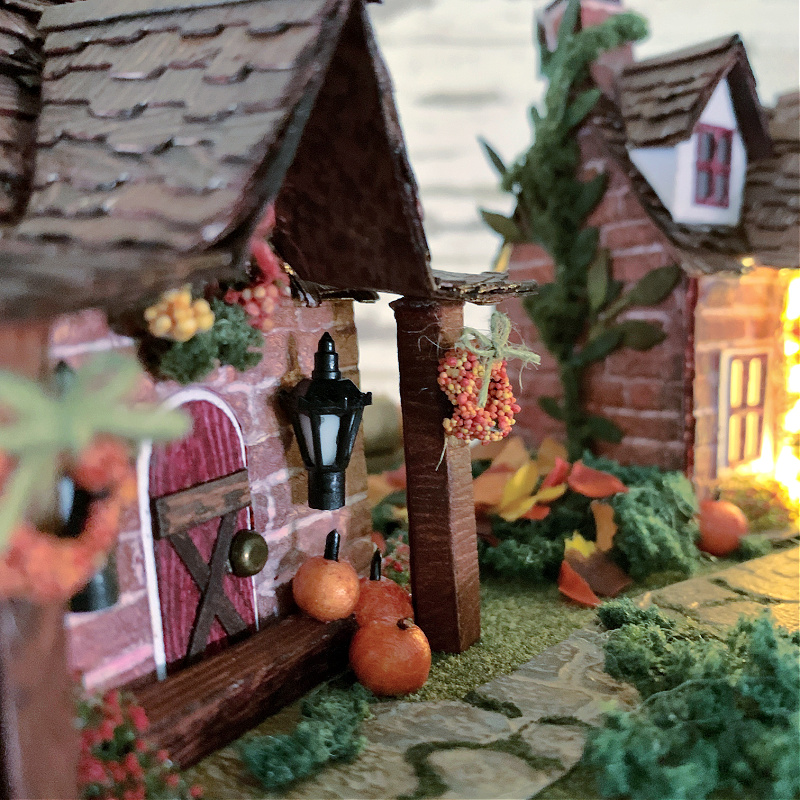
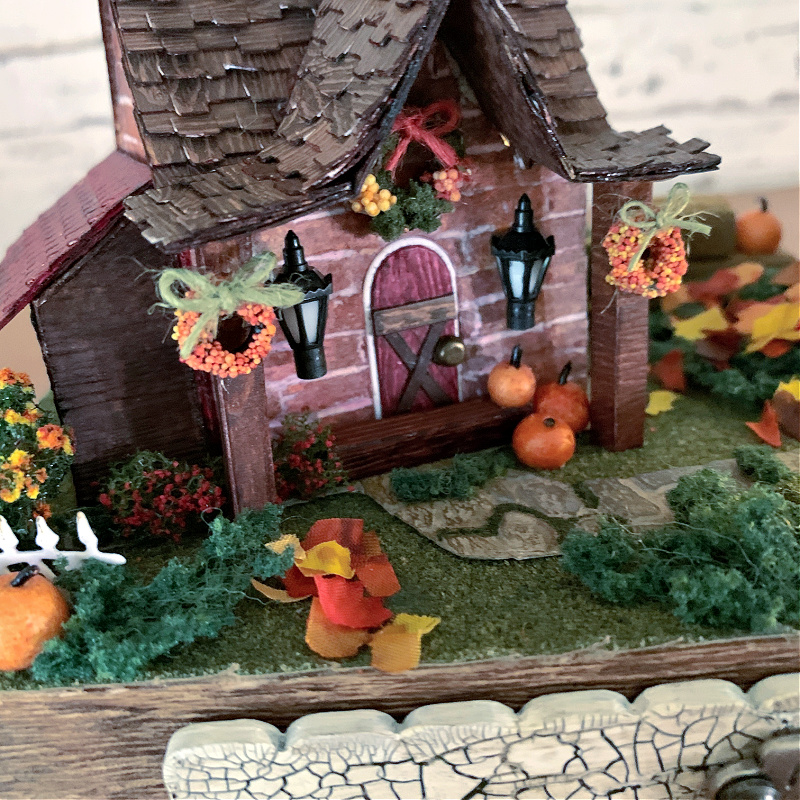
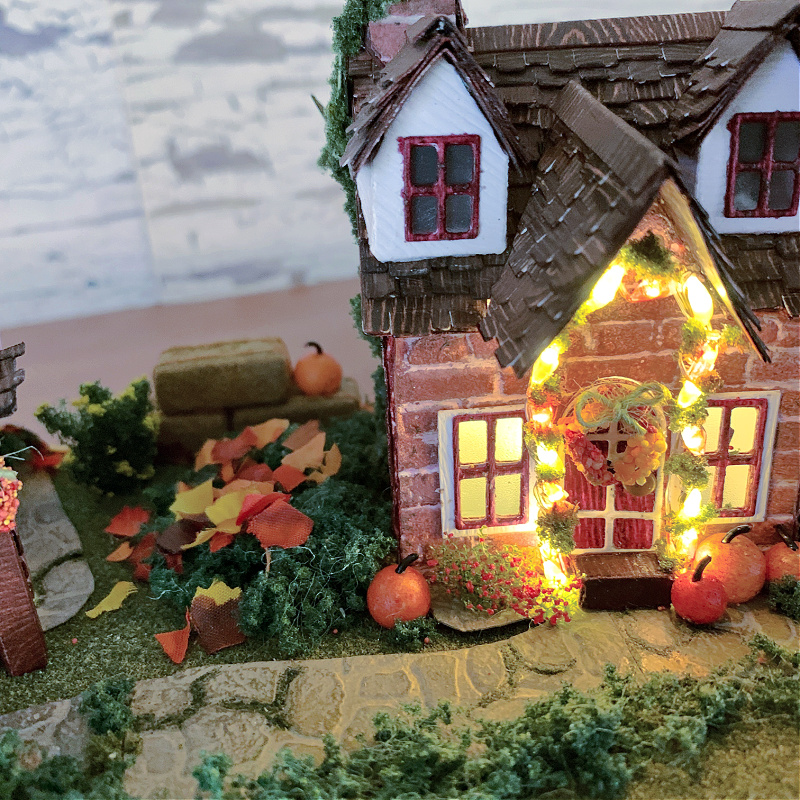
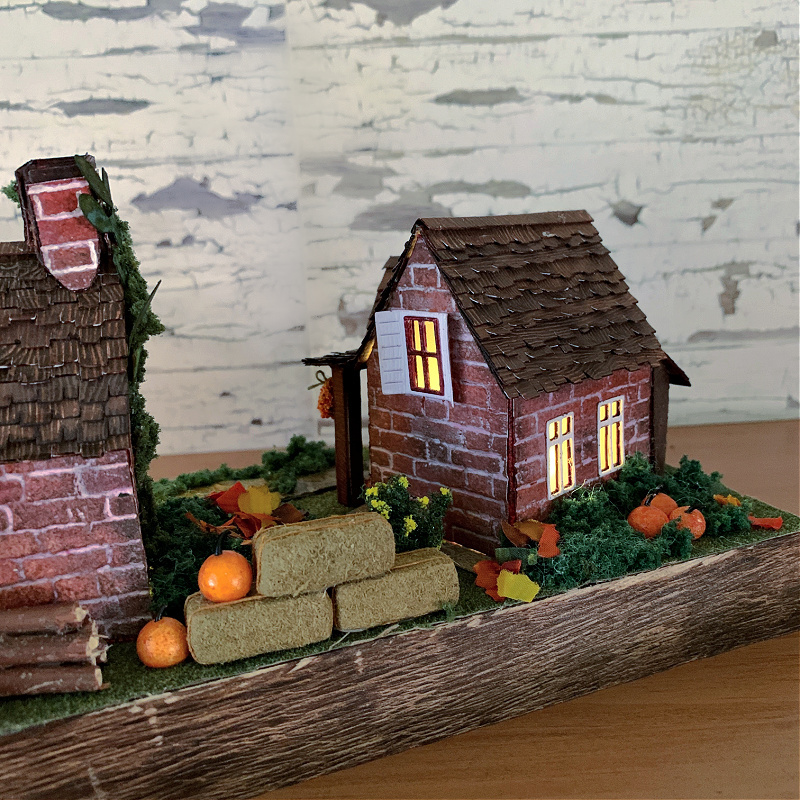
Below are more photos of the completed scene.
Thanks so much for stopping by and sticking with me to the end. Have a wonderful rest of your day!
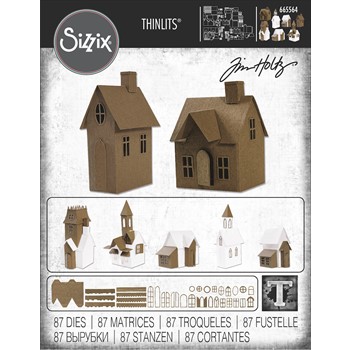
Find the Tim Holtz Sizzix Village Collection at the link below


Brilliant!!! And your post is great, wonderful instructions and photos. Perfect to help me create my own.
This village is beautiful and looks real life! Thanks for sharing!