
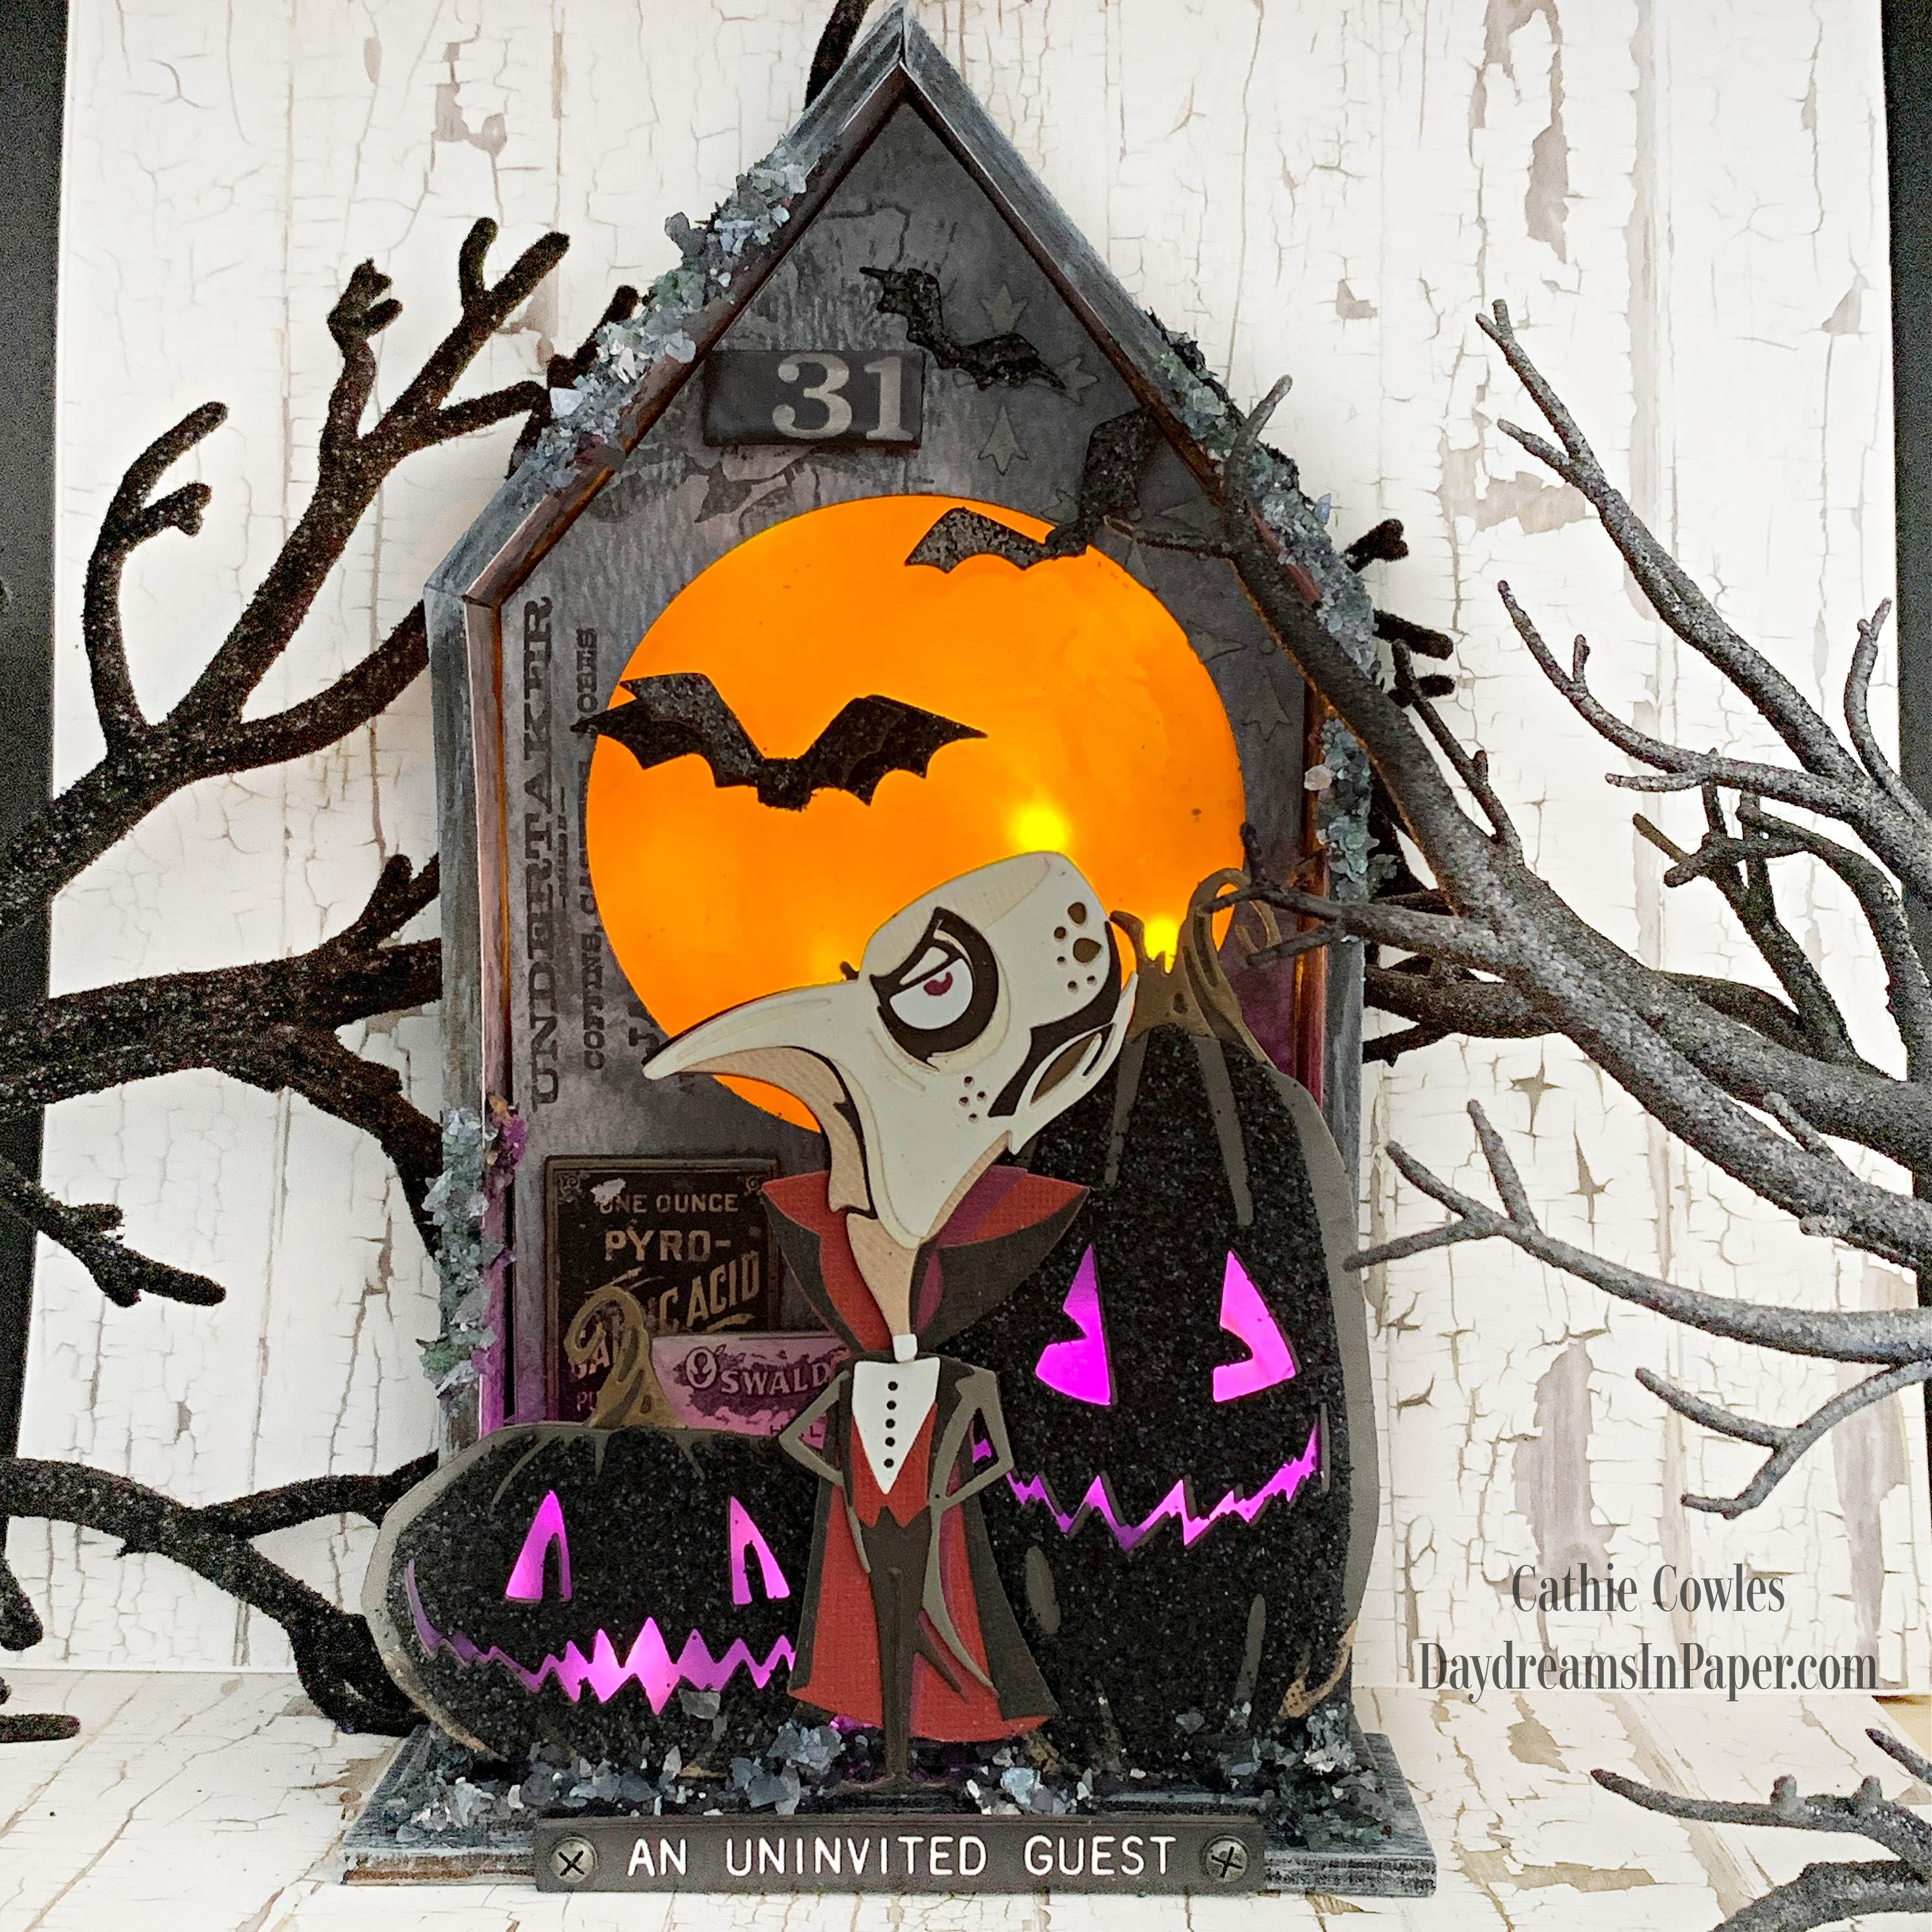
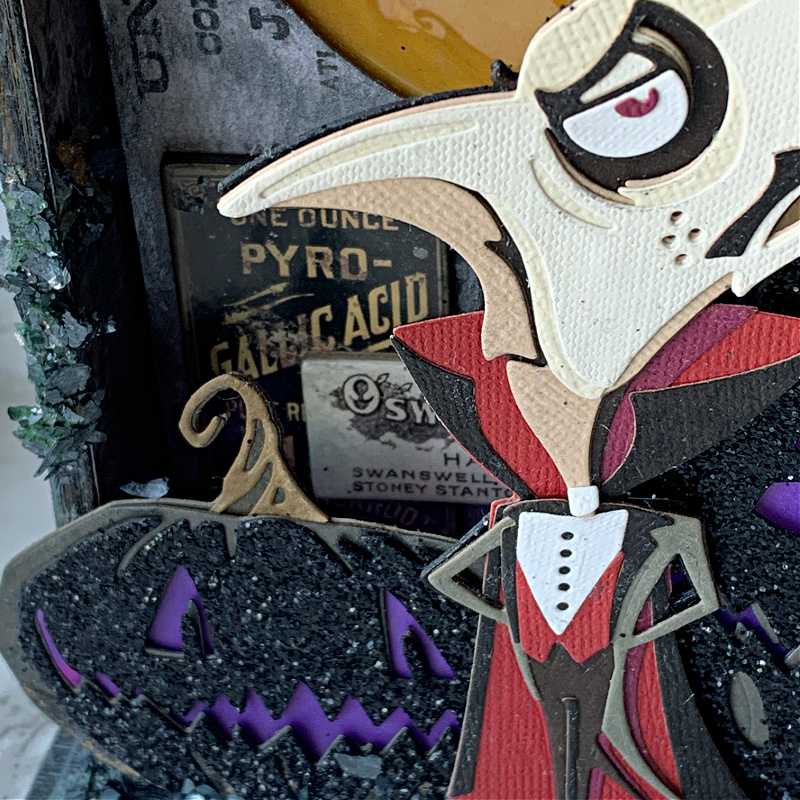
Hi Friends! Today, I’m sharing another project I created for the Tim Holtz Sizzix YouTube Live event using The Count die set. The number one comment I’ve received is about the glittered pumpkins so I thought I’d put together a tutorial on how to create them and a little trick to keep the glitter in place. This tutorial will show you how to use the glitter in such a way that will prevent fuzzy glitter from collecting around the edges. Enjoy!
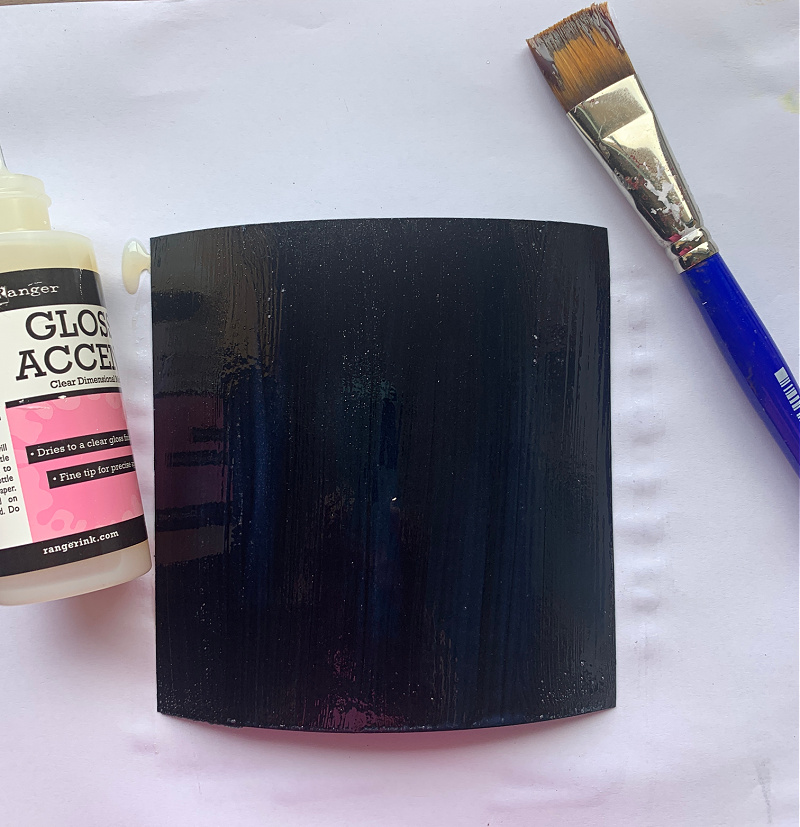
Cut a piece of black cardstock big enough to cut out both of the pumpkins from the Count die set and brush with Glossy Accents glue with a paint brush.
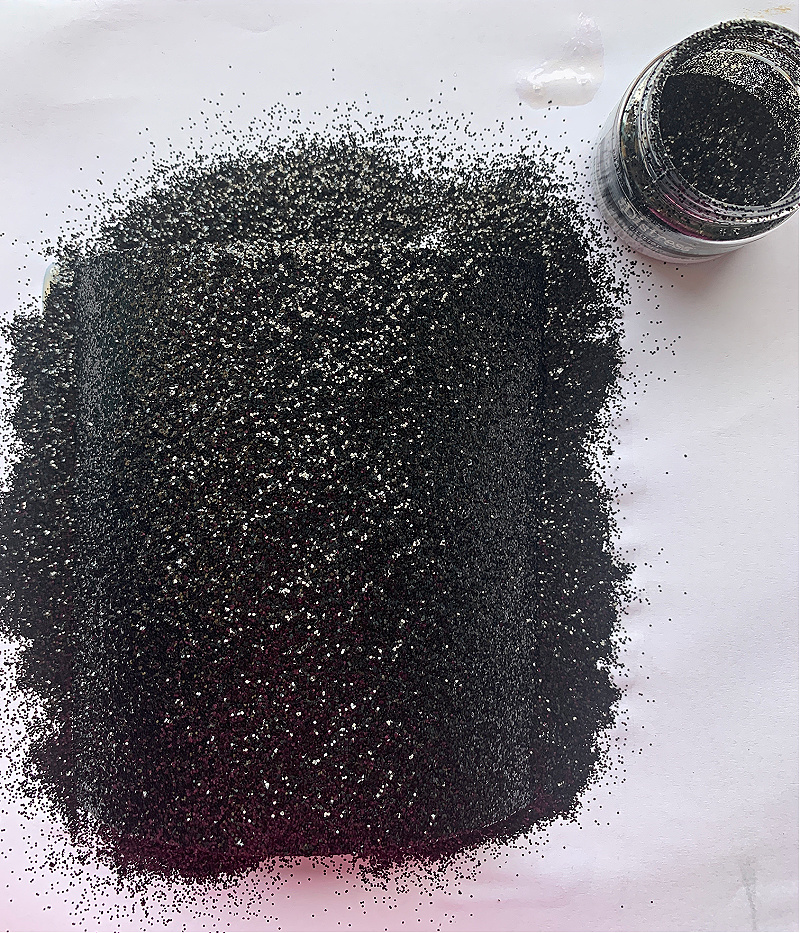
Immediately after brushing the cardstock piece with glue, sprinkle with Nightfall Distress Glitter. Next, lift the cardstock piece slowly and allow all the loose glitter to fall from the cardstock onto the piece of paper. Place the glittered cardstock aside and replace all the loose glitter that fell away from the cardstock back into the bottle.
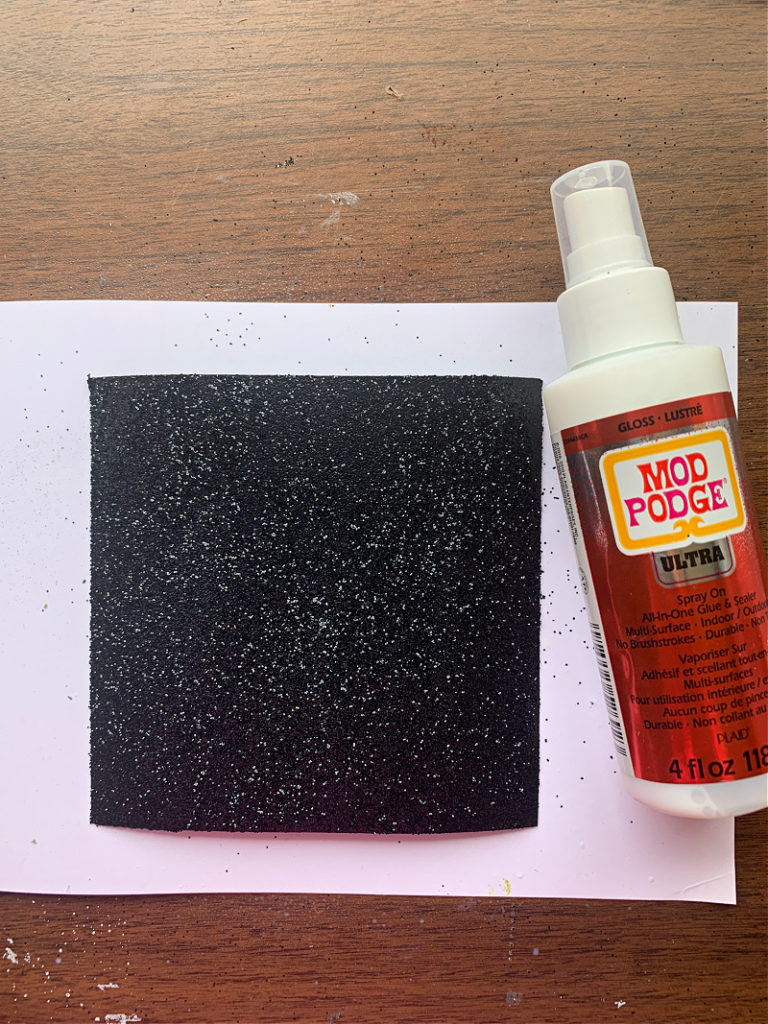
When the glittered cardstock is completely dry, spray the entire piece with Mod Podge Ultra Glossy spray. This will prevent the glitter from flaking off and getting all over your craftroom. It will not affect the beautiful sparkle of this glitter because it leaves a glossy finish. Set this aside to completely dry.
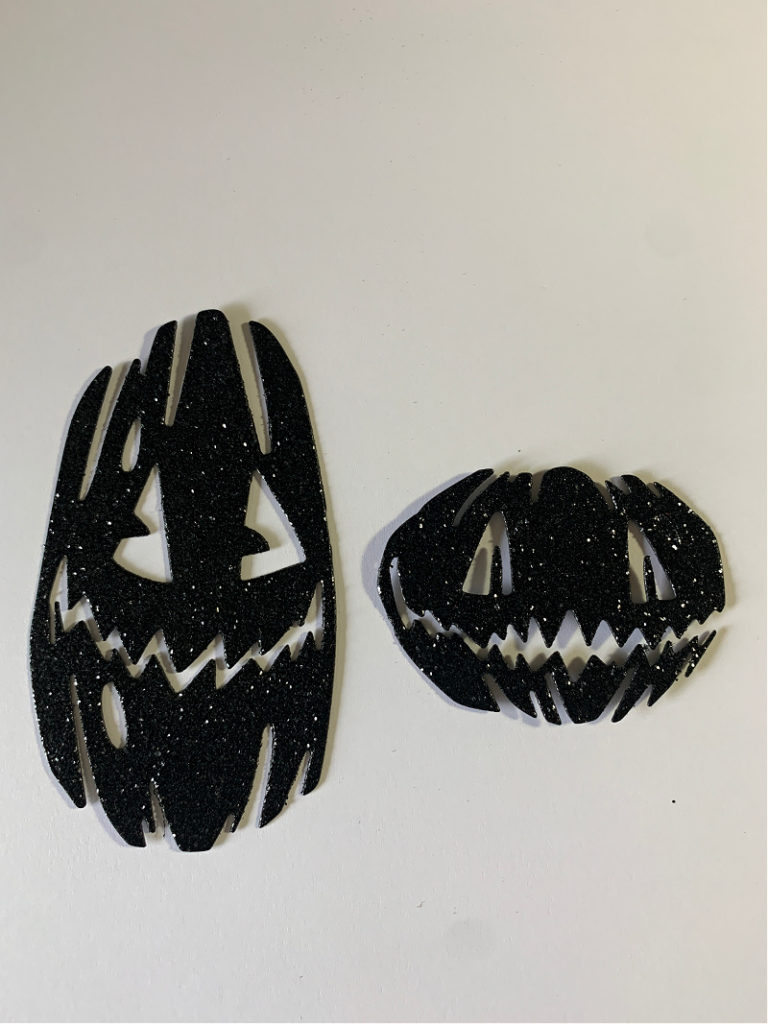
When the glittered cardstock is completely dry, cut out the outer layer of both pumpkins that come in the Pumpkin Patch die set.
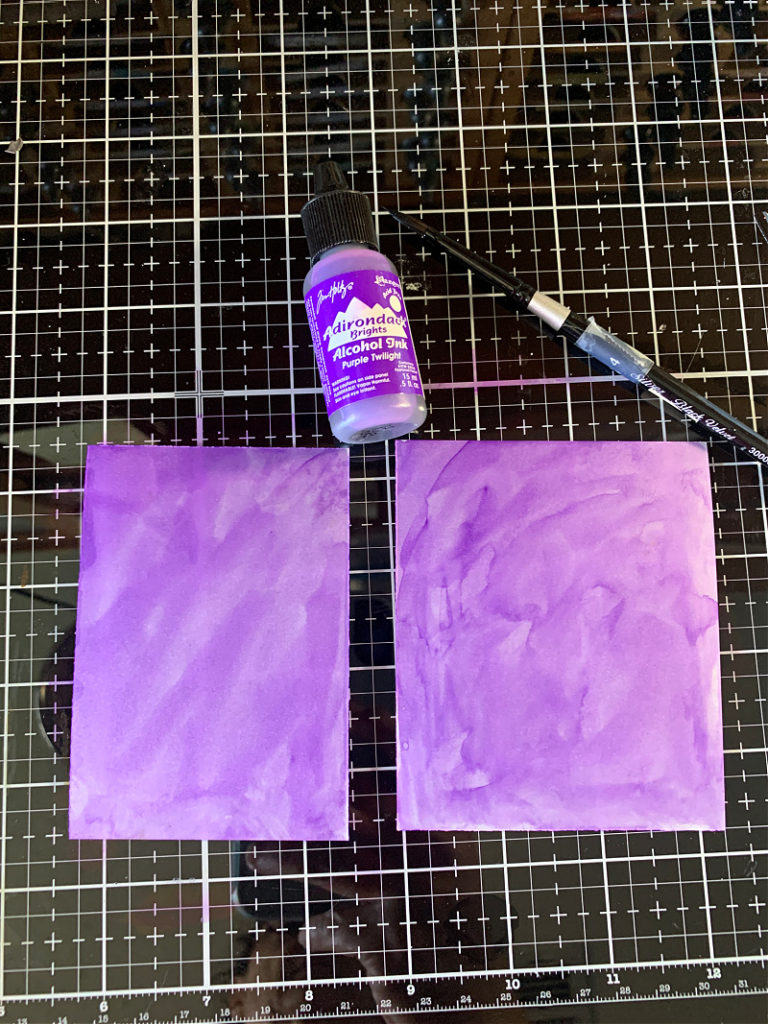
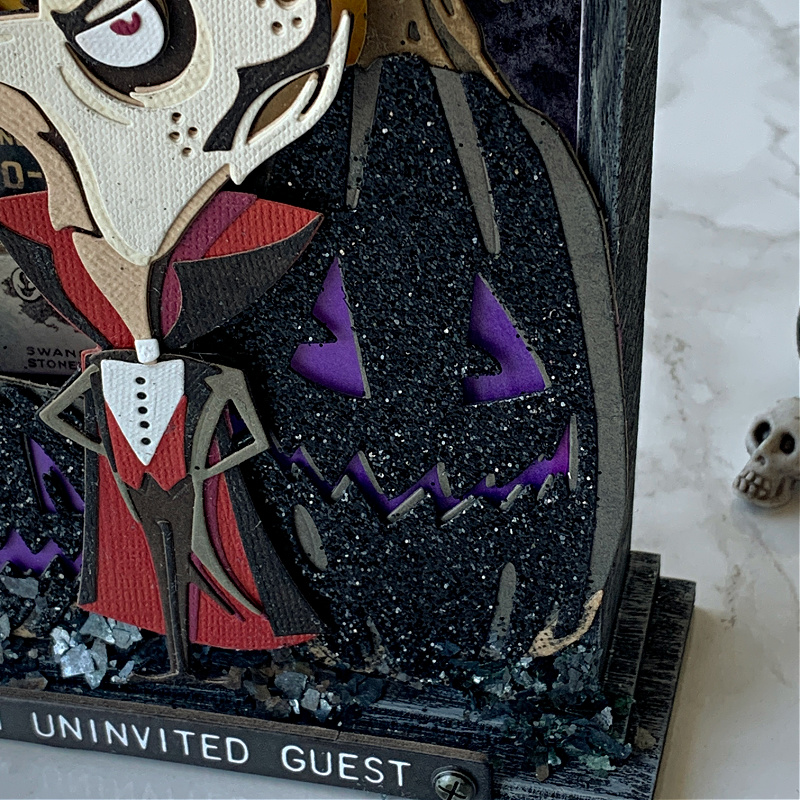
To create the purple glowing eyes and mouth for the pumpkins, brush pieces of vellum with purple alchol ink of your choice. I used Purple Twightlight. It doesn’t matter if there are brushstrokes, so don’t worry about them.
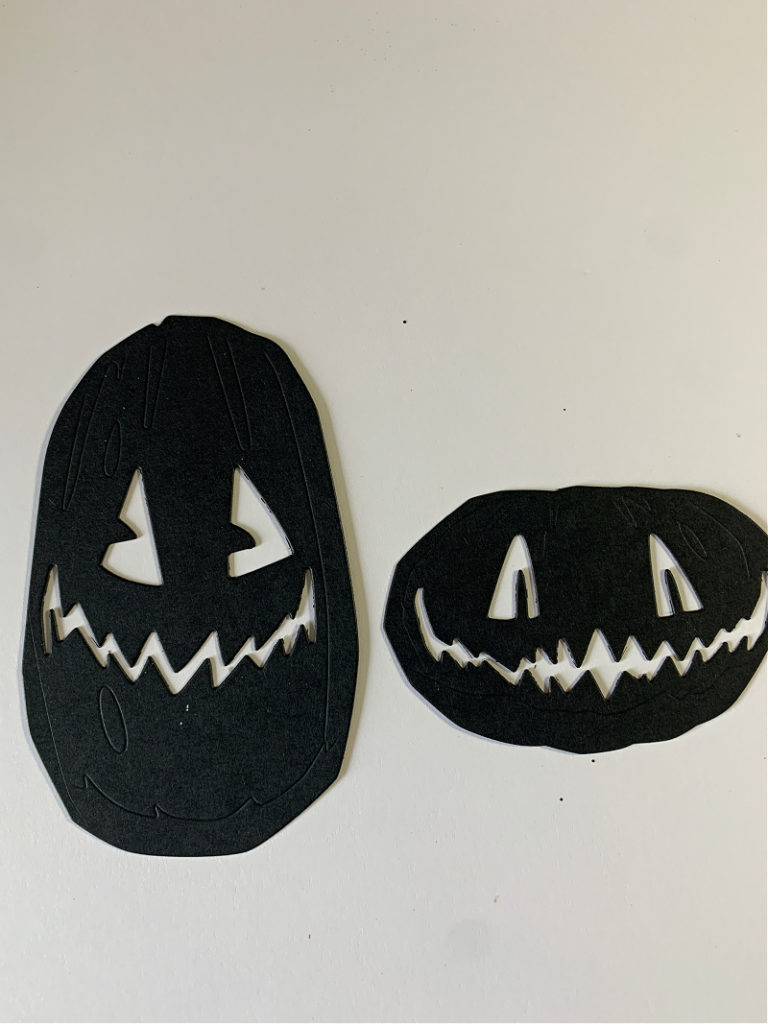
Next, cut out of the two outer layers of the pumpkins from the set out of black cardstock.
Place the cut out pumpkins over the pieces of purple inked vellum.
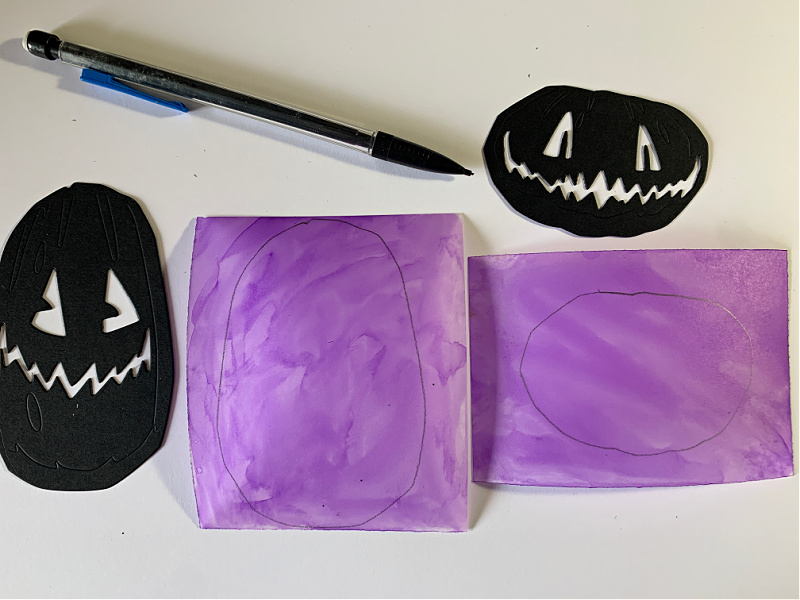
Using a pencil, trace the outline of the pumpkins onto the purple vellum.
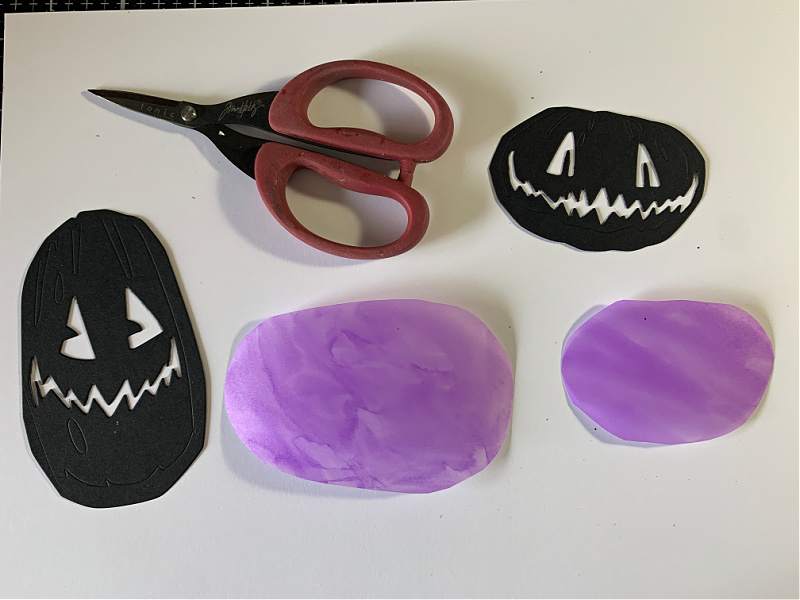
Cut along the inside of the lines that were drawn with the pencil.
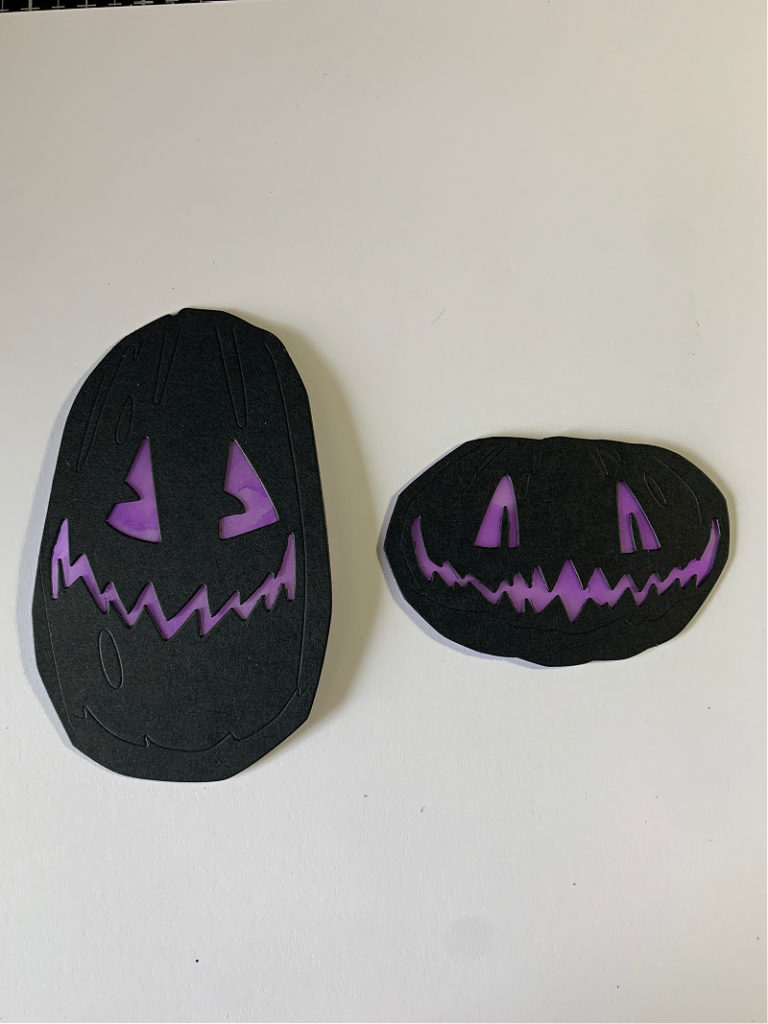
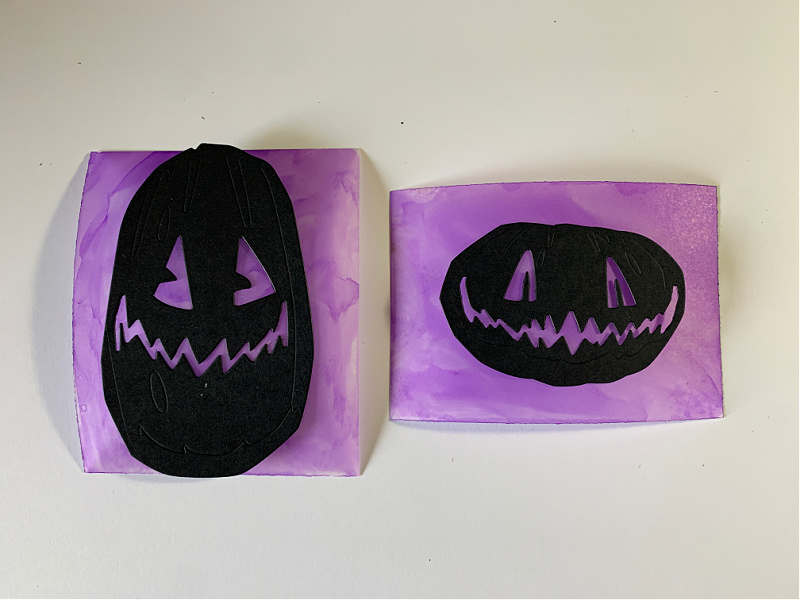
Adhere the pumpkins that were used to create the outline on the purple vellum over the vellum pieces as shown above.
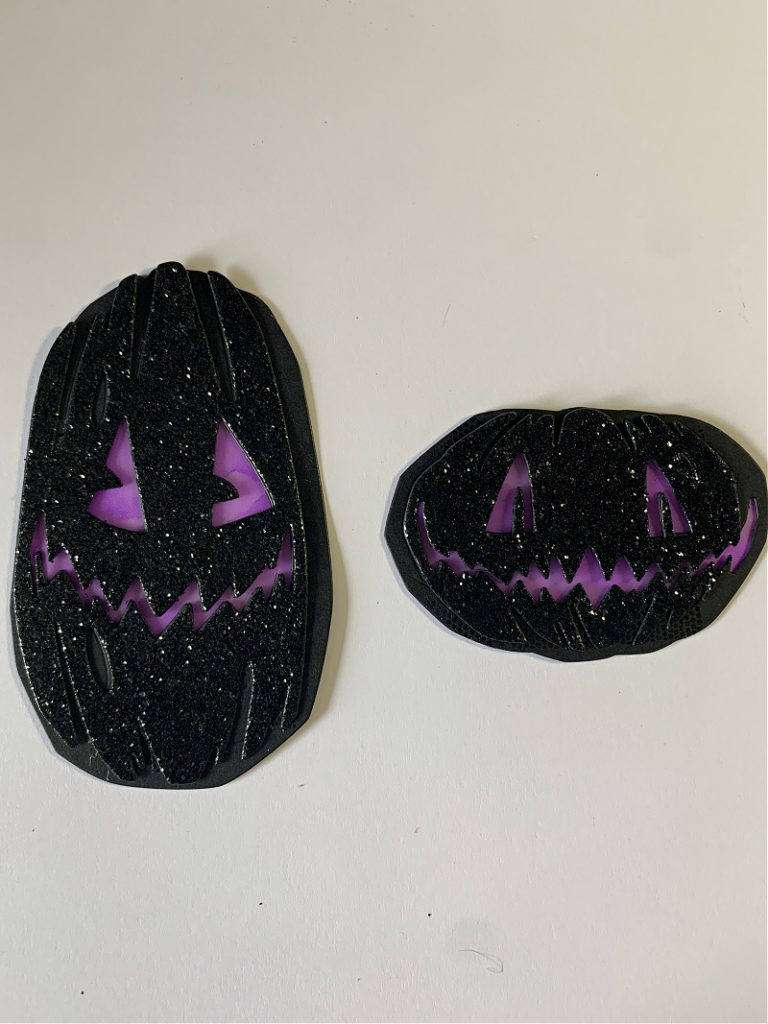
Next, adhere the glittered pumpkins on top of the plain black cardstock pumpkins following the embossed lines.
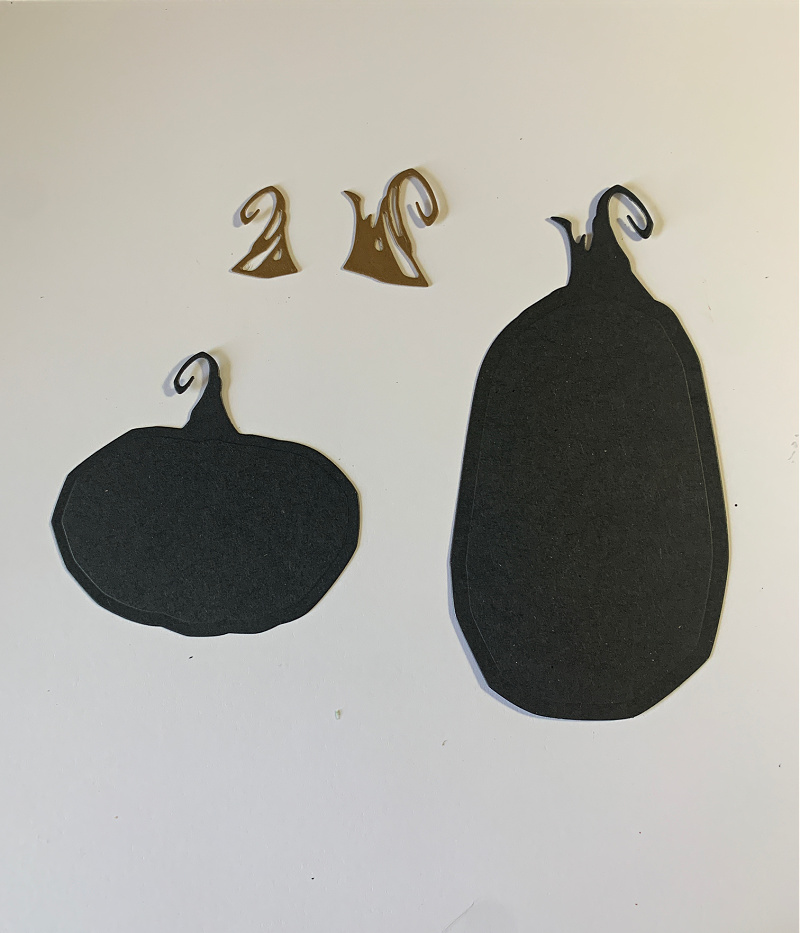
Lastly, create the stem pieces for the pumpkins. There’s a little trick so the pieces they adhere to don’t cover the eyes and mouth of the pumpkins. Cut out the silhoette pumpkin pieces out of black cardstock and the stems out of brown cardstock as shown above.
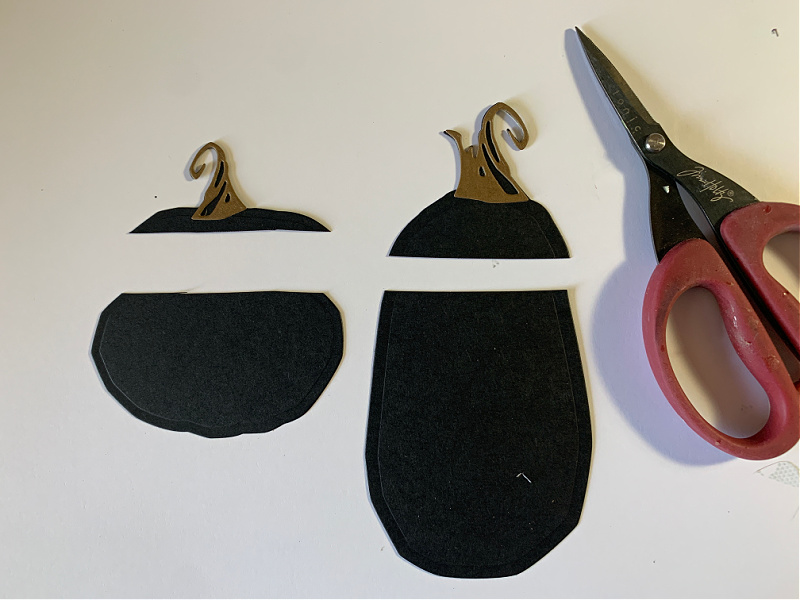
Adhere the stems to their coordinating shiloette pumpkins. Next, cut away the base of the pumpkins just above the area where the pumpkins eyes will sit when you adhere them to the glittered pumpkins. If you don’t do this, the base of the pumpkins will cover the purple vellum eyes and mouth and the lights won’t show through.
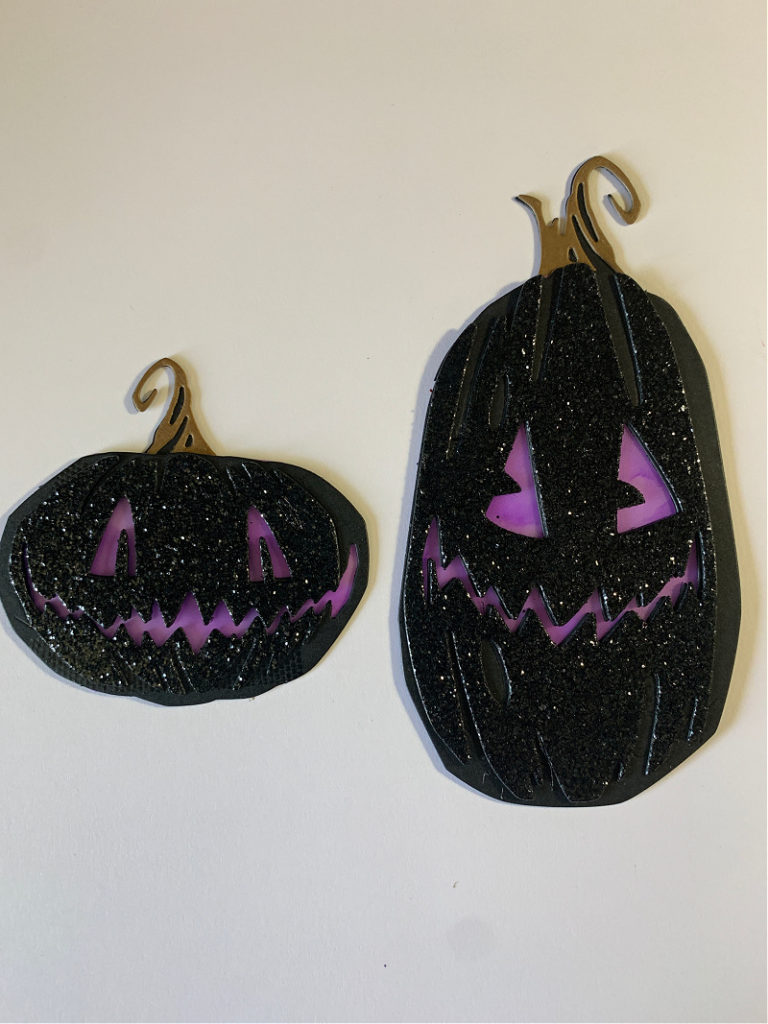
Adhere the cut off stem pieces to the back of their coordinating glittered pumpkin pieces and they’re done!
I hope you found this tutorial to be helpful in constructing the glowing glittered pumpkins. If you have any questions, please don’t hesitate to reach out and ask away.
Thanks so much for stopping by and sticking with me to the end. I appreciate you spending your time with me more than you could every know. Have a great week!
Where to Find:


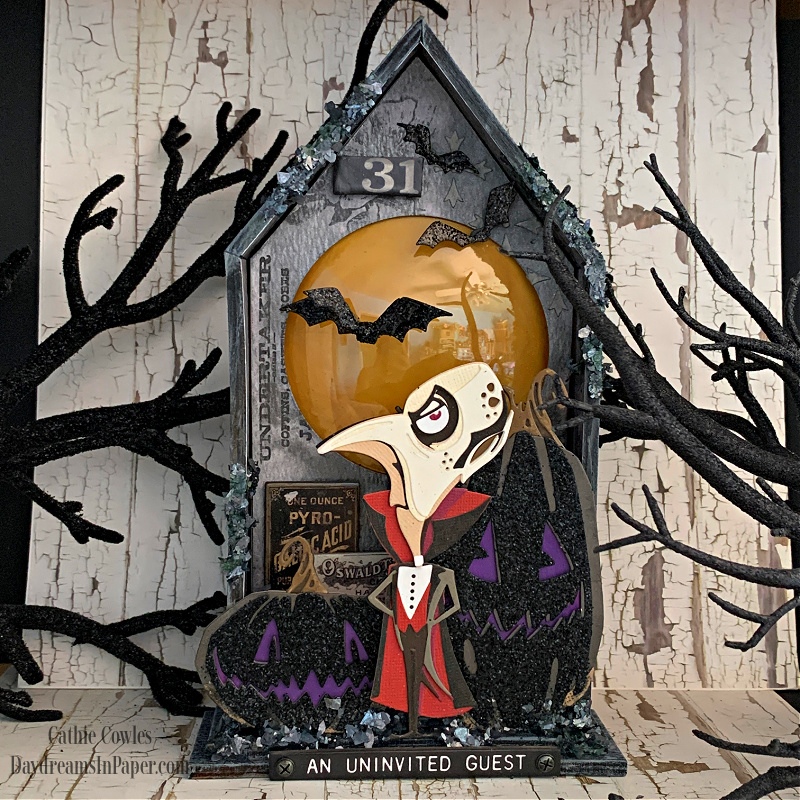
The Count is one of my favourites of the new dies, I just love the expression on his face. Your project is stunning and I just love that it lights up and those pumpkins really do shine!
Cathie, I just adore this project, the Count is my favourite die from the new release and he looks brilliant in front of those sparkly pumpkins. It is just an extra bonus that it lights up too! A wonderful project!
My fav of all the makes!!! Was wondering if you are gonna do a tutorial of how to make the moon part?
Thanks for the great tip of using the Mod Podge…hope you do a tutorial on the making of the rest of the project, love using the Tiny Lights on projects….Tiny Lights for the win….LOL.